All The Gear, In One Place
Fermenters
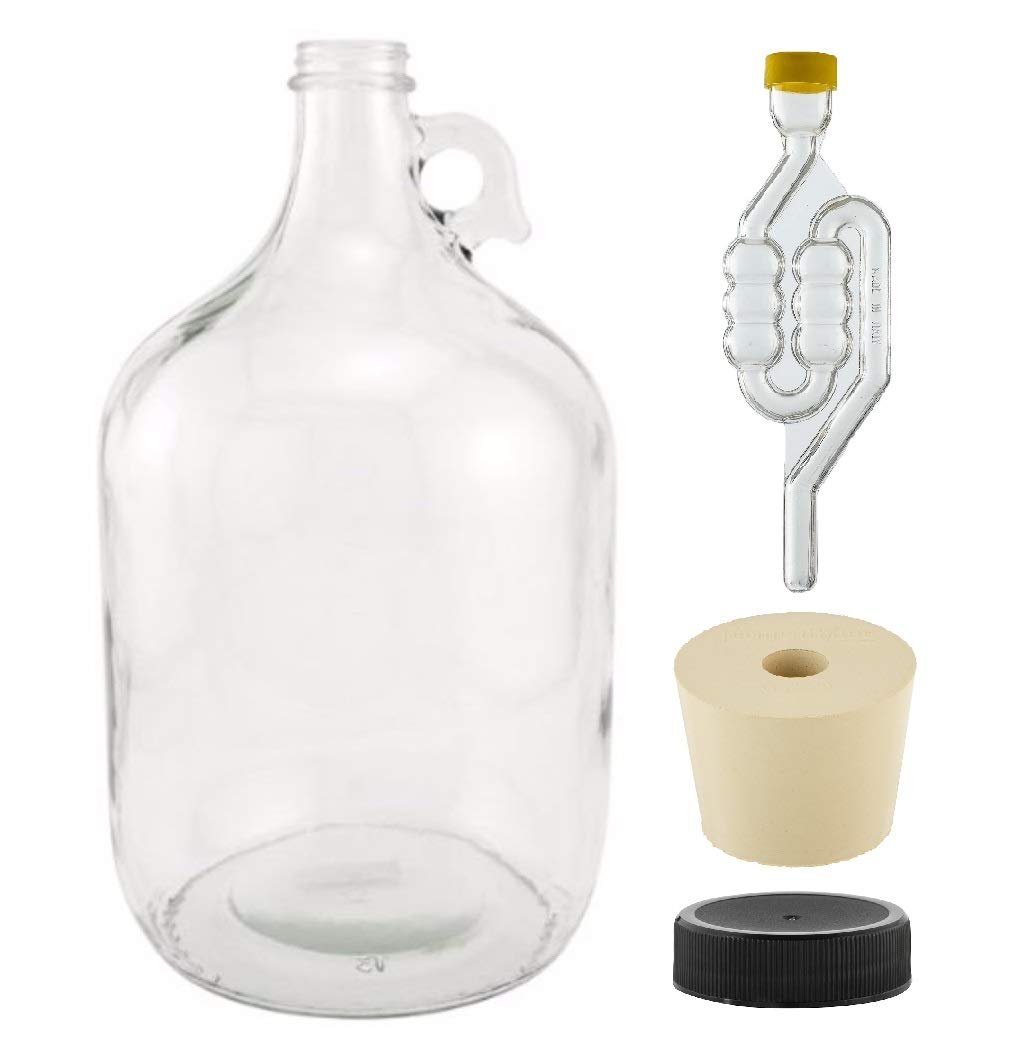
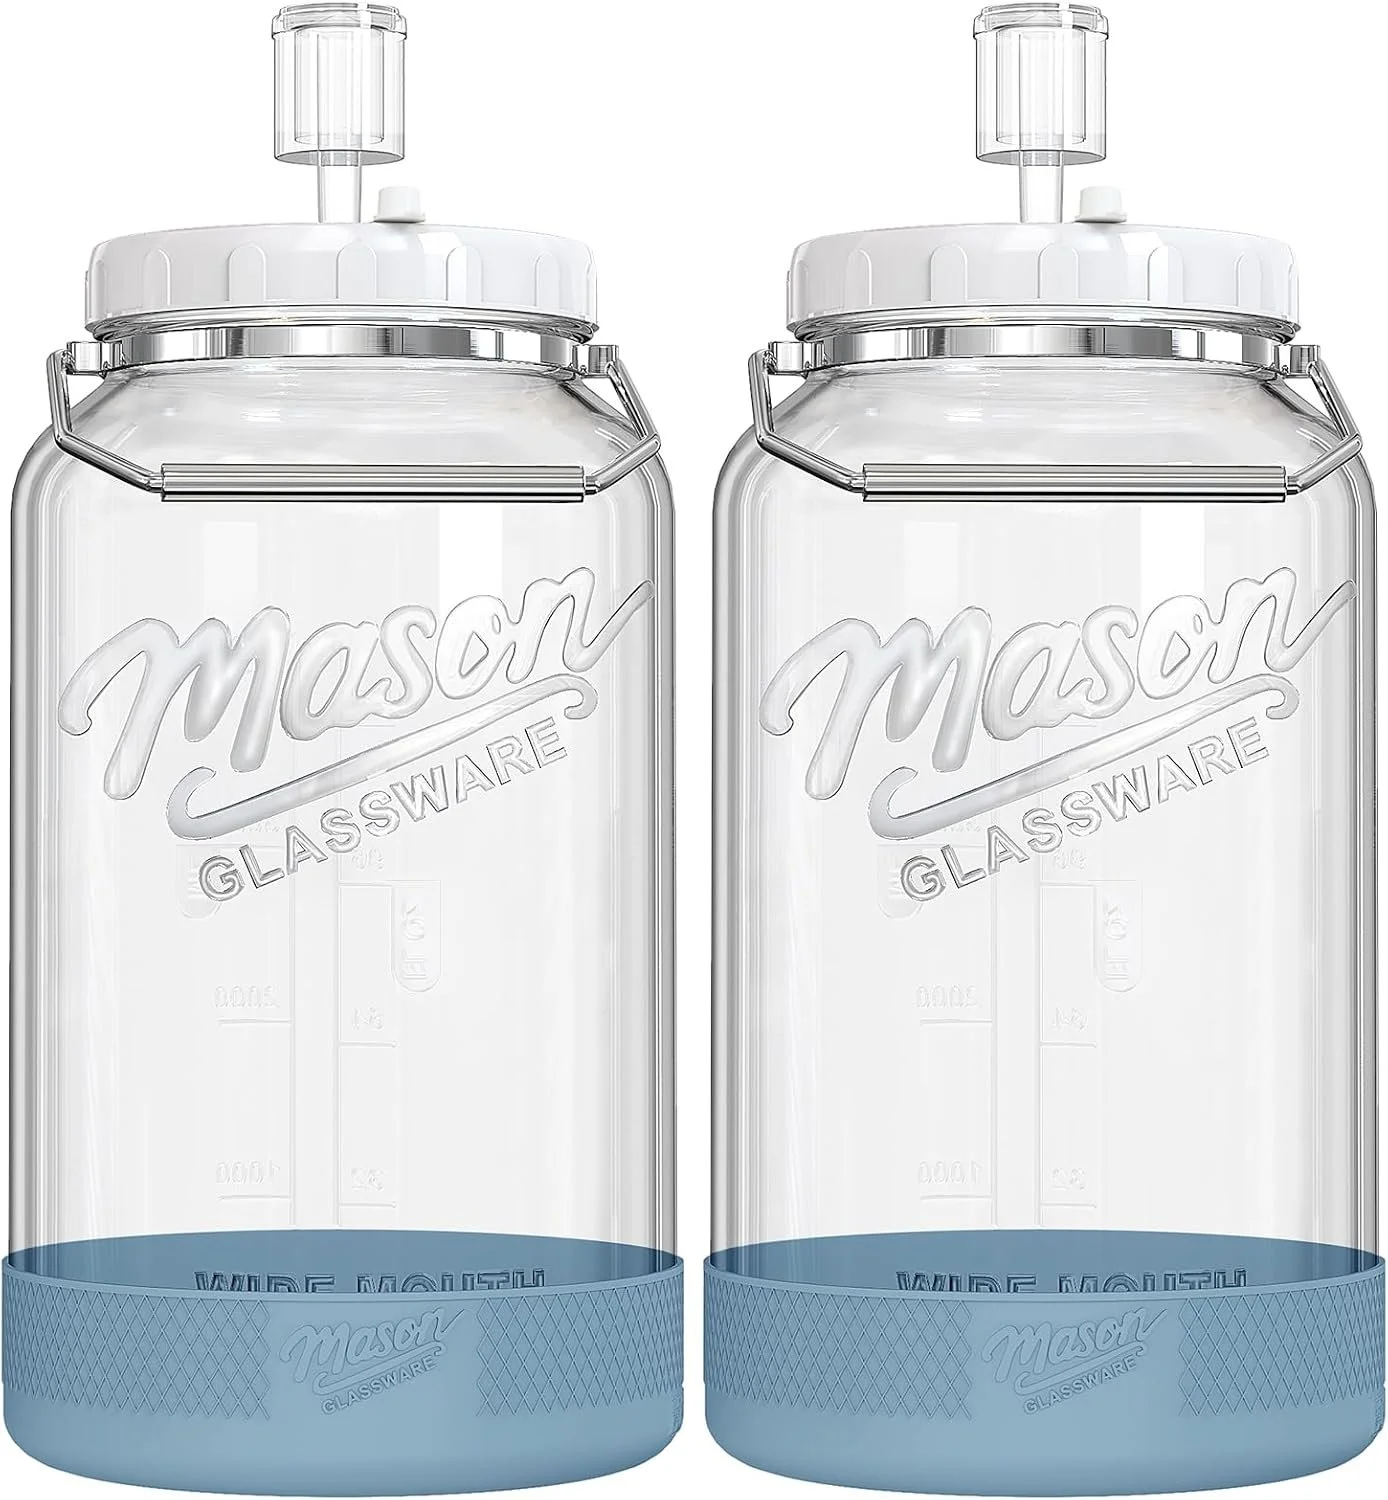
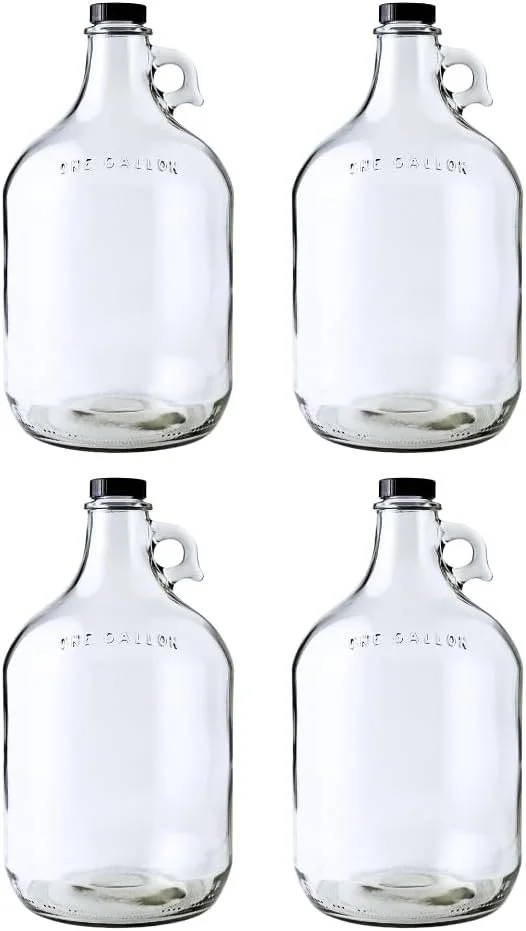
This can we wide mouth or narrow mouth, depending on if you’re planning to add a lot of solids (like fruit) or not. It can be glass or plastic. You can repurpose narrow mouth glass vessels for “free” at some grocery stores or wine stores after you drink the juice or wine you bought inside them. Keep in mind that plastic vessels can stain and retain smells more than glass, but they tend to be lighter weight and more affordable.
You can also make your own plastic bucket fermentation vessel with a FOOD GRADE bucket and lid (make SURE it is food grade!!), drilling a hole, and purchasing a silicone grommet.
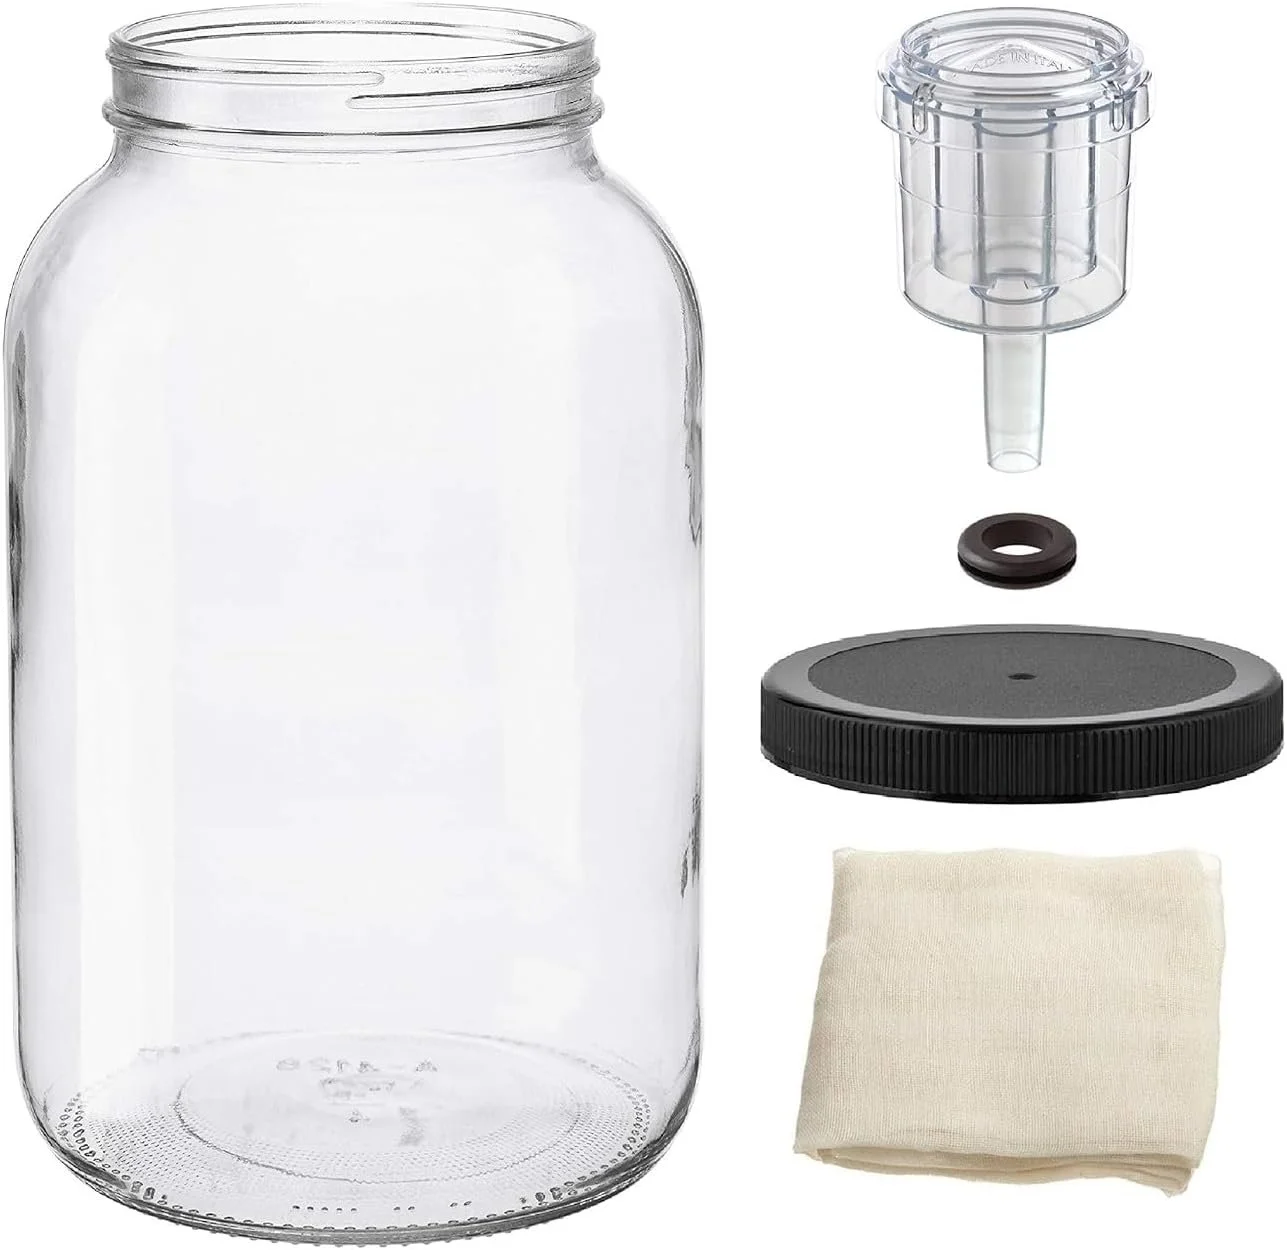
Either way, we recommend glass, and we recommend having at least 2 vessels. When your brew has finished primary fermentation, you’ll need to transfer it into another vessel for secondary fermentation. If you only have one fermenter, it can be more difficult. Sometimes secondary fermentation can be done directly in bottles (depending on what you’re doing in secondary) or you could transfer to a sanitized pitcher, wash and sanitize your fermenter, and then transfer it back into the original vessel.
If you’re just getting started, you might want to start by getting one vessel in a kit with an airlock and bung (AKA rubber stopper). If you’re confident you want to invest in this hobby, it’s helpful to have multiple fermenters and you might want to invest in multiple vessels.
Airlocks
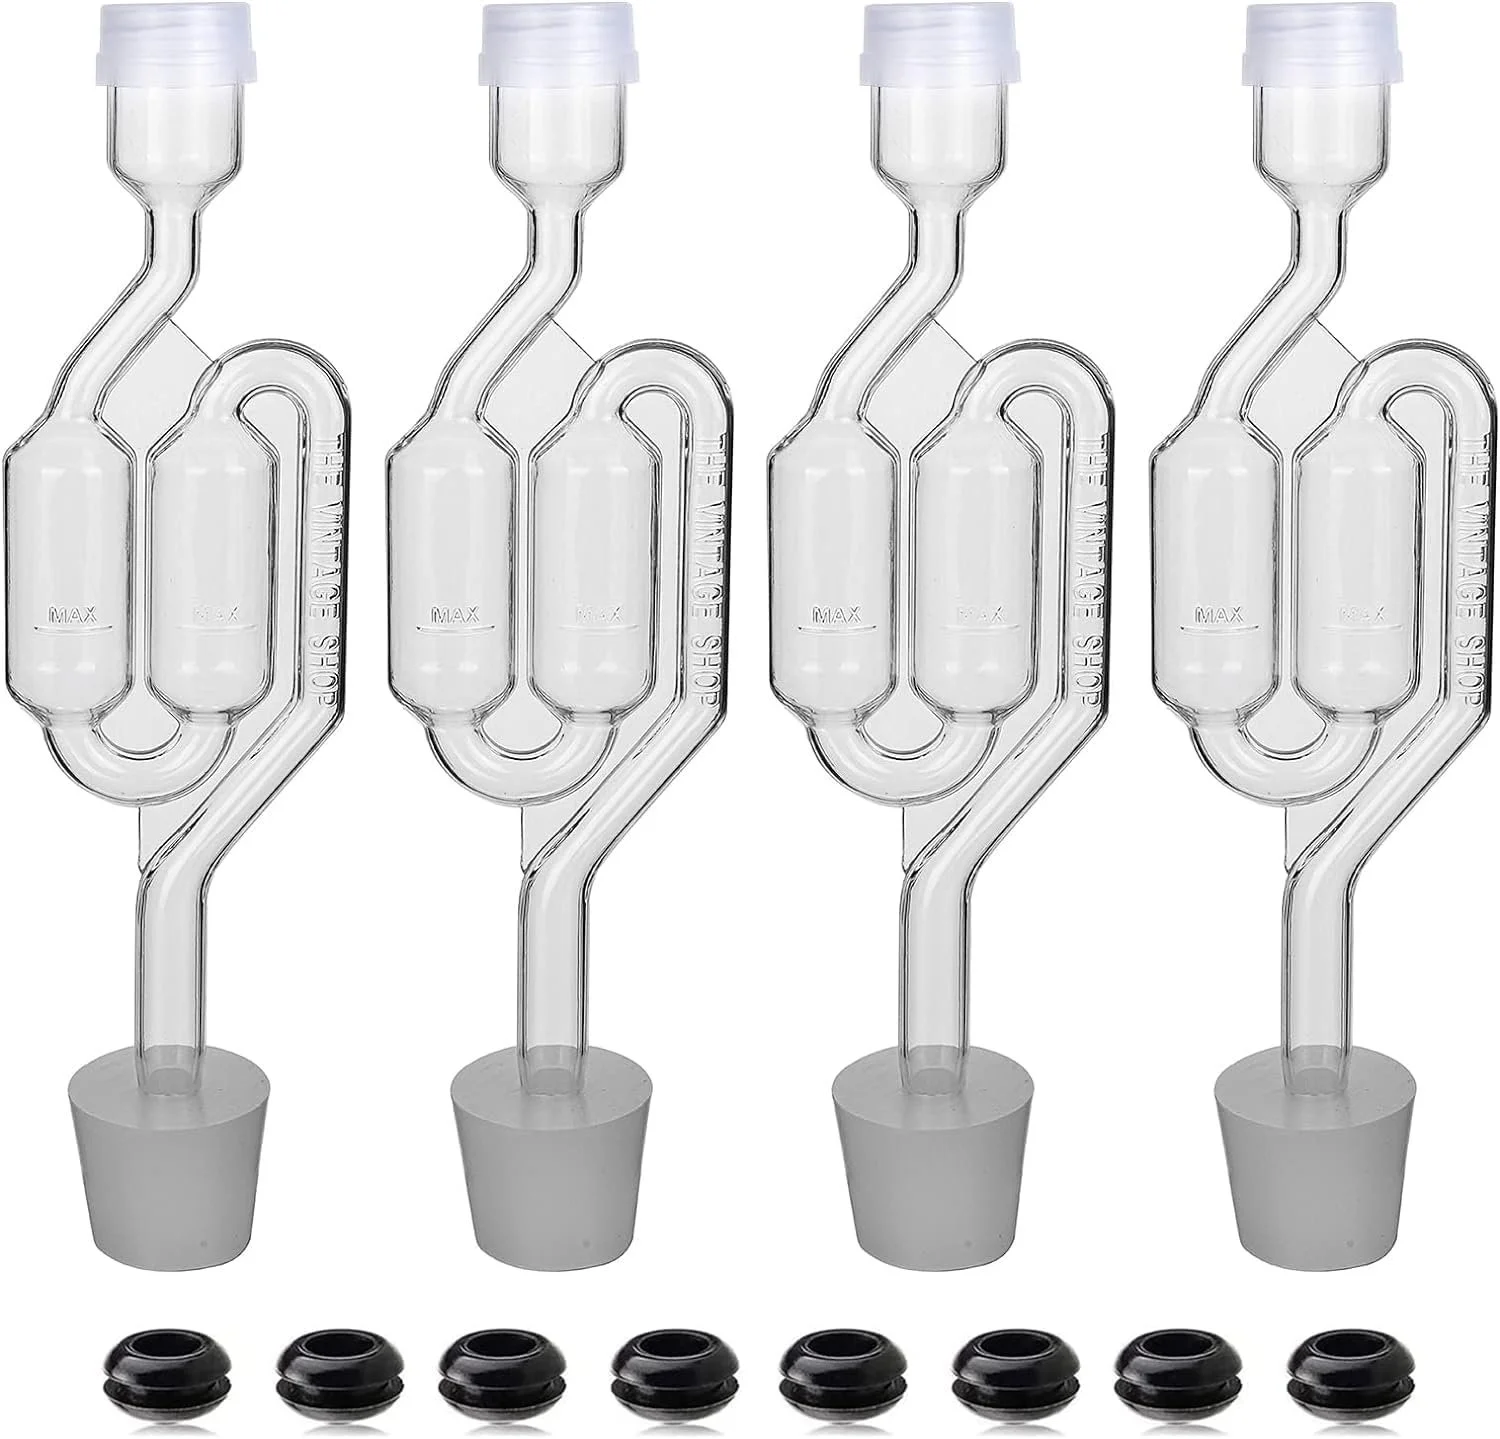
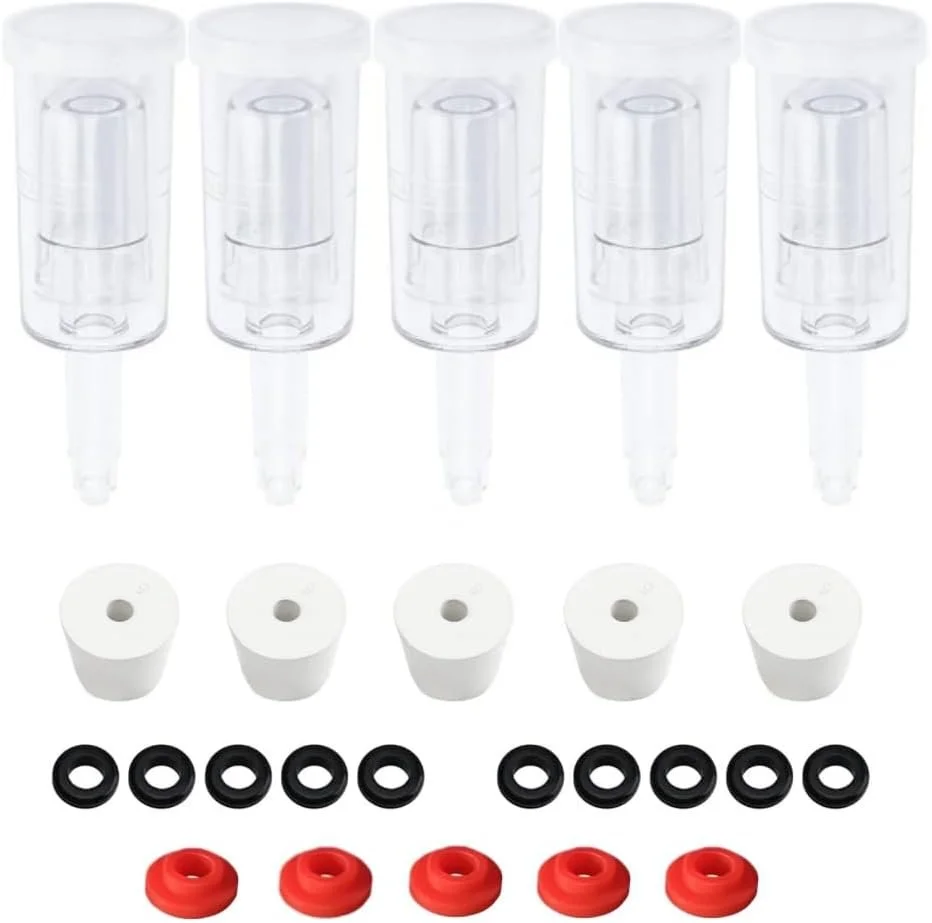
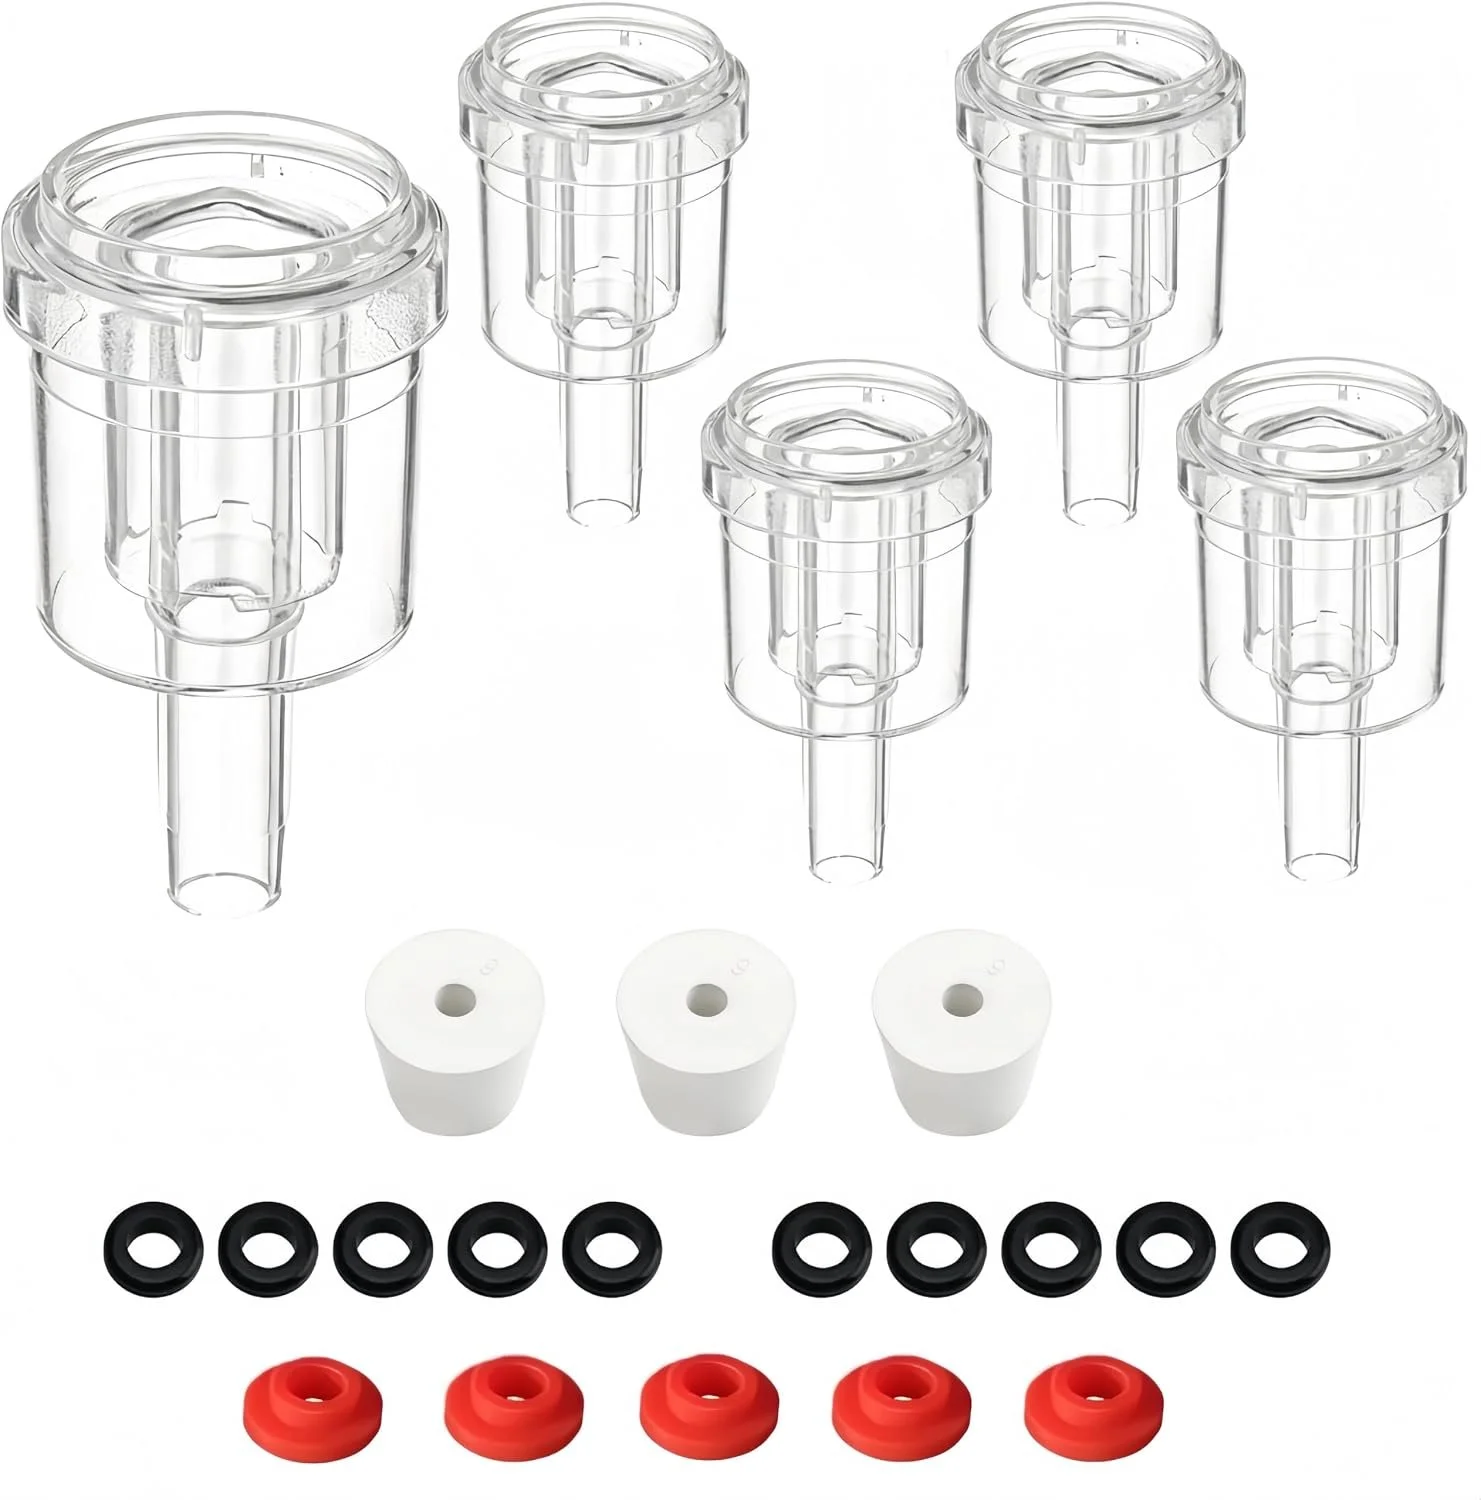
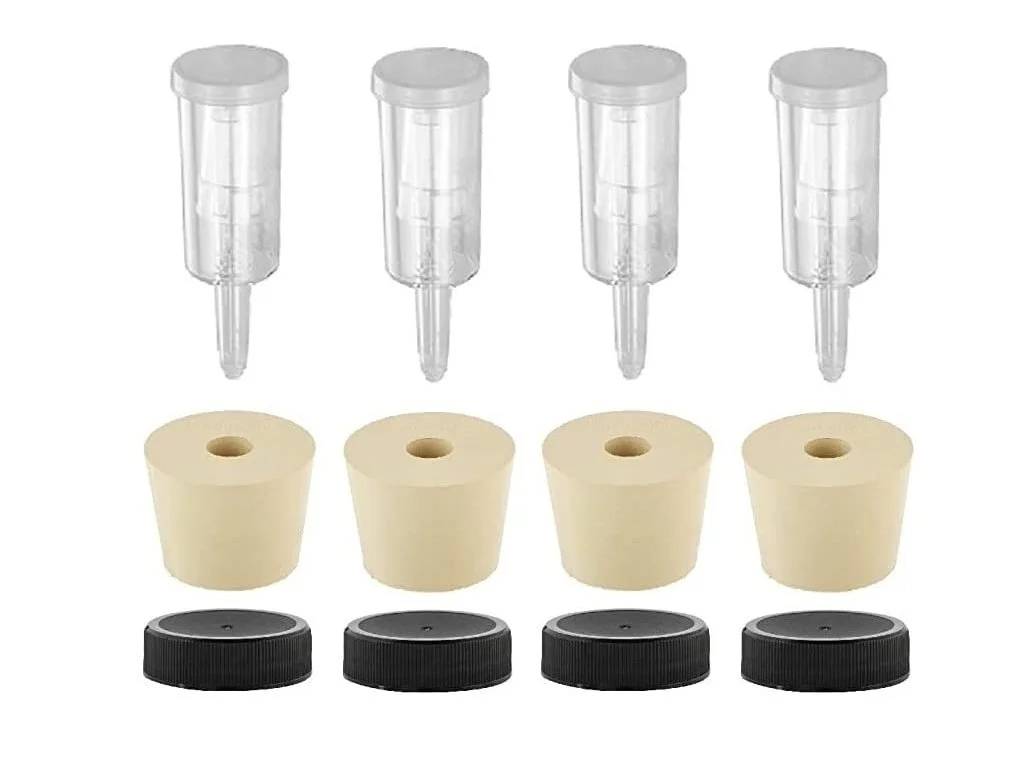
This IS important. The goal with an airlock is to allow carbon dioxide to escape from your brew (preventing bombs) while preventing bugs and contaminants from getting in. You can use multiple layers of clean cheesecloth or fabric tightly secured, or use a piece of tubing going into another vessel filled with liquid (called a blow off tube), or use a plastic S-shape or 2- or 3-piece airlocks. There are also silicone airlocks, but they are quite expensive and I haven’t personally used them, so I can’t recommend them.
We use blow off tubes for very active and/or over full fermenters, but we transition to a plastic airlock as soon as realistically possible. I prefer the 2- or 3- piece airlocks because they’re easier to clean if your brew is active and gets into the airlock; however, the S-shaped airlocks can be more fun to watch and listen to during an active fermentation.
Bottling
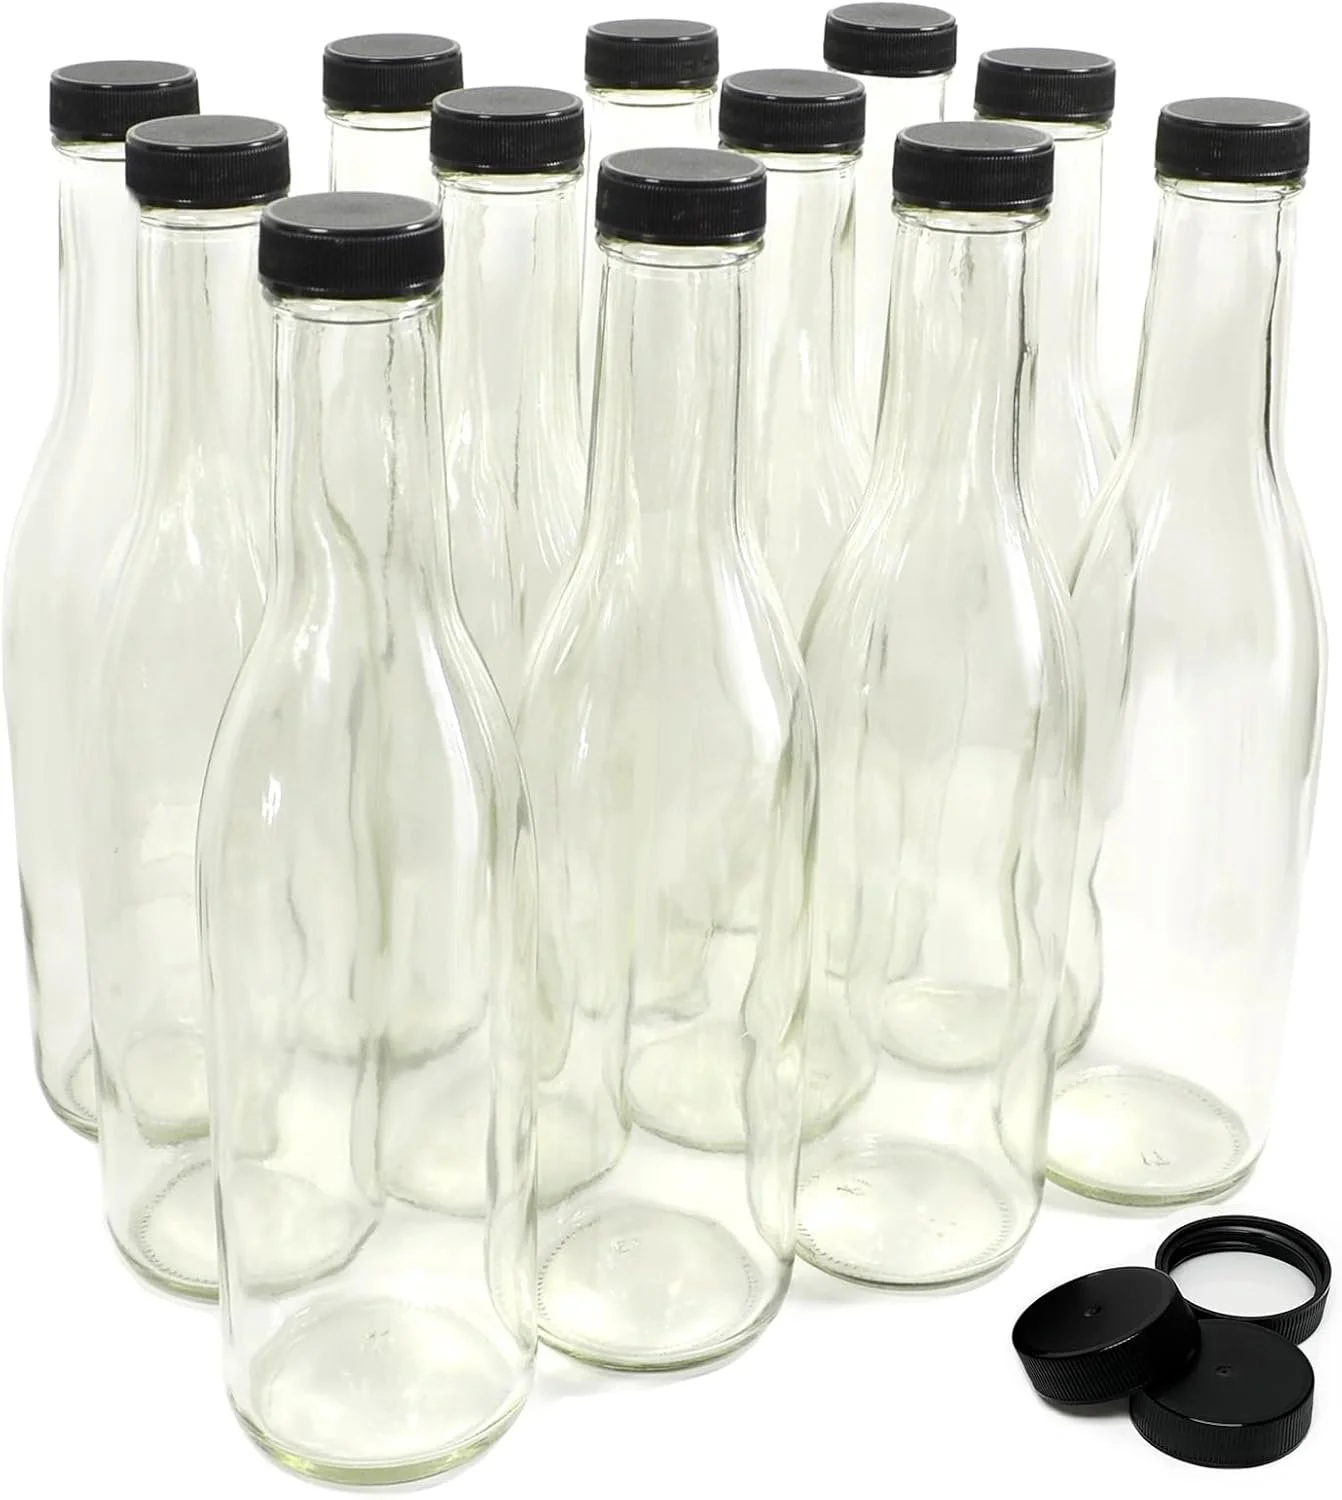
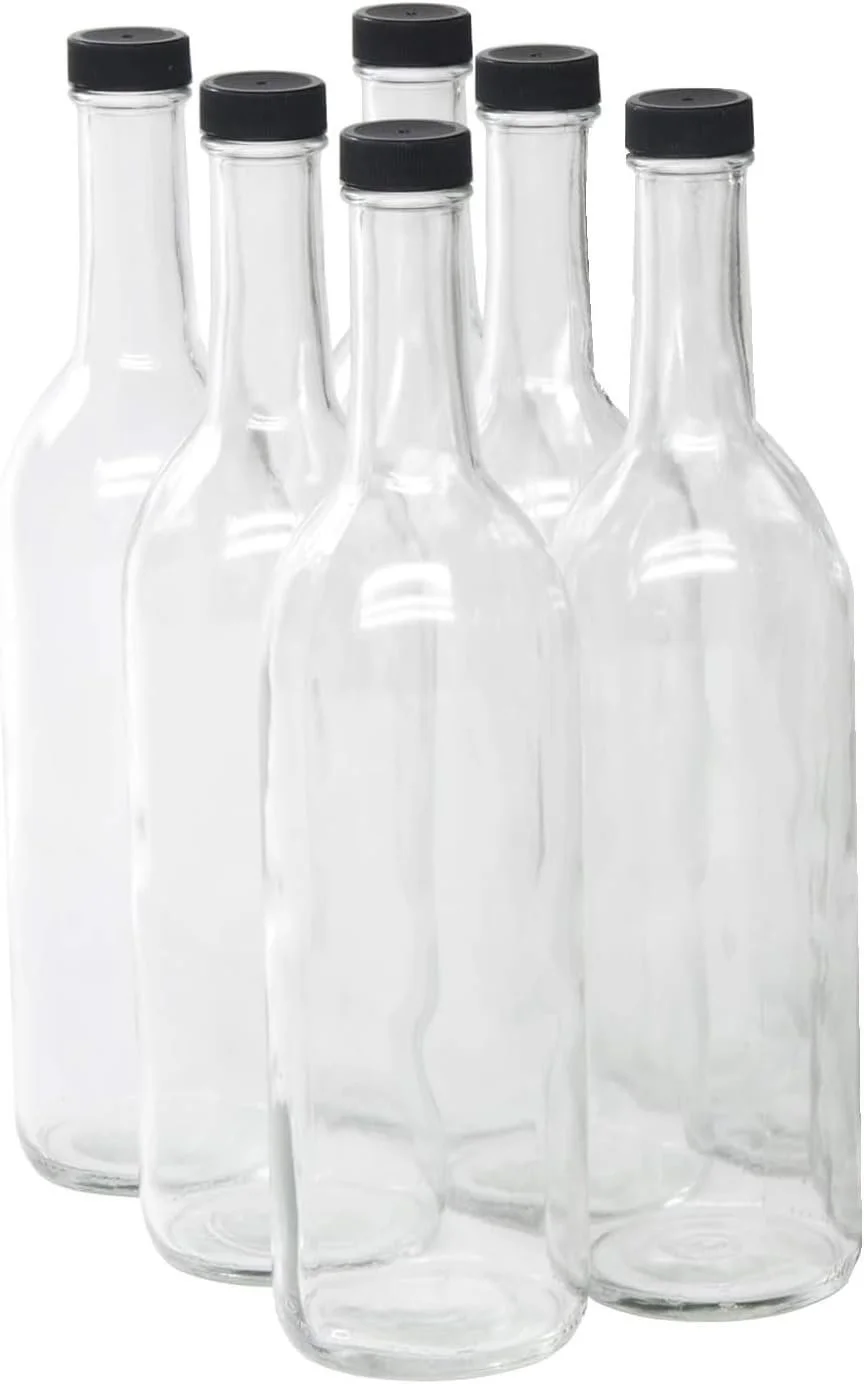
Once your brew is done fermenting, you need somewhere to put it! The best thing you can do is reuse the bottles you and your friends are already drinking from! Don’t throw them away or recycle them - reuse them for your own brews! You can reuse beer bottles, kombucha bottles, liquor bottles, and of course - wine and mead bottles. Get creative! Anything glass with a narrow mouth opening should work.
Swing Top
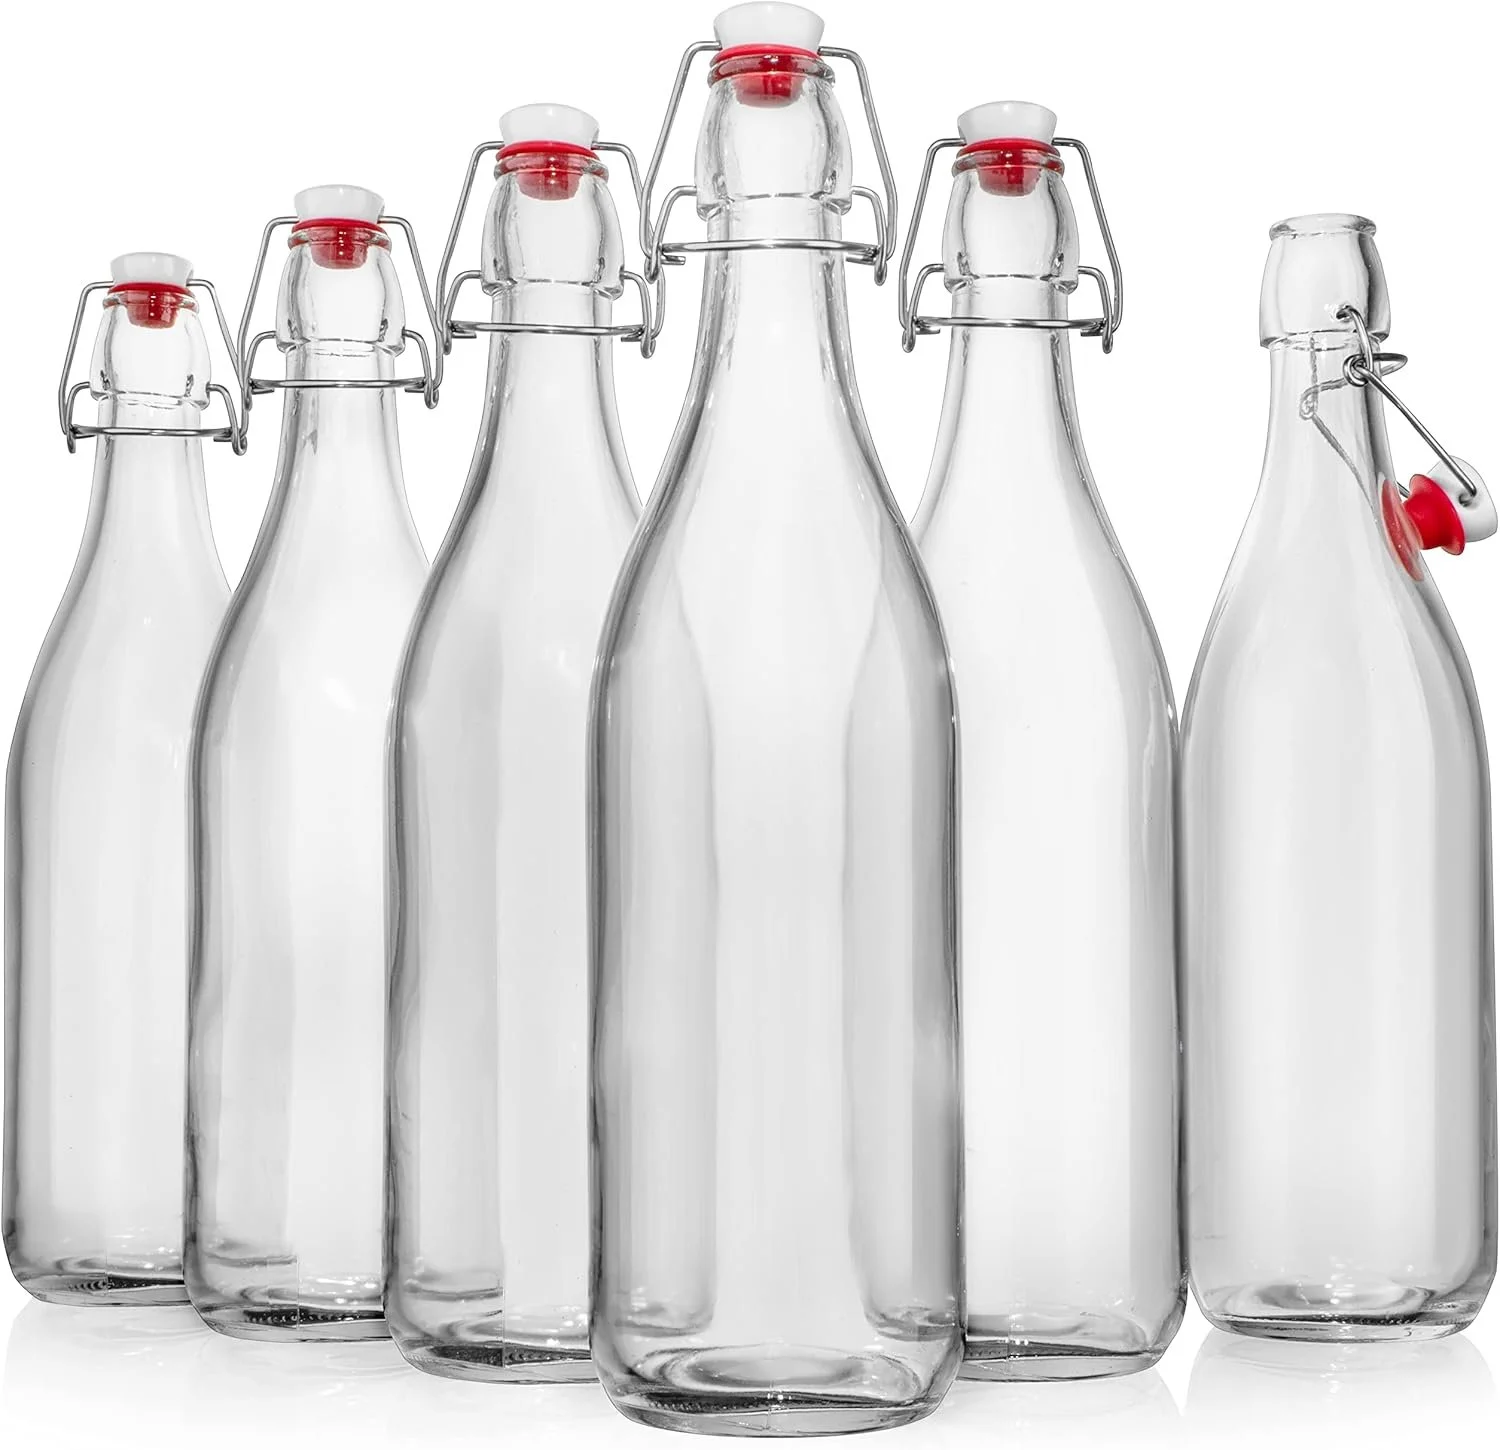
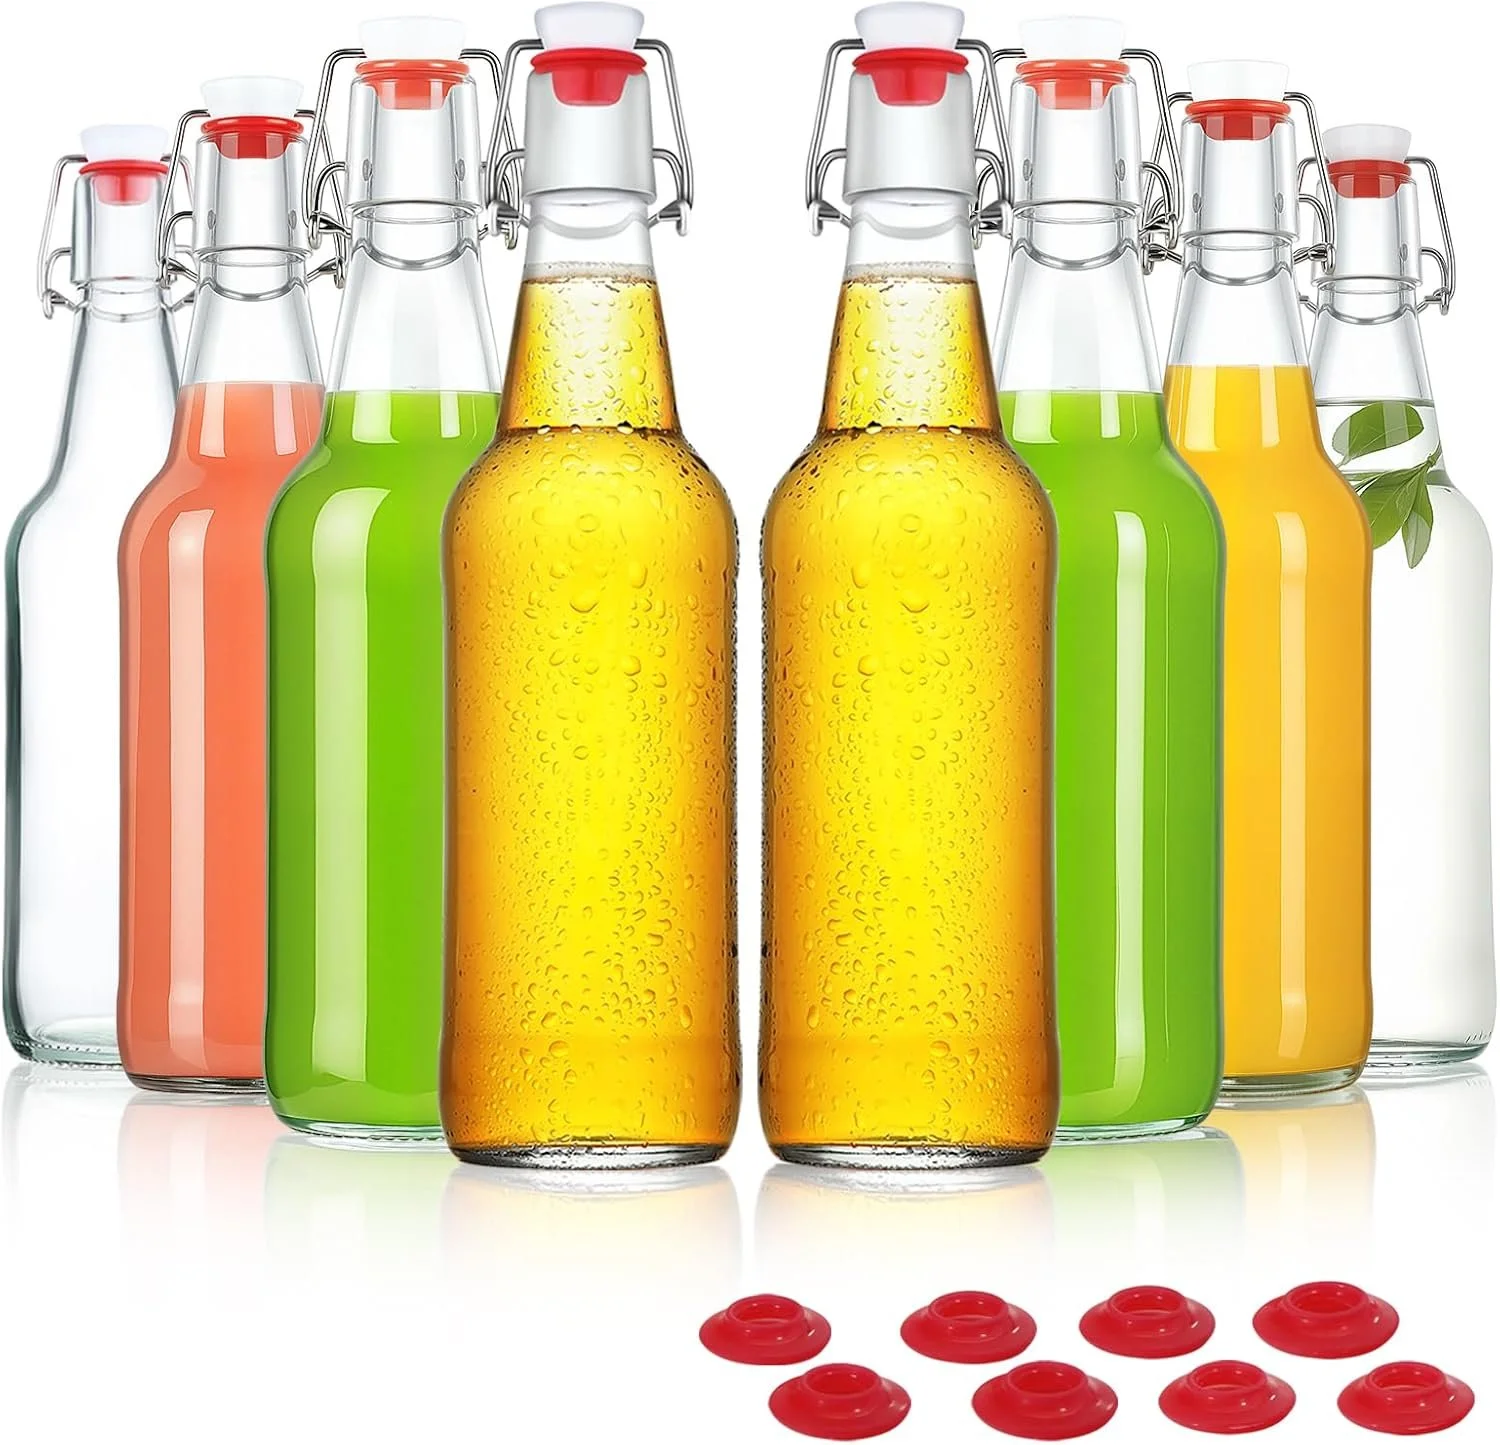
If you need to purchase bottles, the easiest way to start is with swing top or flip top bottles. These bottles (but not all of them!) can be used to build carbonation (if you choose to - but be careful!) or they can hold a noncarbonated finished brew medium term aging without an issue. They can be reused as long as the seals are good and provide excellent versatility and bang for your buck when you’re getting started.
Screw Tops & Screw On Lids
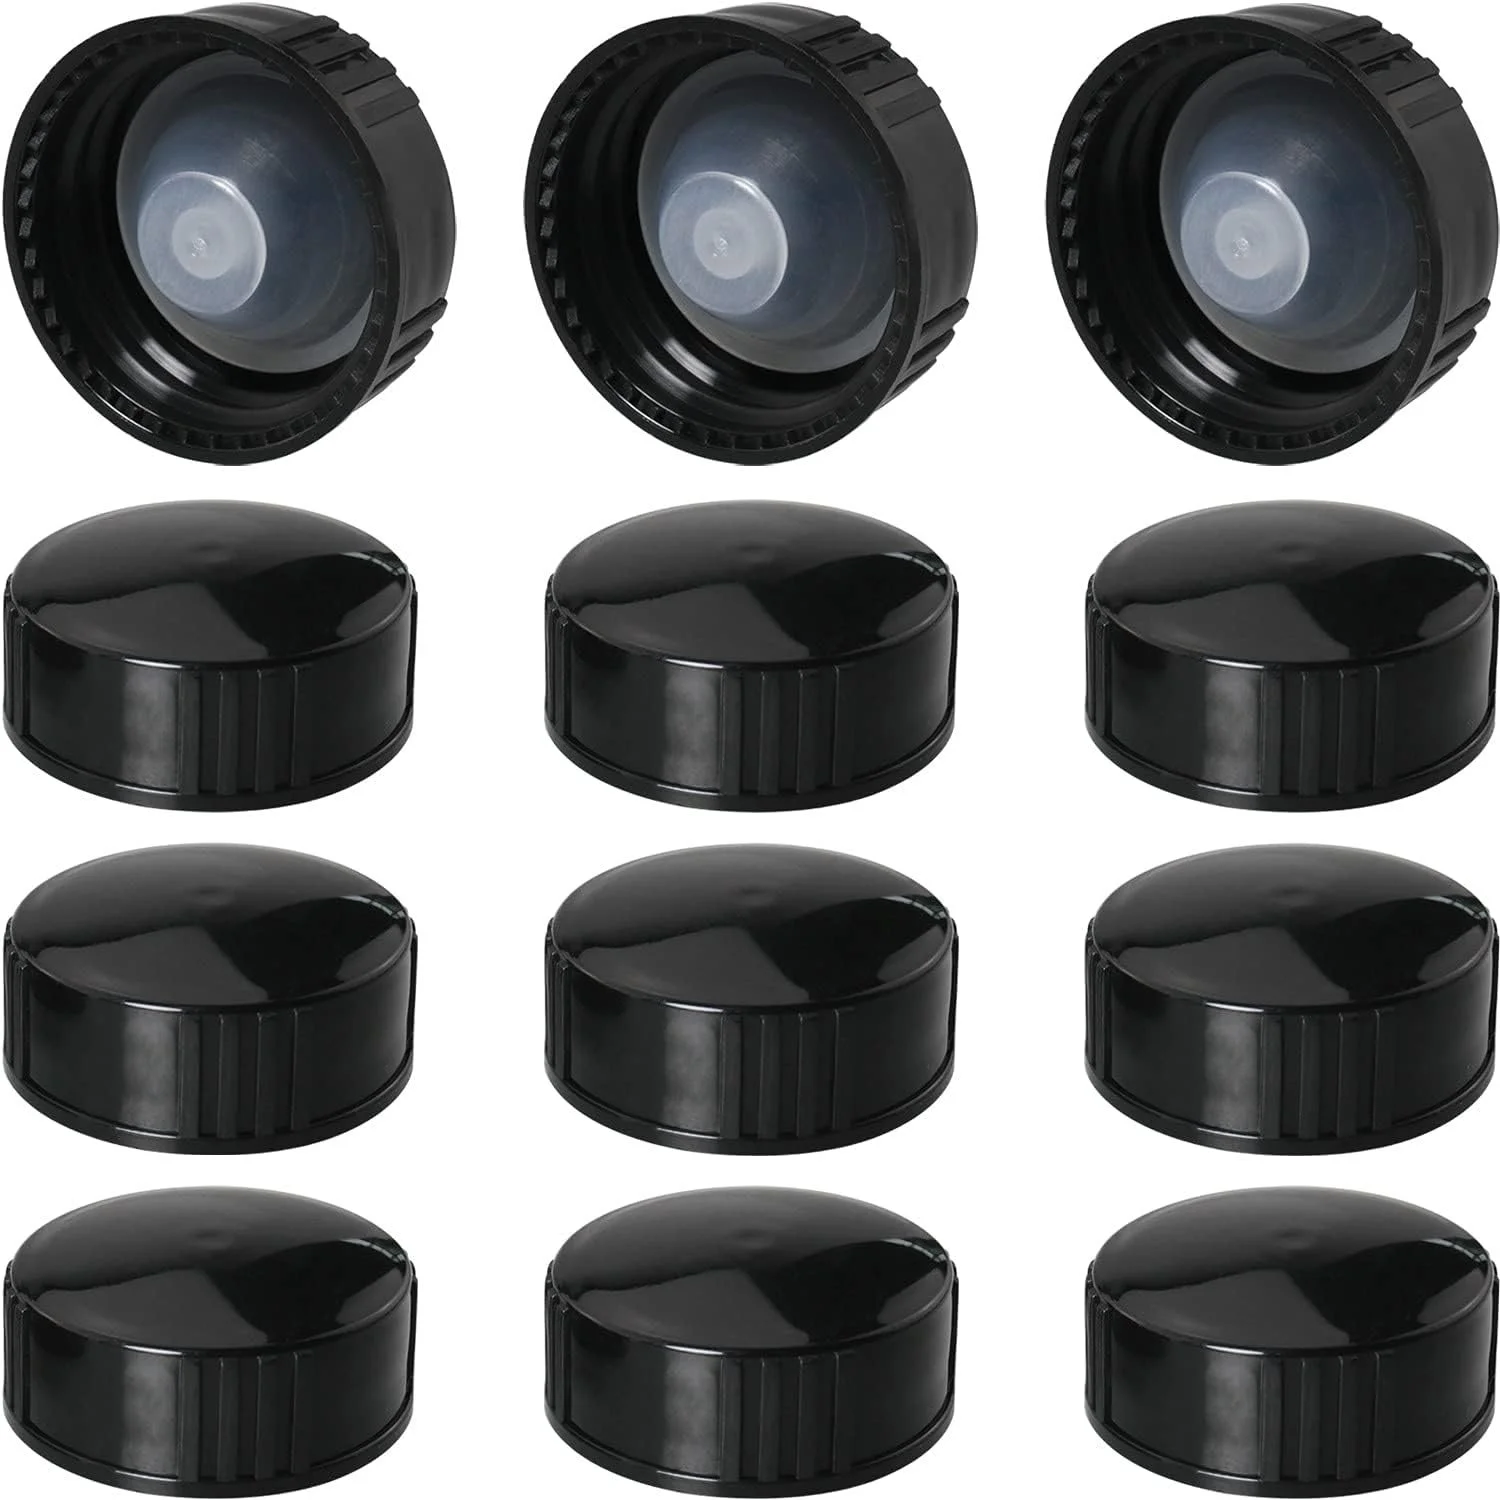
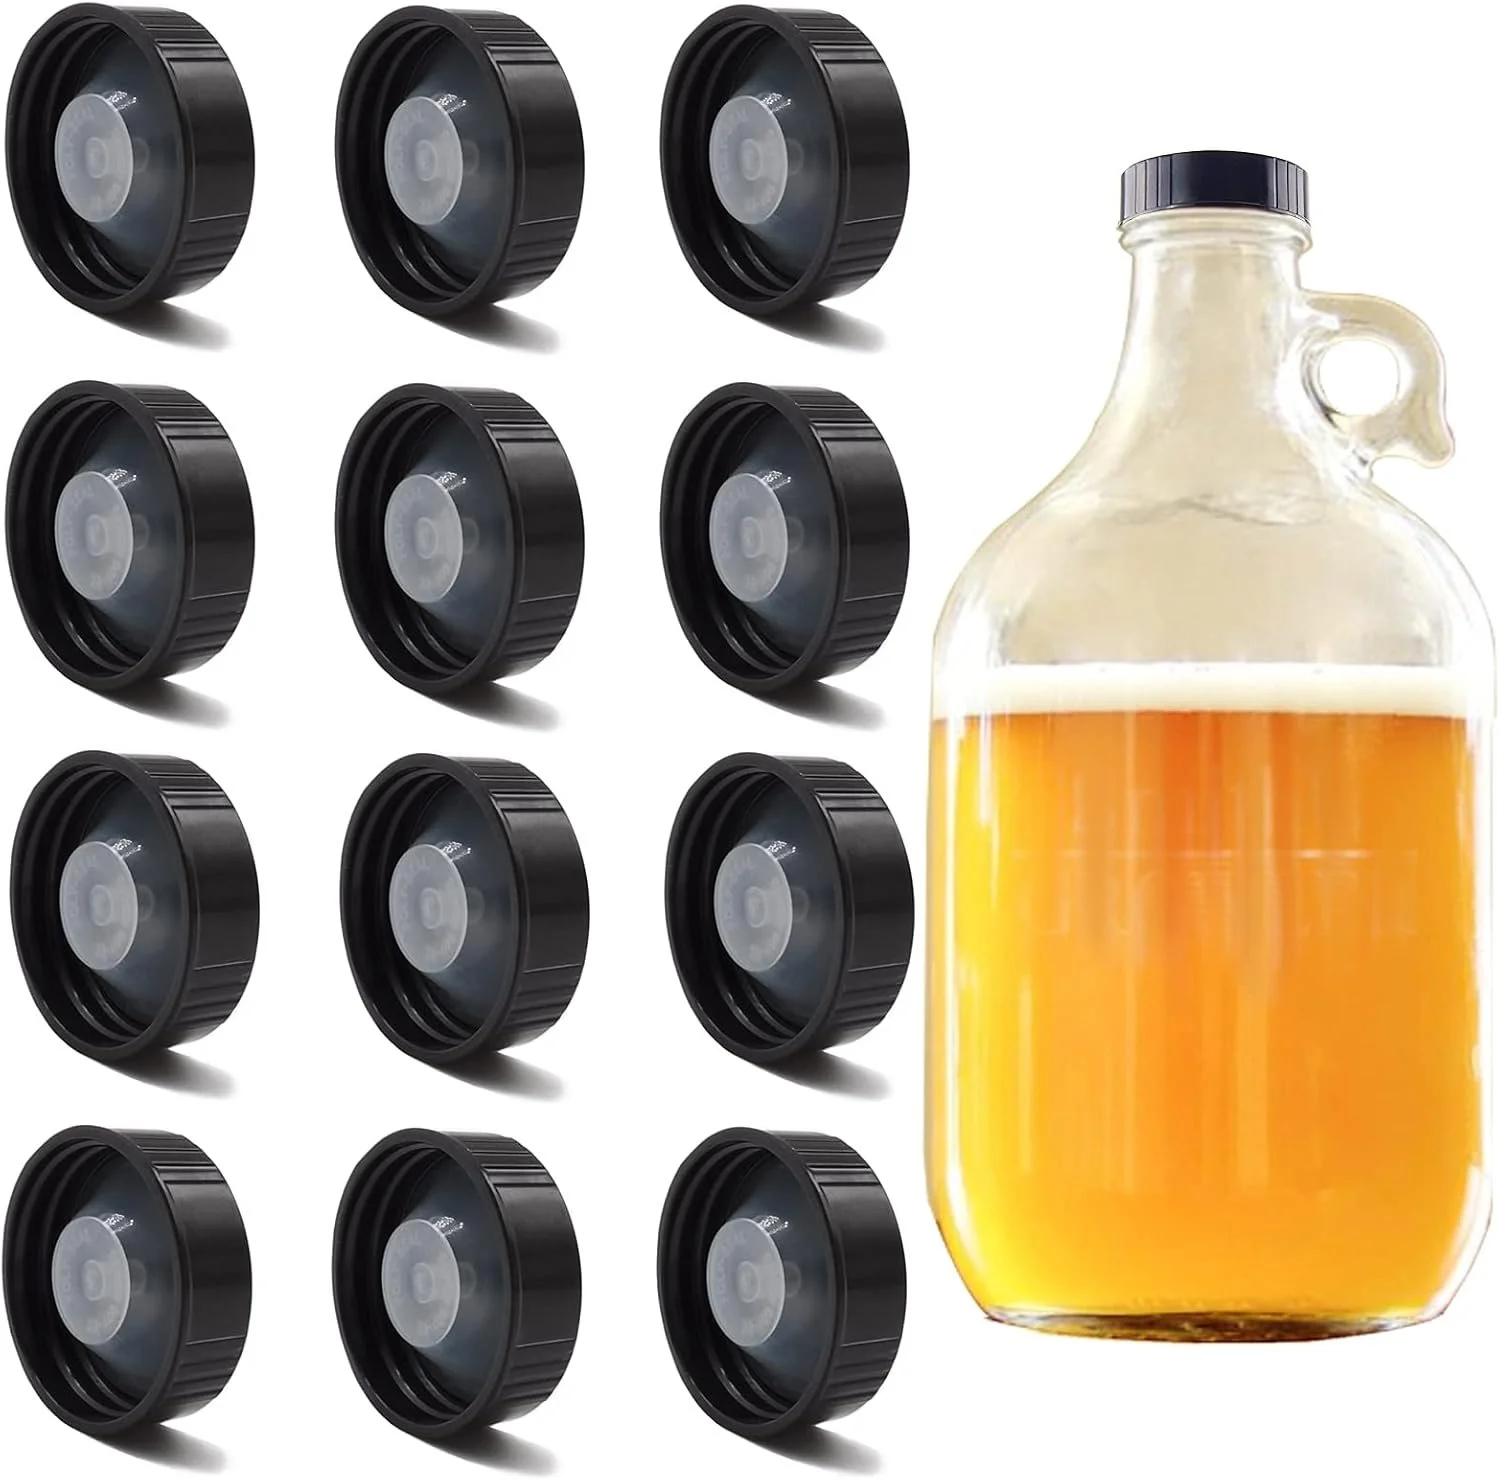
As you branch out in the hobby, you may want to get screw tops. We always recommend upgrading your lids on the screw tops to poly seals, which provide a better seal for longer storage, but the original lids will do fine for medium term storage. When buying the poly seal lids, make sure you’re buying the right size for your bottles. Most 1-1 ½ gallon narrow mouth carboys/fermenters will use a 38mm lid, while wine bottles will use a 28mm lid - but always double check your specific bottle(s) to be sure. Screw tops are great for reusability and more of a professional appearance.
Corking
Another option is corking. You can always cork the screw top bottles - you won’t get in trouble for not using the lids! So that’s why we recommend that if you’re going to buy bottles, you might as well buy the screw tops for versatility. If you use natural cork, you need to store the bottle on its side so the cork stays moist. If the cork dries out, it can spoil your brew. In order to cork your bottles, you’ll need corks and a corker.
Corkers
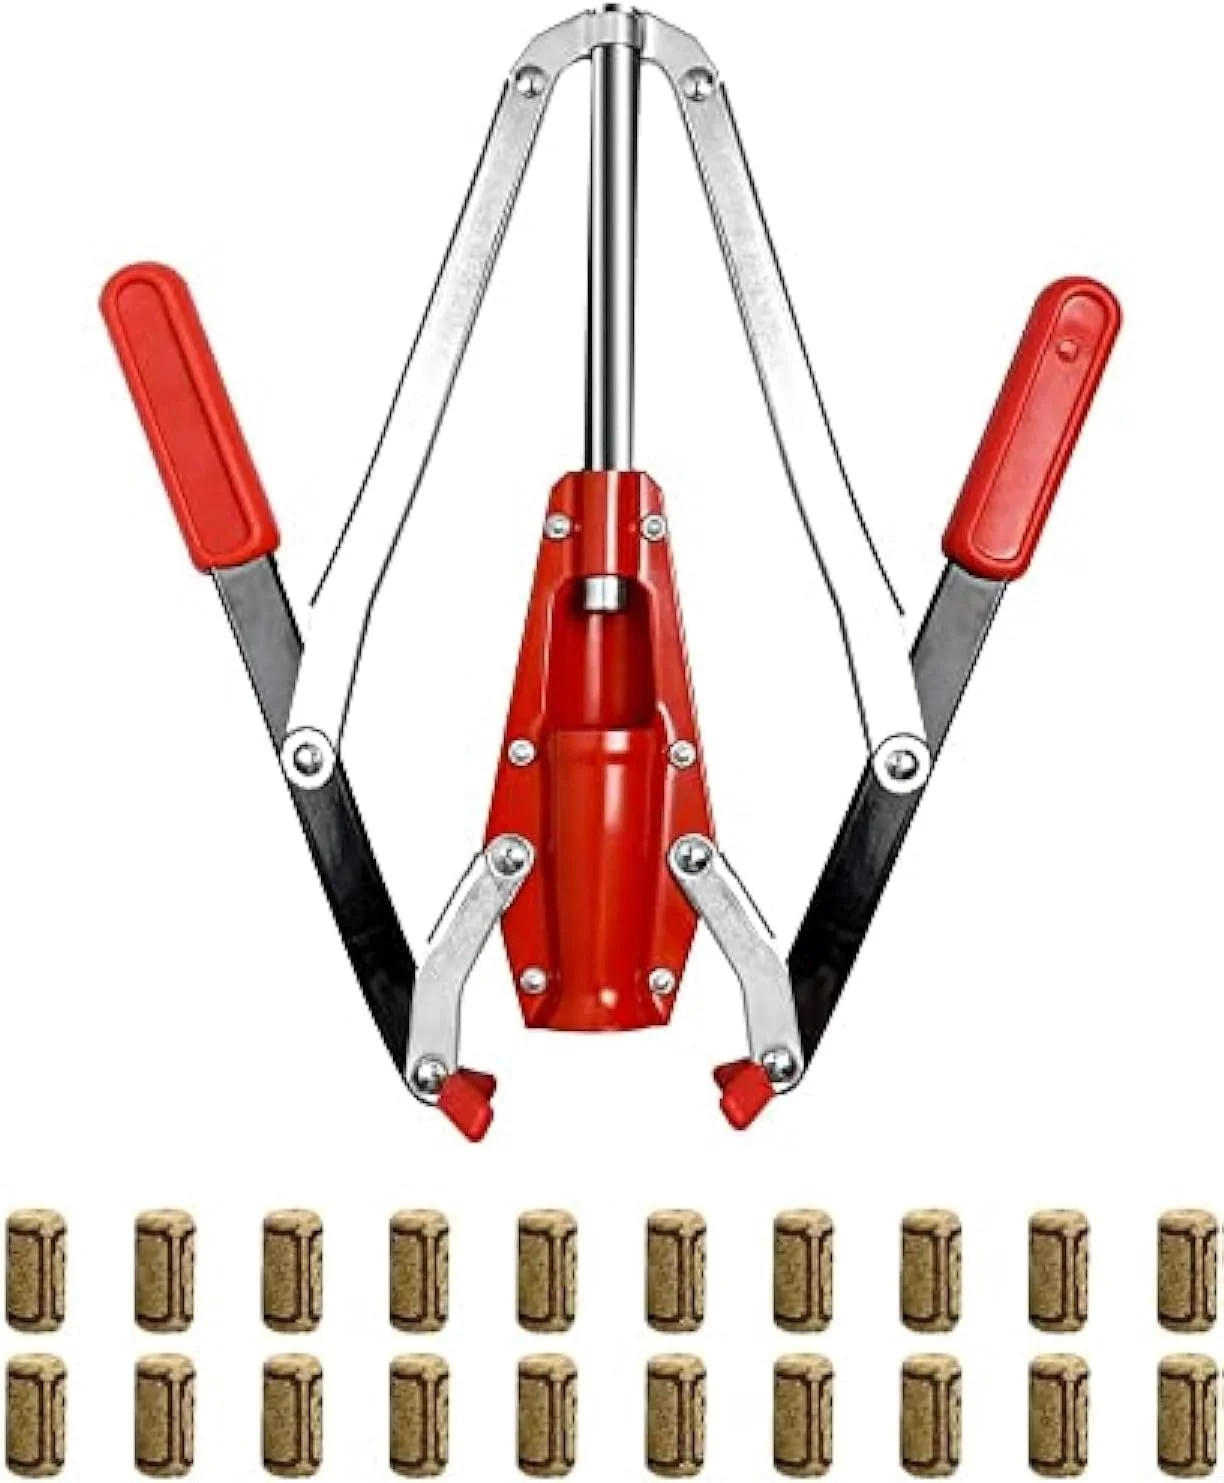
Hand corkers are cheaper but require a bit more effort to get the corks in the bottle. Floor corkers are more expensive but easier to use. If you plan on doing a lot of corking, a floor corker may be worth the investment. We don’t use corks very often, but when we do we’re happy with the hand corker, so that’s all we have to recommend.
Corks
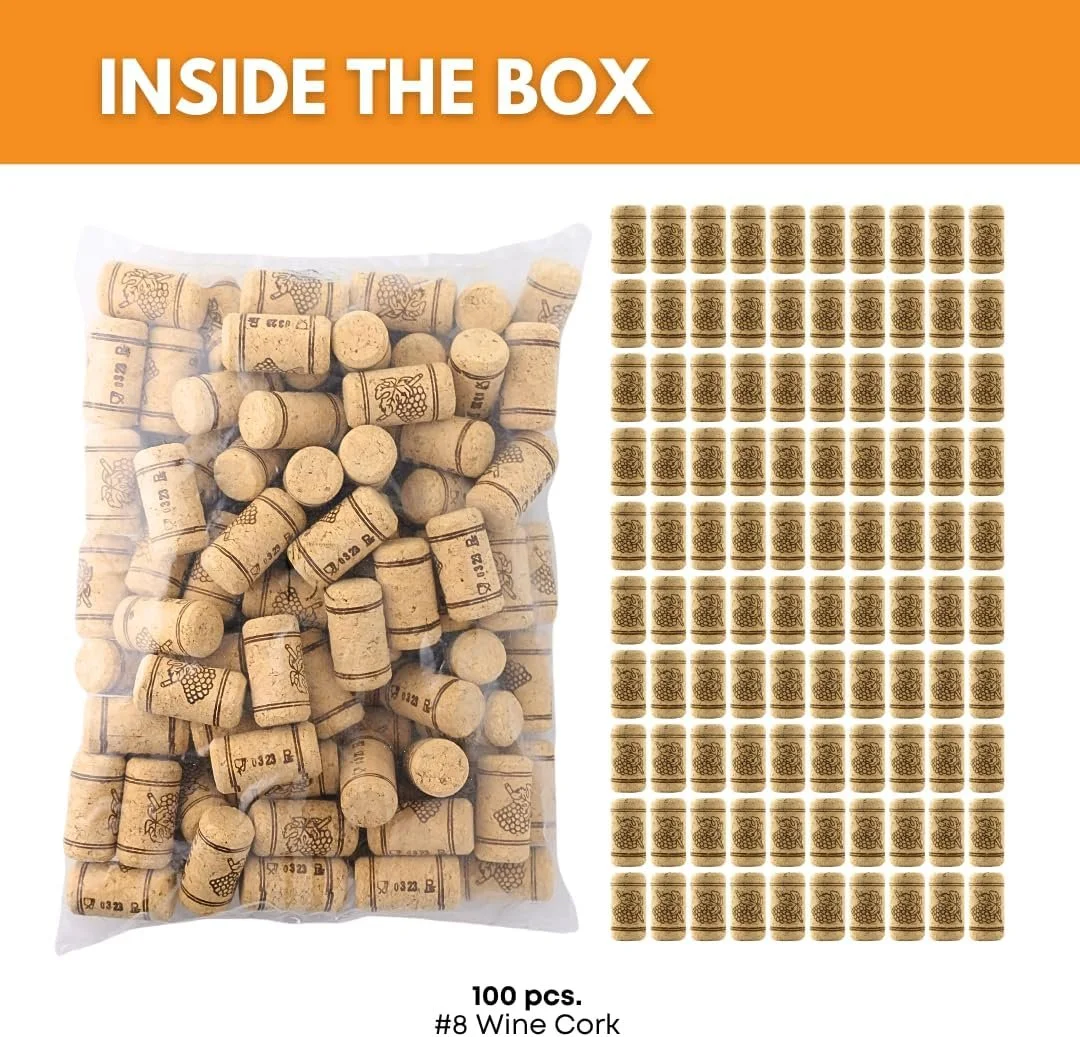
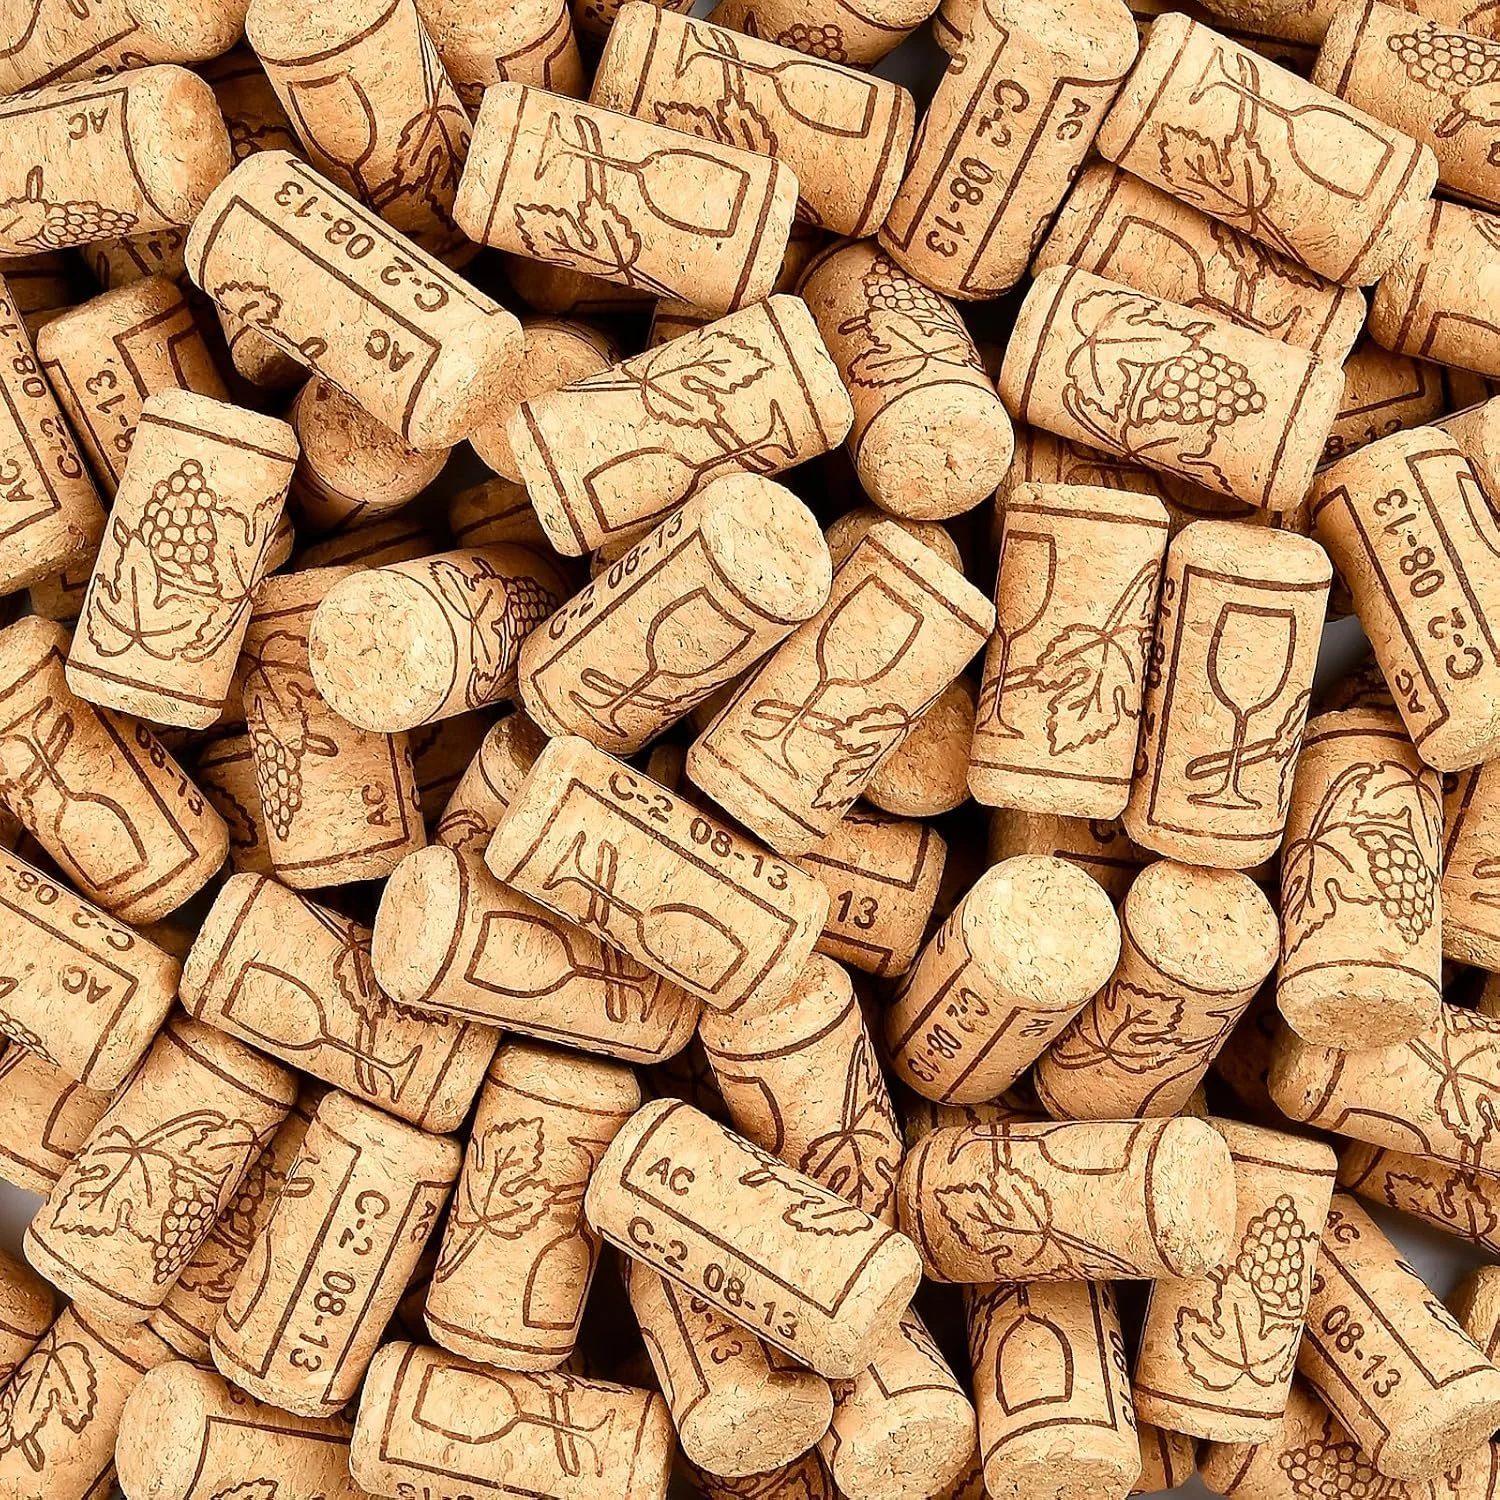
When shopping for corks, you have to consider the material and the size of your corks. Corks can be synthetic or natural or a blend. Natural cork needs to be kept moist or it will degrade quickly. Synthetic is made from plastic or plant based compounds and doesn’t have that same moistness requirement, but some people report off flavors in long term storage. Agglomerated cork is made from bits and pieces of scrap natural cork glued together and is not recommended for long term storage, but is fine for wines you’ll drink quickly.
When considering size, most corks for wine will be either $7, #8, or #9. #7 is the smallest diameter and #9 is largest, with #8 being in the middle. Typically #7’s are used for smaller bottles like beer bottles or 12ox/375ml bottles. For short term (1 year) wine storage of a 750ml bottle, #8 would be fine. However, it also lets in the most amount of oxygen, which can produce off flavors over time. The longer you store your brew, the larger the cork you want to have - thus compressing it more in the bottle and reducing air exchange. Most commercial wineries use #9 corks.
Capping
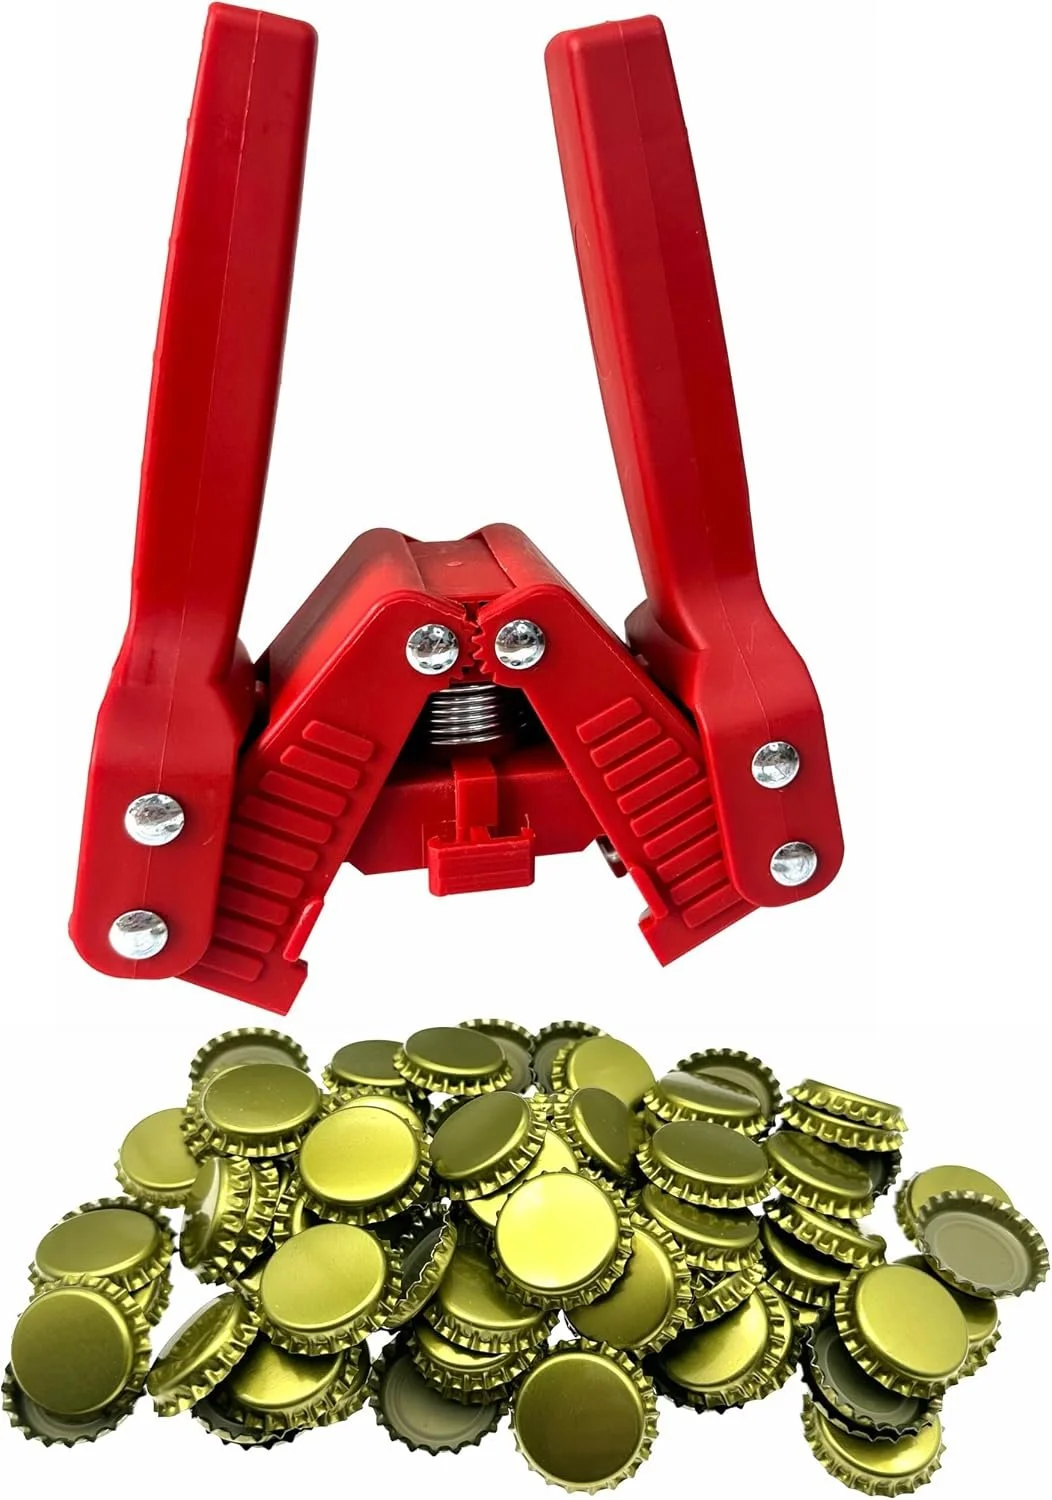
If you’re reusing or purchasing beer bottles, you’ll need a bottle capper and bottle caps. Most bottles take 26mm caps, but double check your bottles (some take 29mm). Also note - if it’s a screw top beer bottle, it can’t be capped.
Canning
For people dedicated to this craft, you may want to invest in canning equipment. Canning machines are a significant investment and beyond the scope of our expertise, but home canning is an option if you want to pursue that. Since we haven’t explored that, we’re not providing recommendations.
Sanitizer, Nutrients, Chemicals, Balance
These are all technically optional, although sanitizer is borderline required. It is possible to brew a clean batch without sanitizer, but it’s SOOO much easier and cost effective to use it. If your brew gets contaminated, you have to throw the whole batch down the drain (or into the compost pile), which is a huge waste of time and money that could’ve been prevented with proper sanitization.
Sanitizer
You could make your own sanitizing solution by diluting bleach; however, this isn’t something we’ve done and we don’t recommend it. Whenever you’re using products like bleach you have to be very careful not to mix with any other chemicals or they may react.
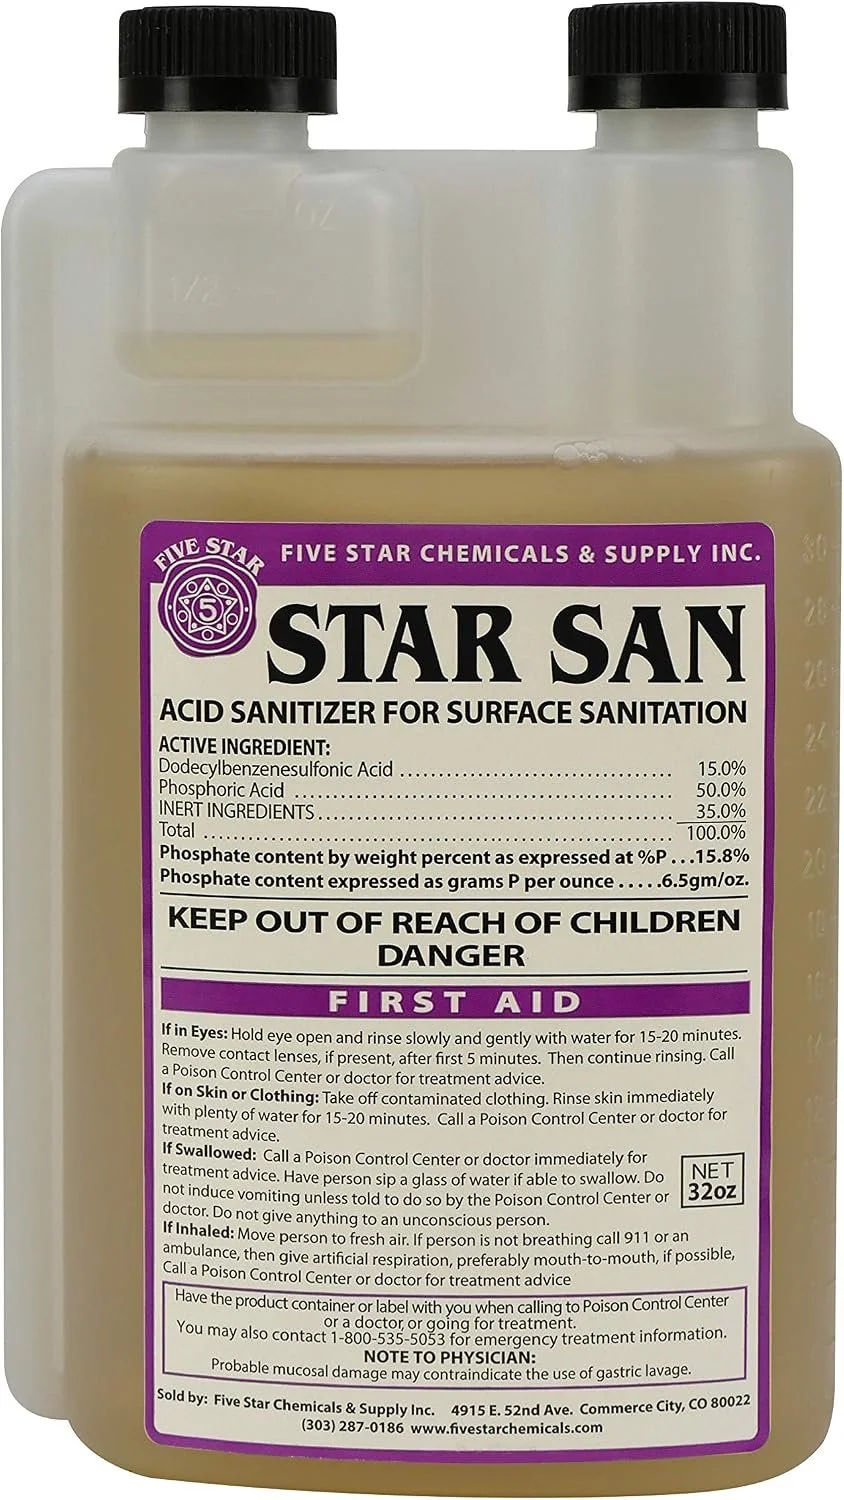
Star San is a no-rinse foaming option that we use and is probably the most common that we’ve seen. It comes in a very concentrated form that must be diluted before being used. Currently the smallest bottle being manufactured is 32oz.
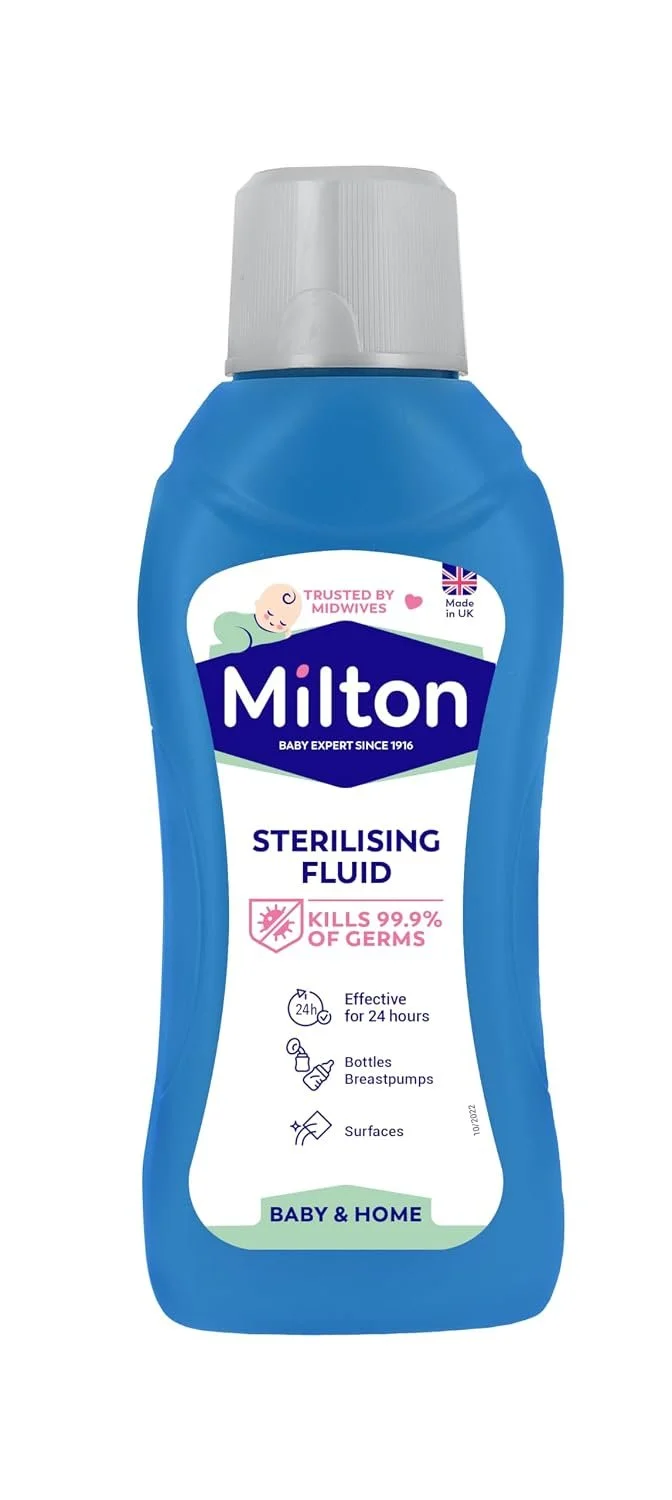
If you don’t want to use Star San or you can’t access it, another alternative is baby bottle sanitizer. Whatever you choose, make sure you’re following the manufacturer’s instructions.
Nutrients
Yeast needs more than just sugar to have a healthy fermentation. If the yeast doesn’t have everything it needs, it can cause off flavors from yeast stress.
Go Ferm
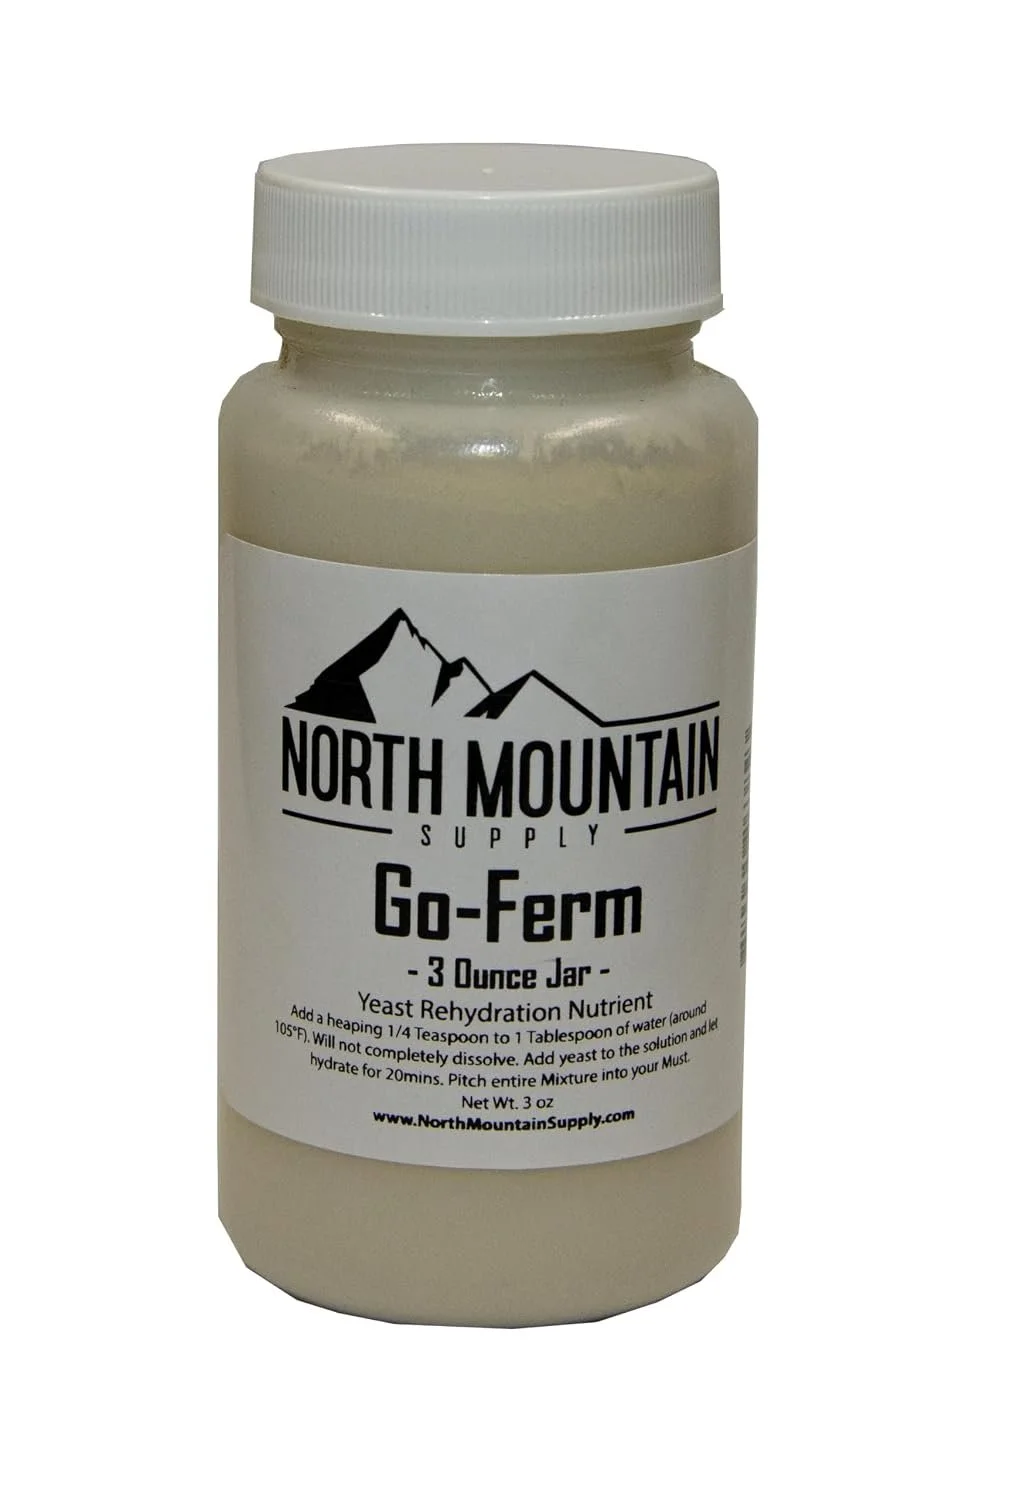
Go Ferm is used when hydrating yeast (if your yeast is recommended to be rehydrated before pitched into the must). Some yeasts can be sensitive in the short period coming out of the dry hibernation state and into the active wet phase. If those yeast go directly into a very sugary must, it can create stress on the yeast. Go Ferm is a rehydration aid that helps the yeast come out of their hibernation and gain some strength before being pitched into the sugary must.
We’ve tried brewing with and without it and we can taste a difference, so we use it when we’re working with yeast that recommend rehydration. Not using it will not result in a bad brew, but using it can increase the pleasantness of that finished product a little bit.
Fermaid-O
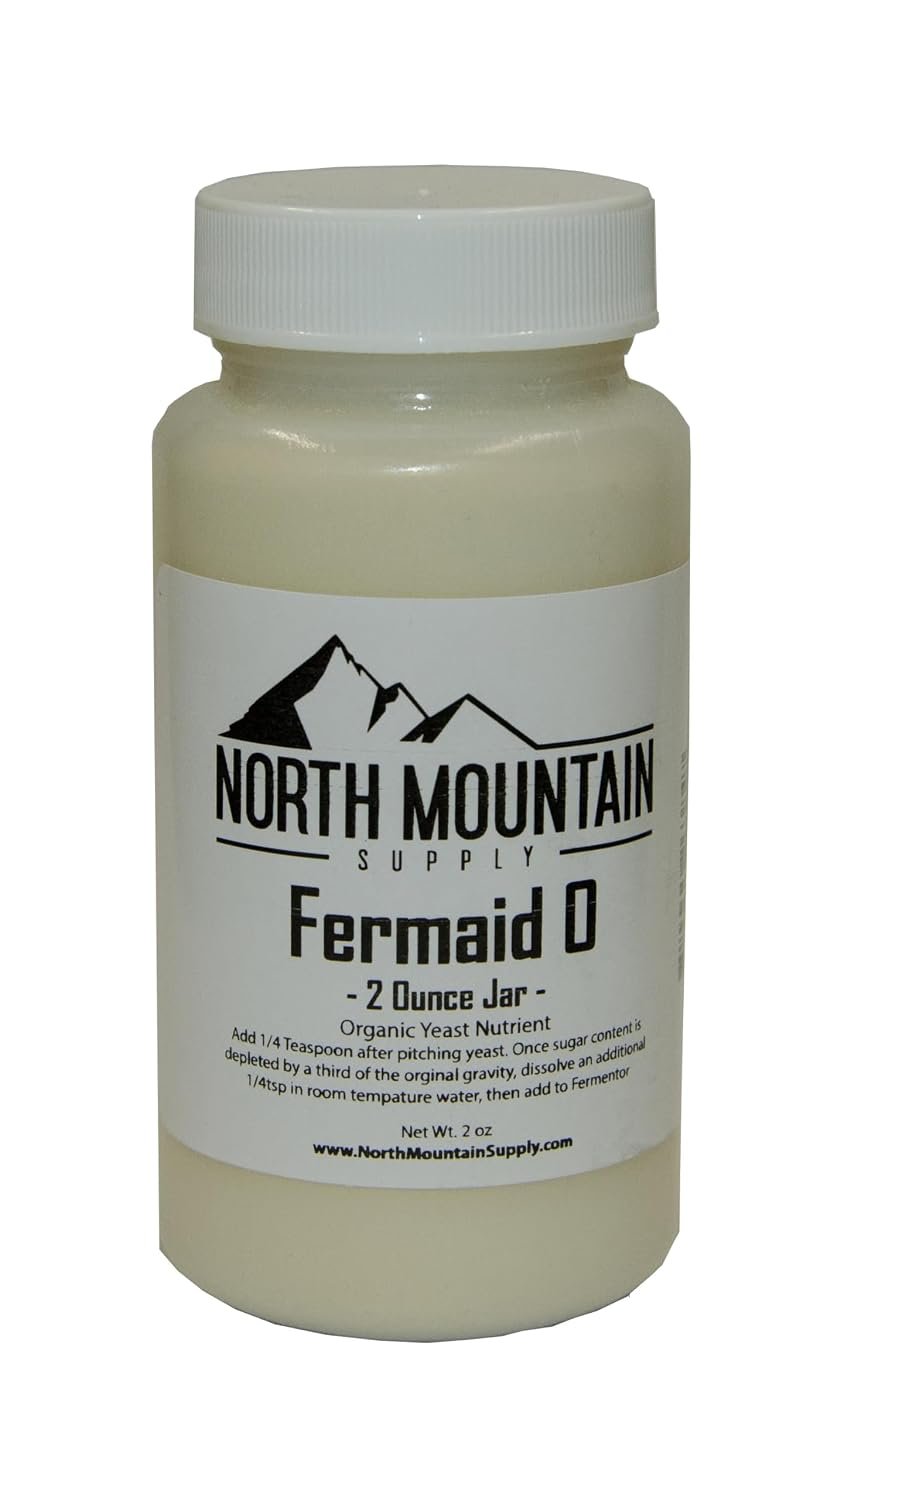
Fermaid-O is a nitrogen supplement used at the beginning of a fermentation. Depending on your recipe, this may be more or less important because certain ingredients have more or less nitrogen available to the yeast. Adding it to your fermentation won’t hurt anything, and it helps prevent yeast stress or stalls that might otherwise occur if your recipe does not contain enough nitrogen. As you get more experienced with what ingredients contain nitrogen, you’ll learn the art of when to add this or leave it out. Some people always add it, and there’s nothing wrong with that.
Pectic Enzyme/Pectinase
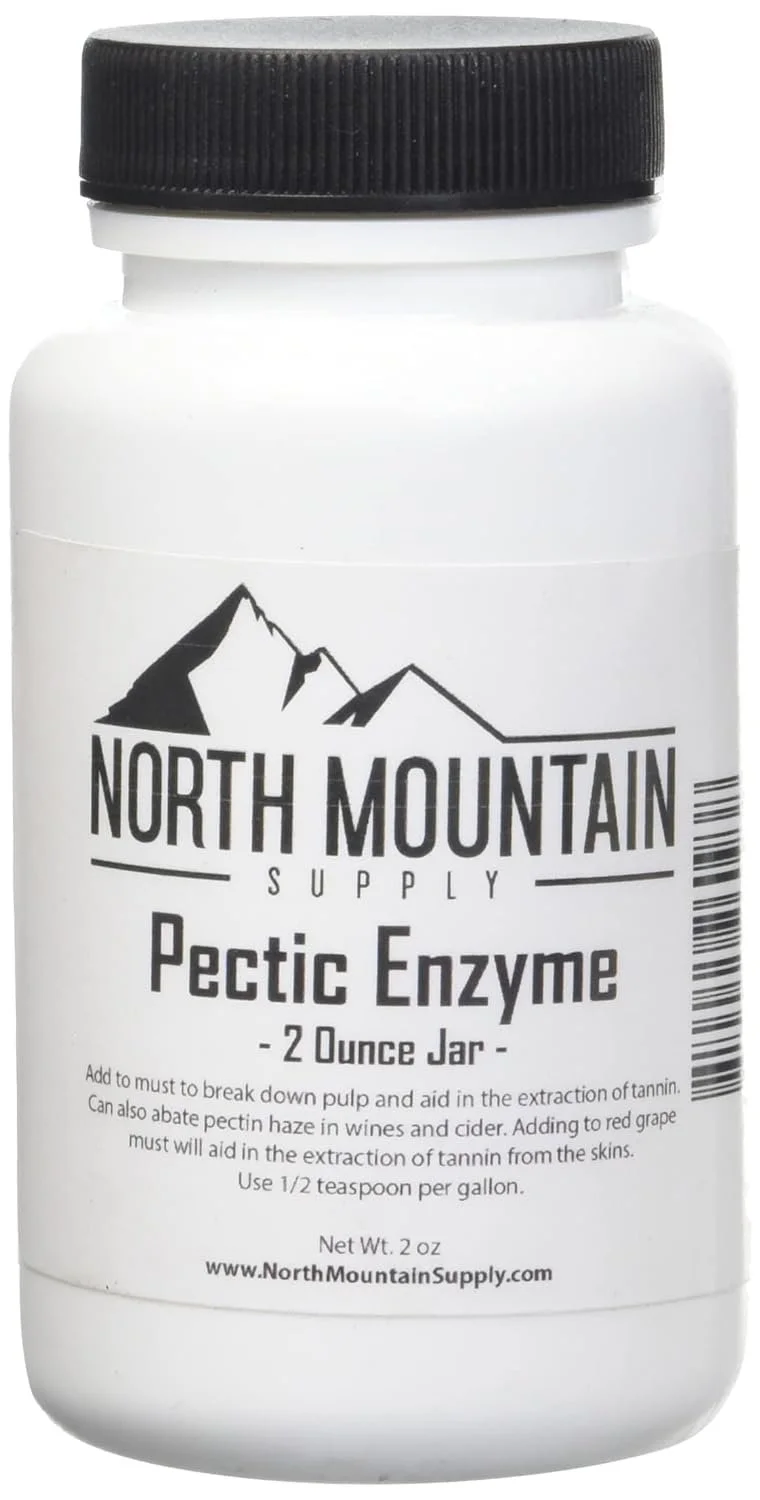
Pectic enzyme (or pectinase) is a group of natural proteins that break down pectin. Pectin is the jelly-like substance found in plant (fruit) cell walls and often added to jams and jellies to create that firm texture. Adding pectic enzyme in primary fermentation when you’re working with fruit solids can help break down the pectin, which does 2 things 1) helps extract more flavor from the fruit by penetrating those cell walls and 2) helps clear the wine or mead by having those solids drop to the bottom of the brew.
Chemicals
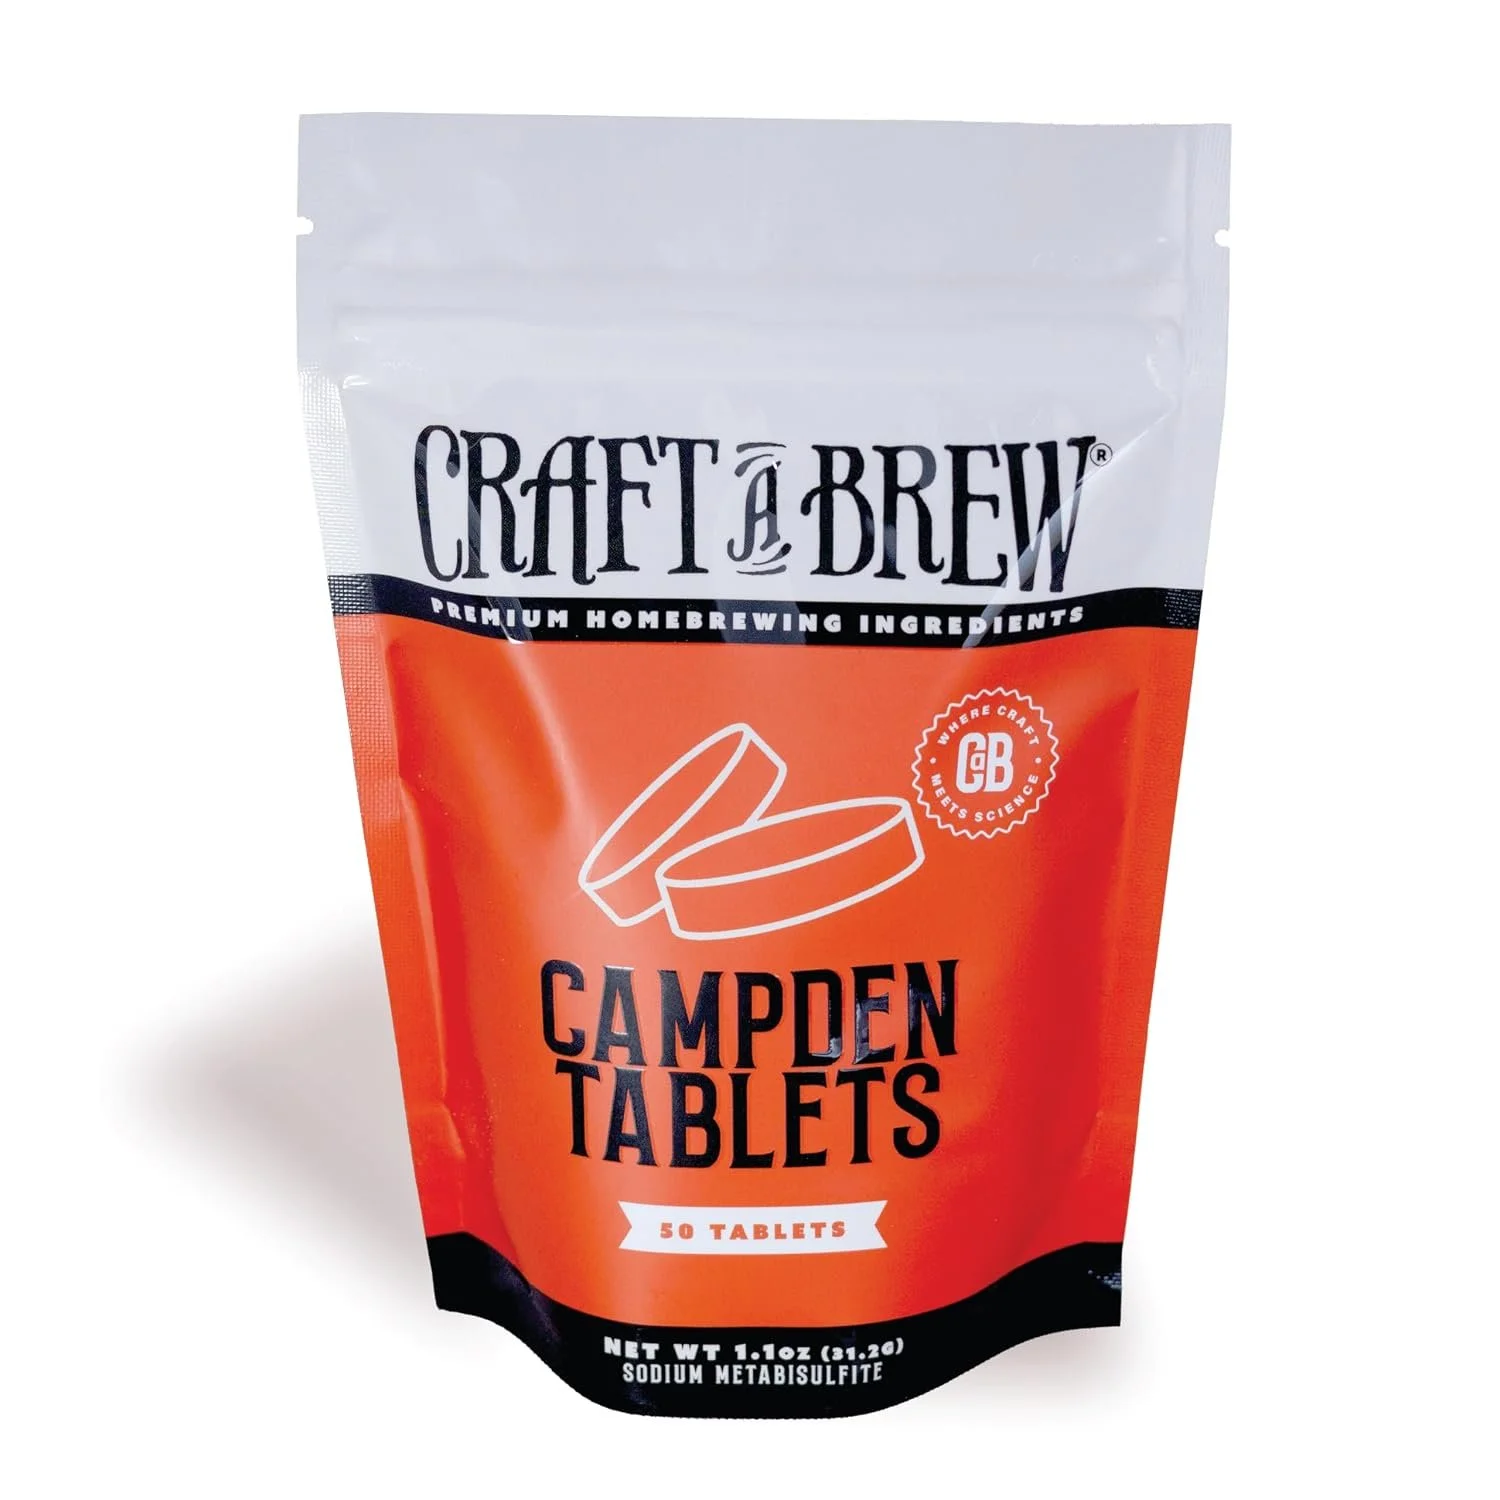
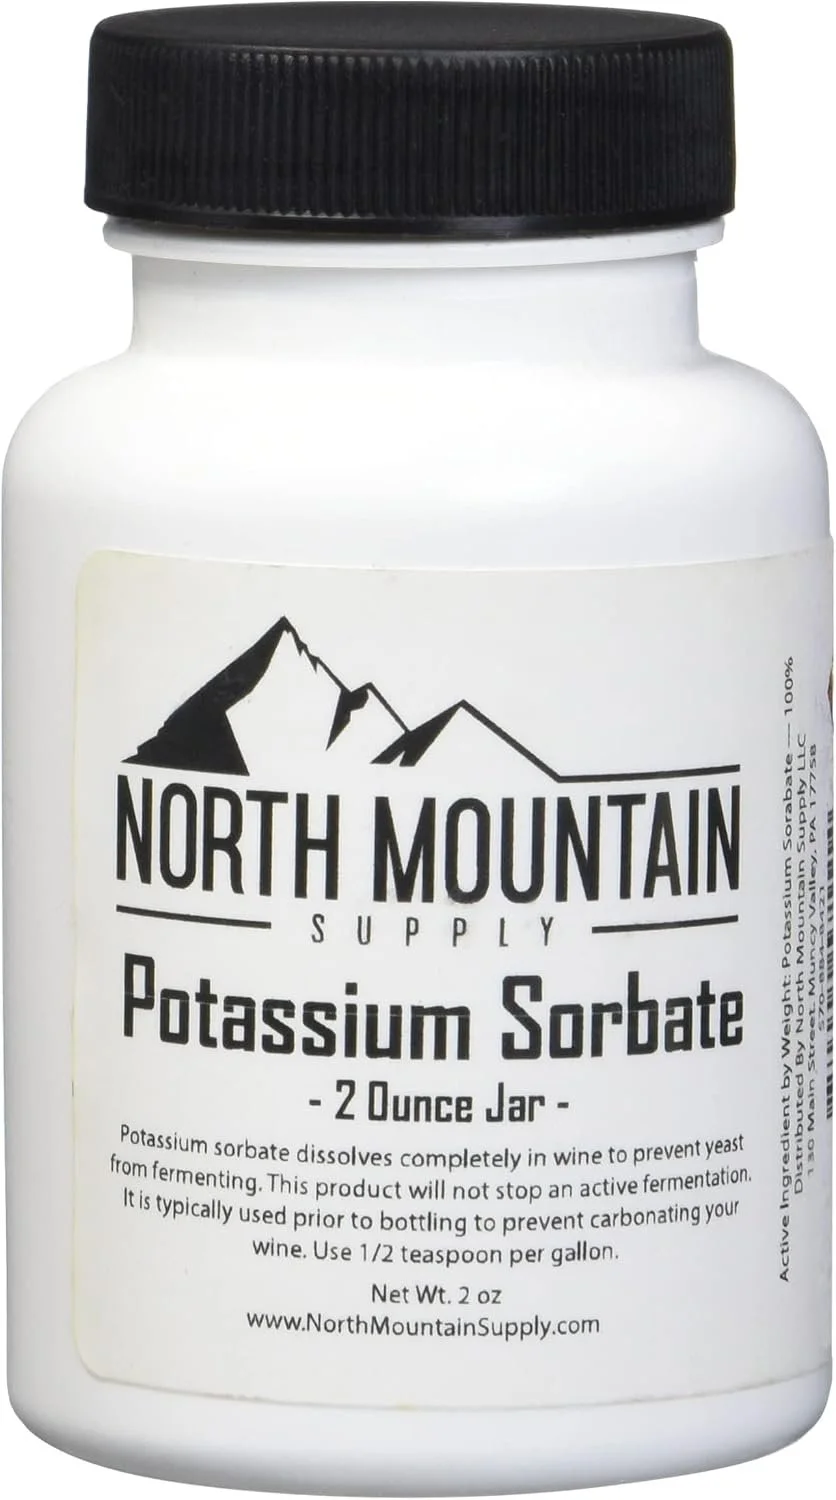
We choose to pasteurize our brews; however, some folks prefer chemical stabilization. In order to do that, you can use Campden Tablets and Potassium Sorbate. Since we’ve never done this and don’t plan to, we won’t pretend to be experts or give advice about it, but there are plenty of resources out there.
Balance
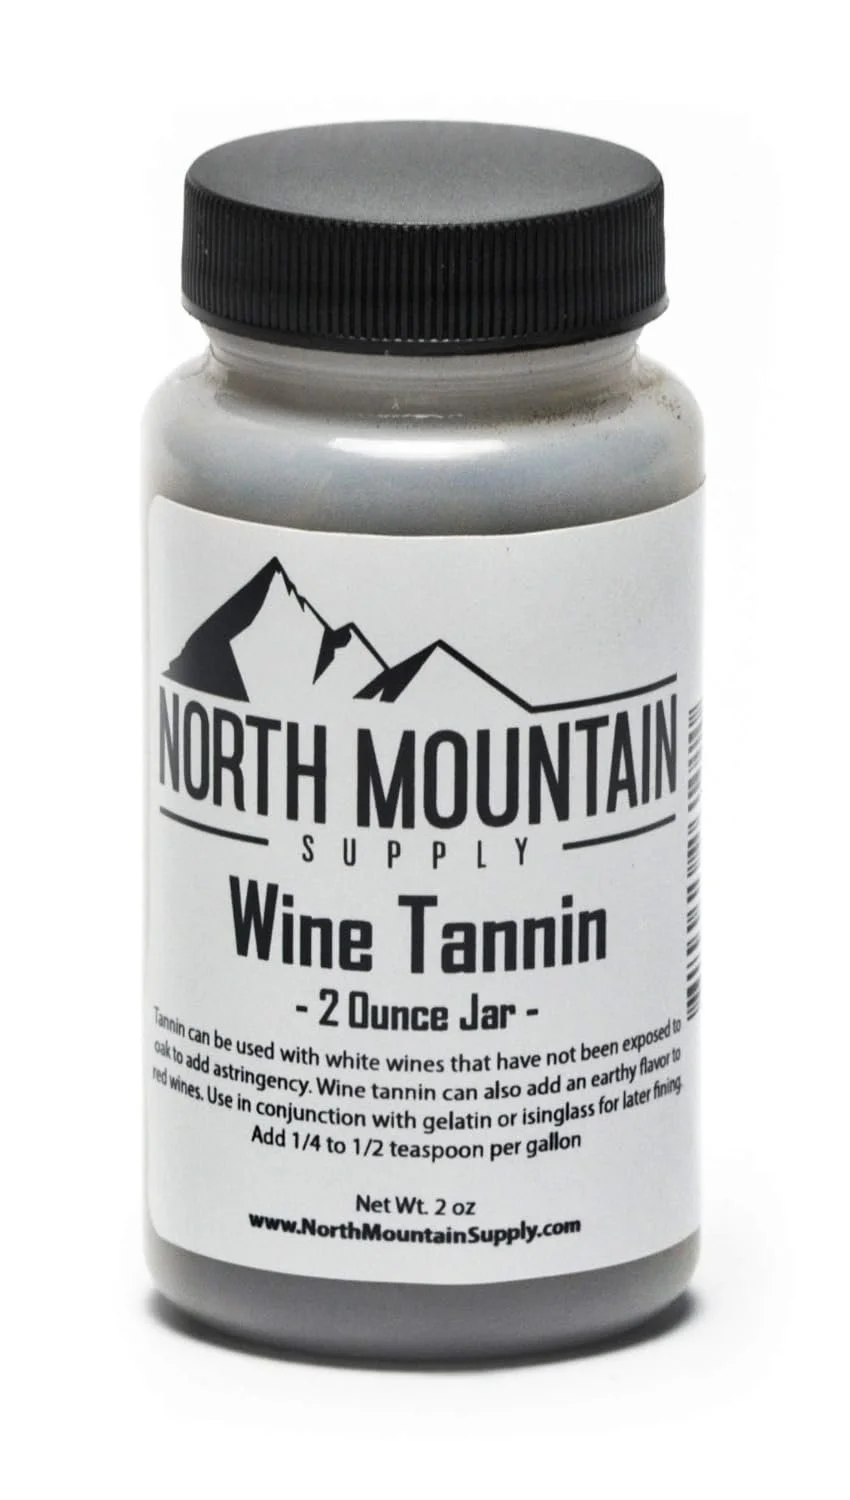
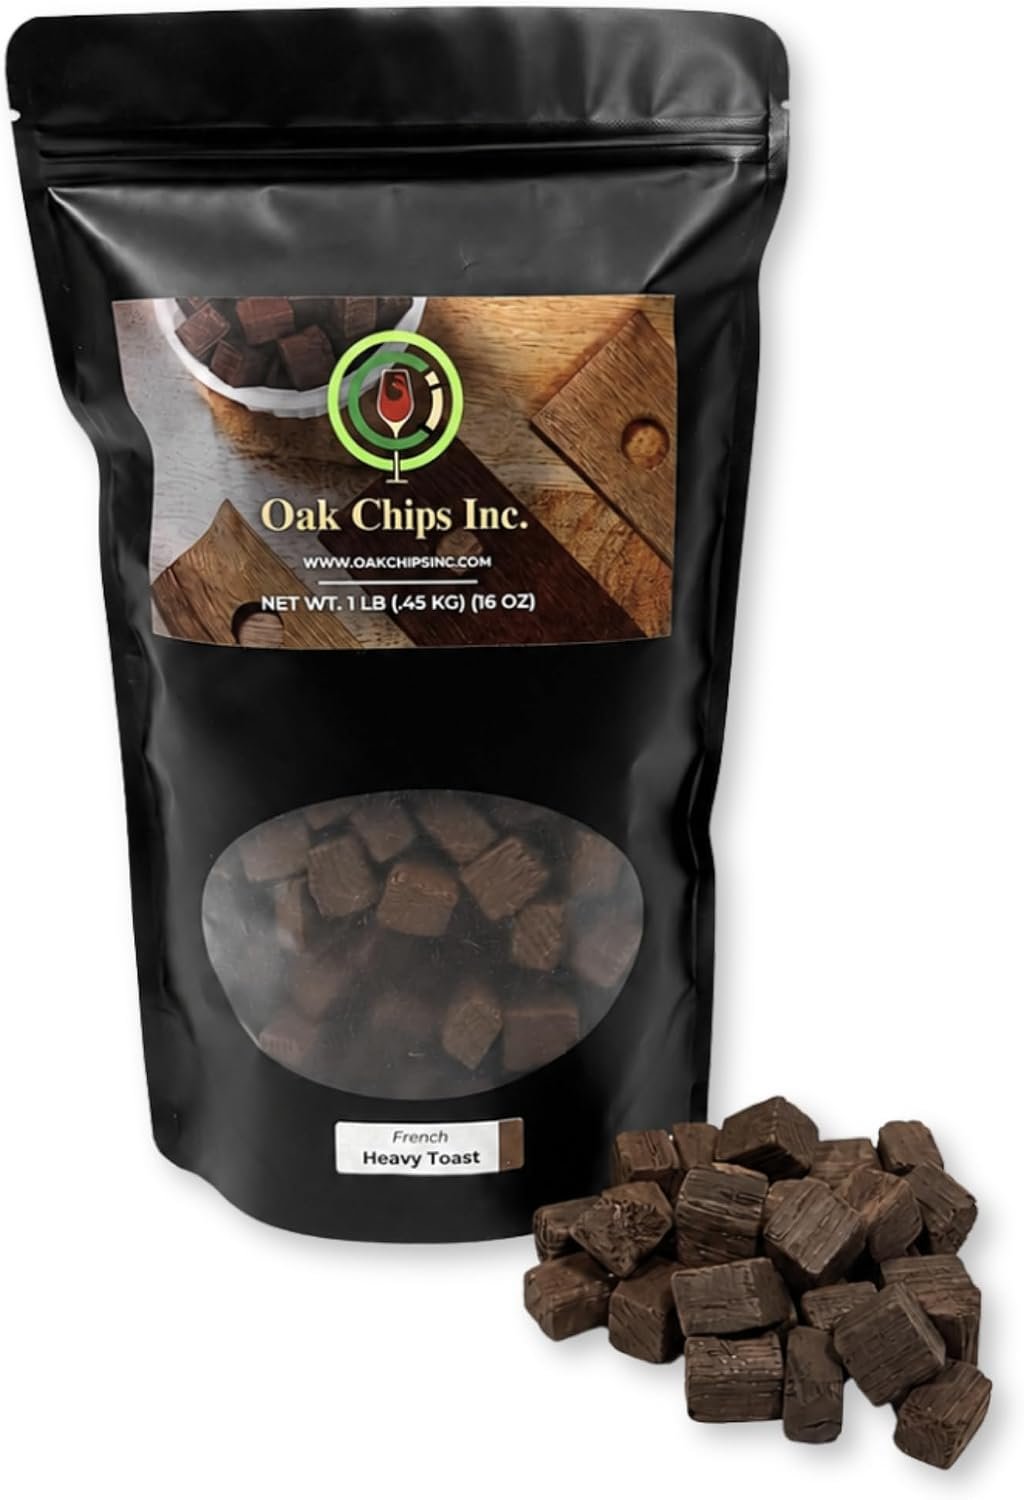
There are a lot of additions you can make to get the balance of your brew just right. The first and most critical adjustments any homebrewer will need to learn are tannin and acid adjustments. You can add tannin by brewing black tea and adding that to your brew at the beginning (no, it won’t taste like tea), or by adding wine tannin, or by “oaking” (adding pieces of oak to the brew and allowing them to soak - varying levels of charred oak impart different flavors and more or less tannins).
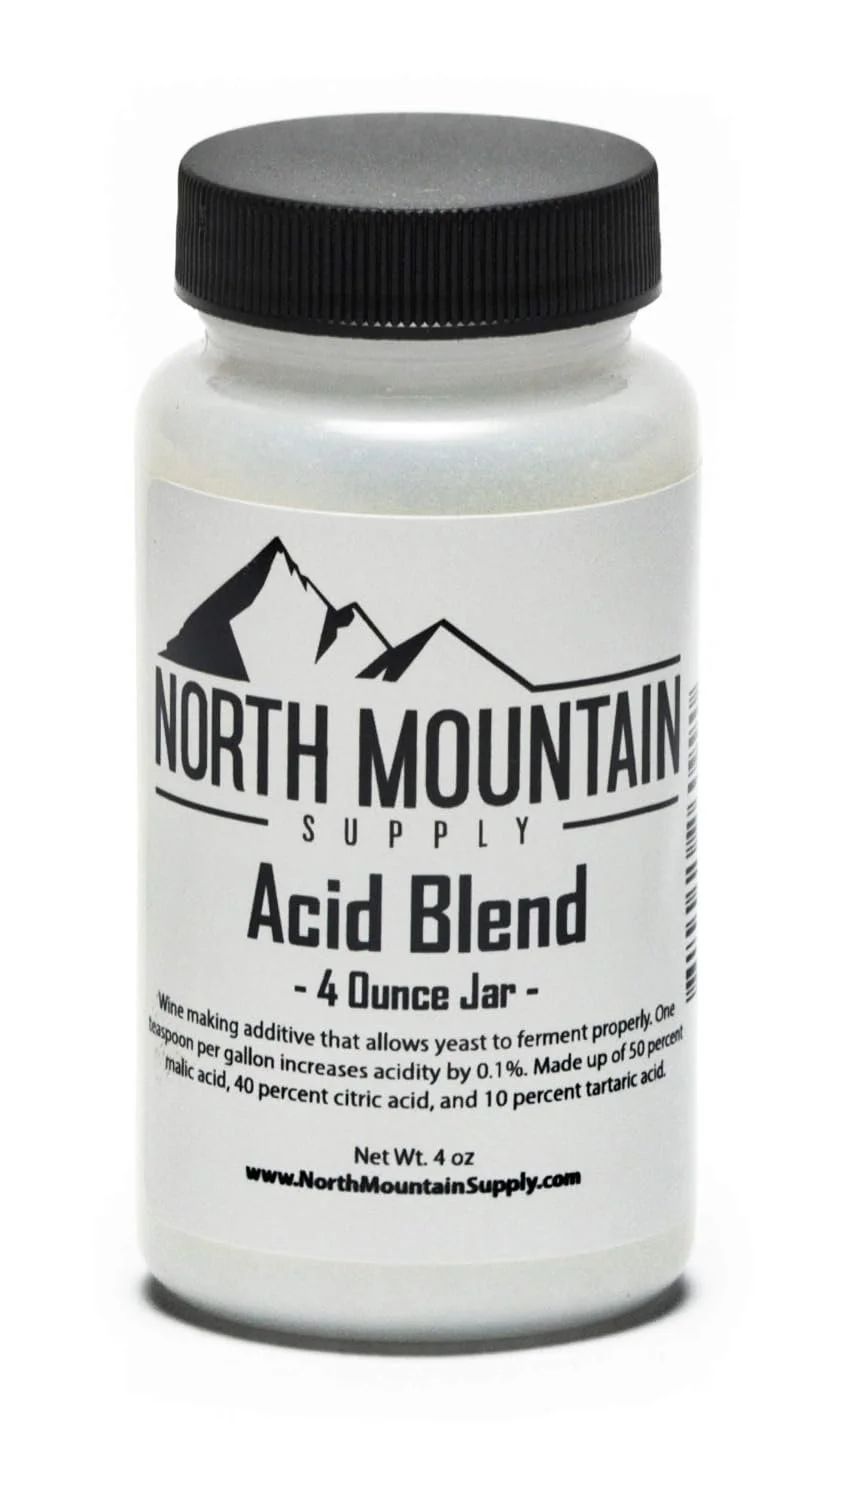
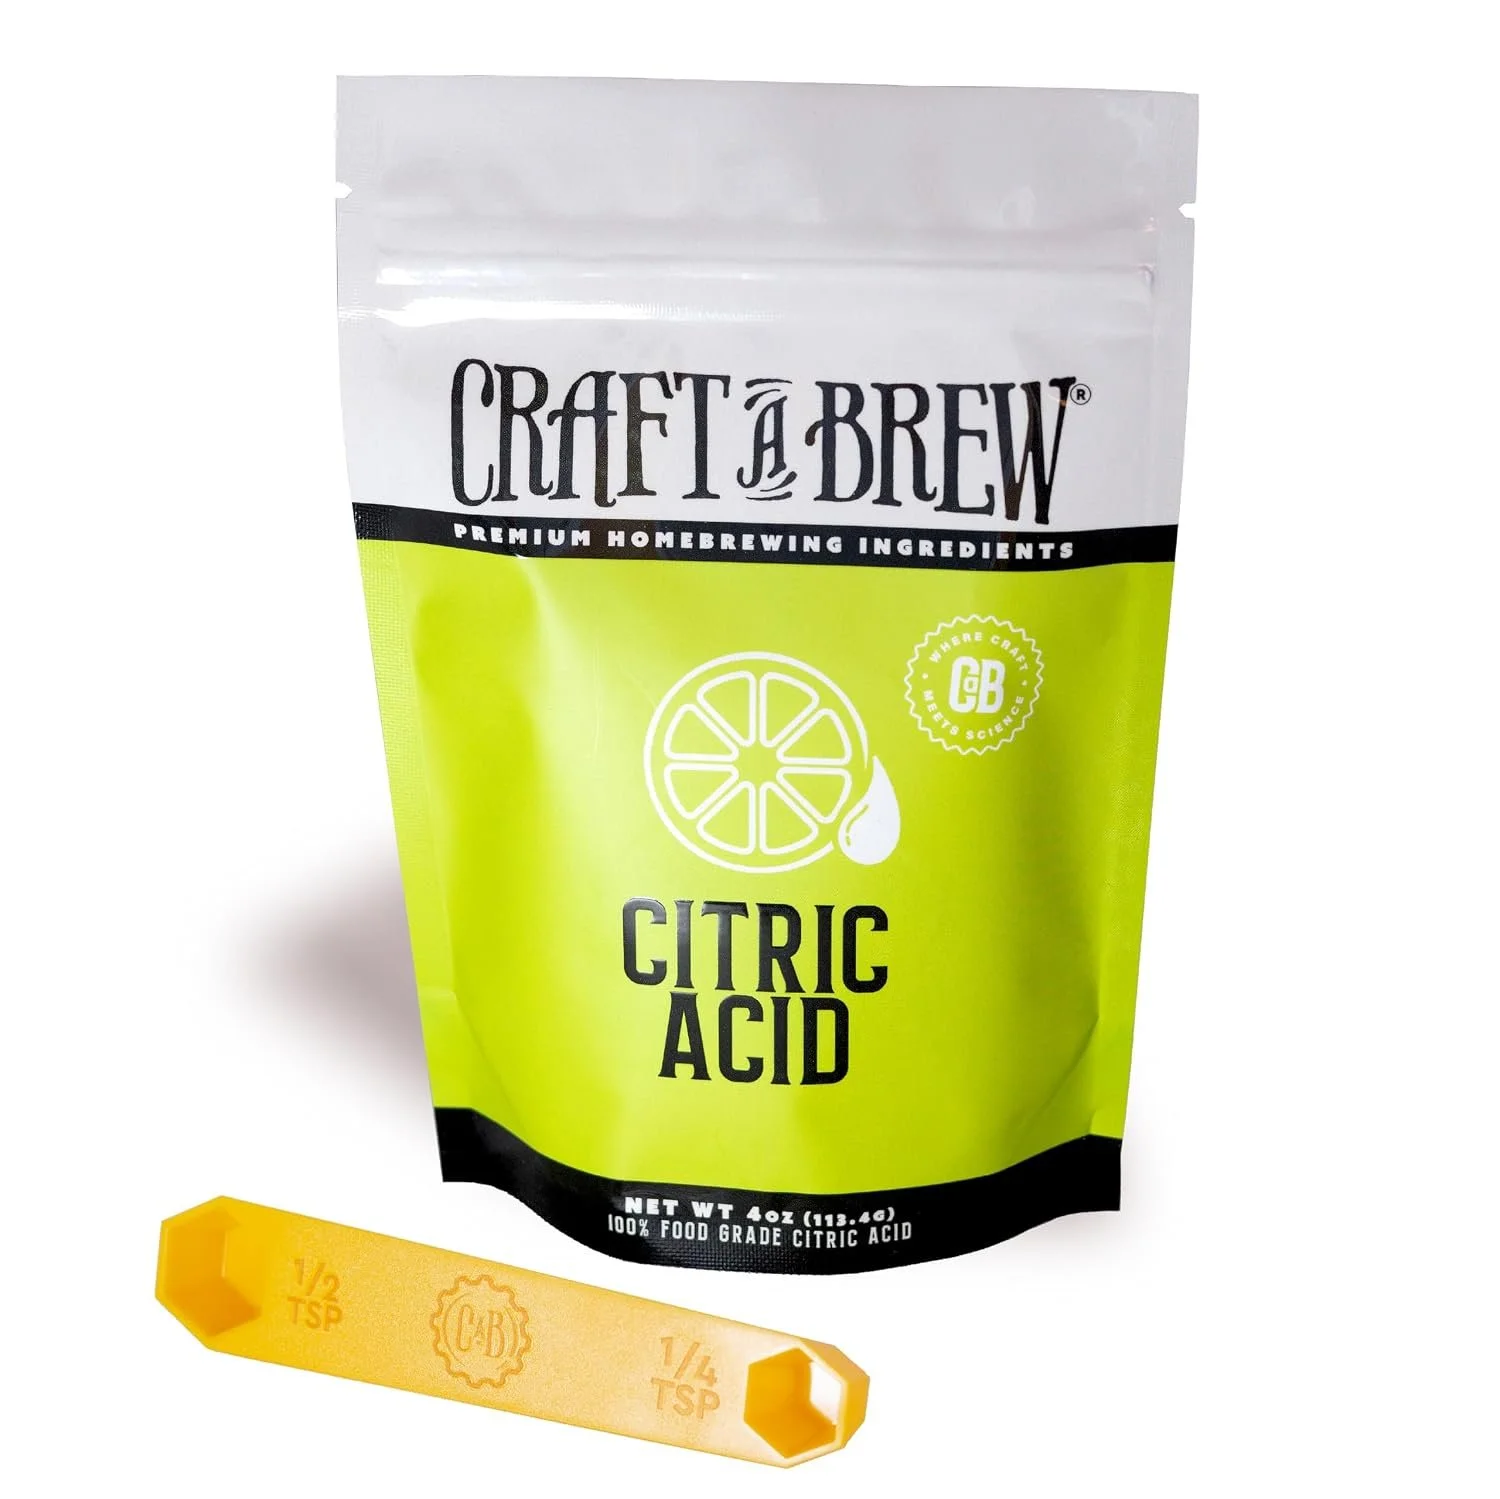
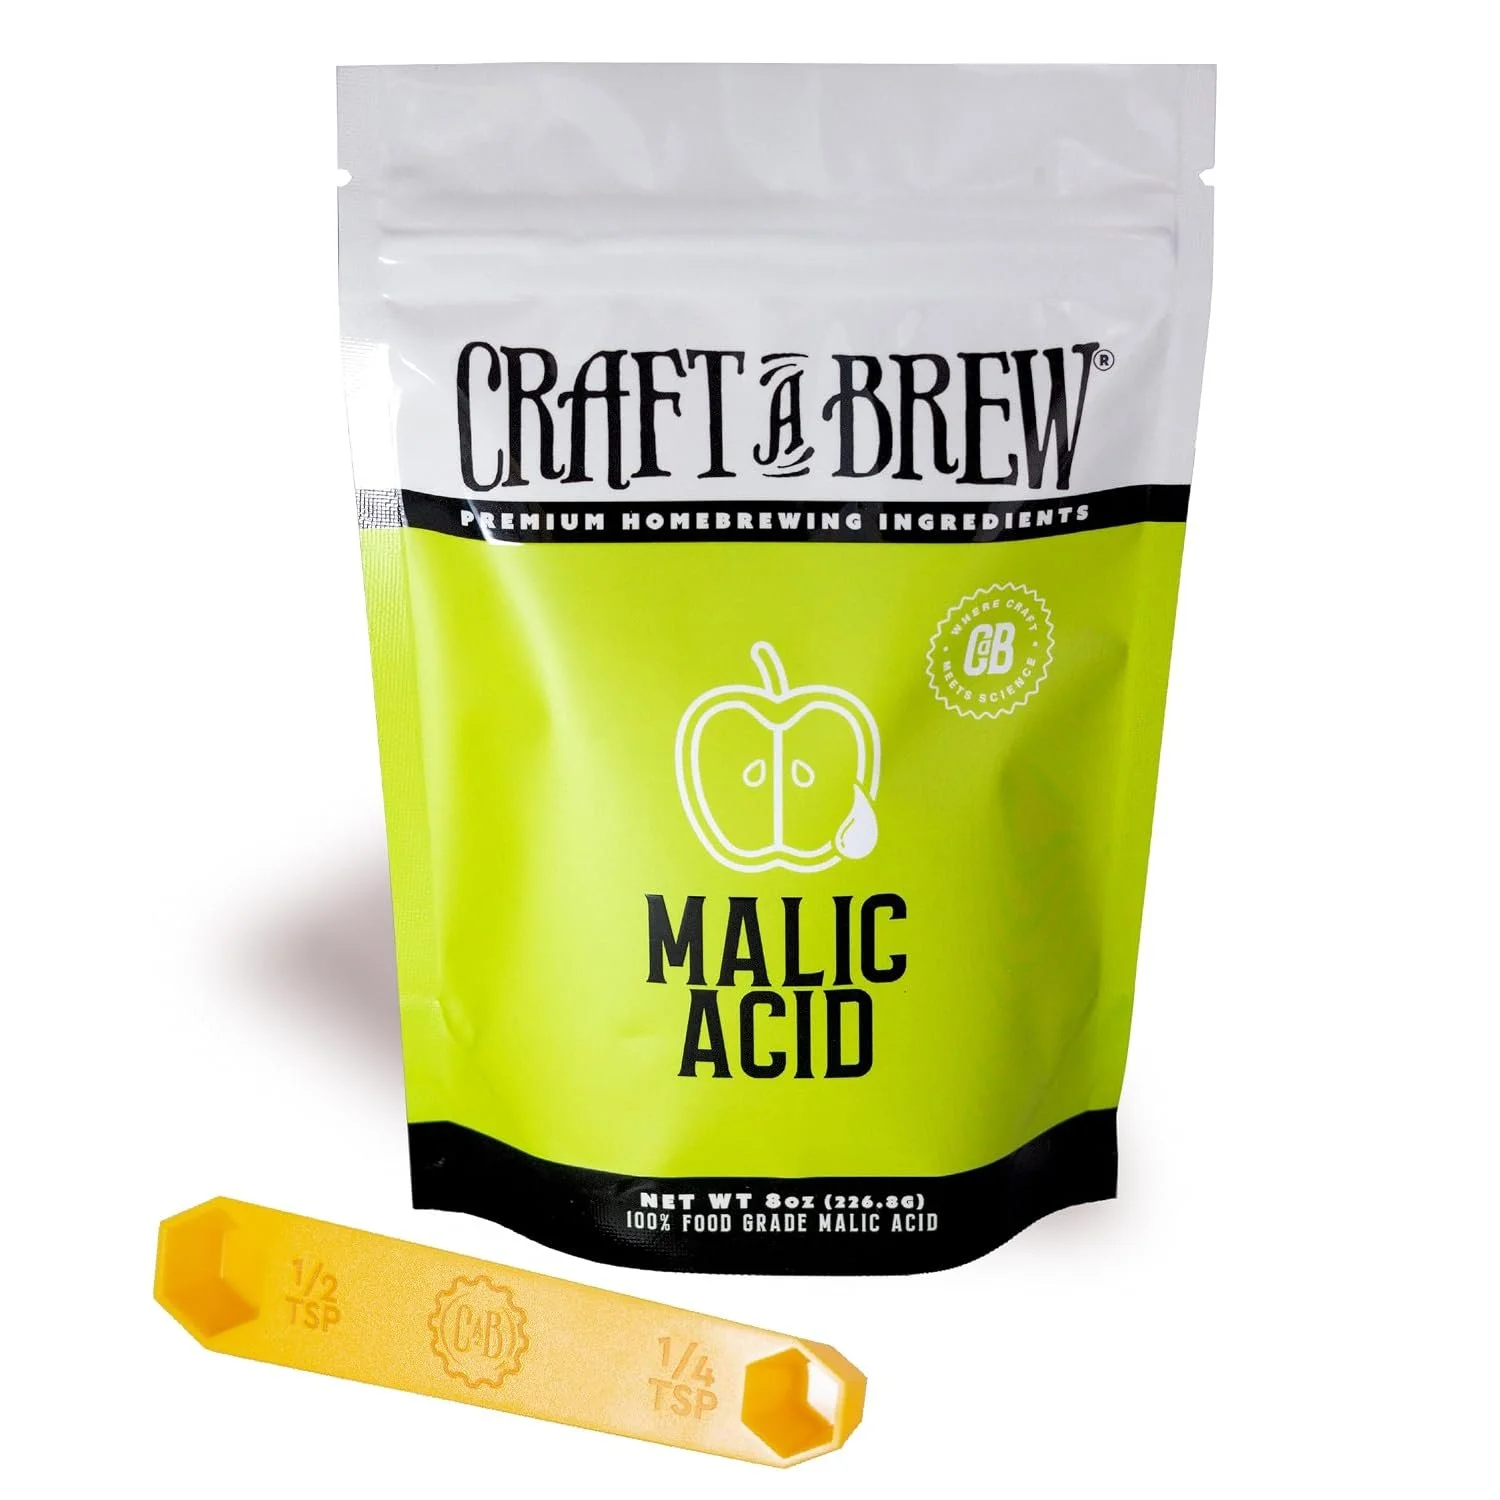
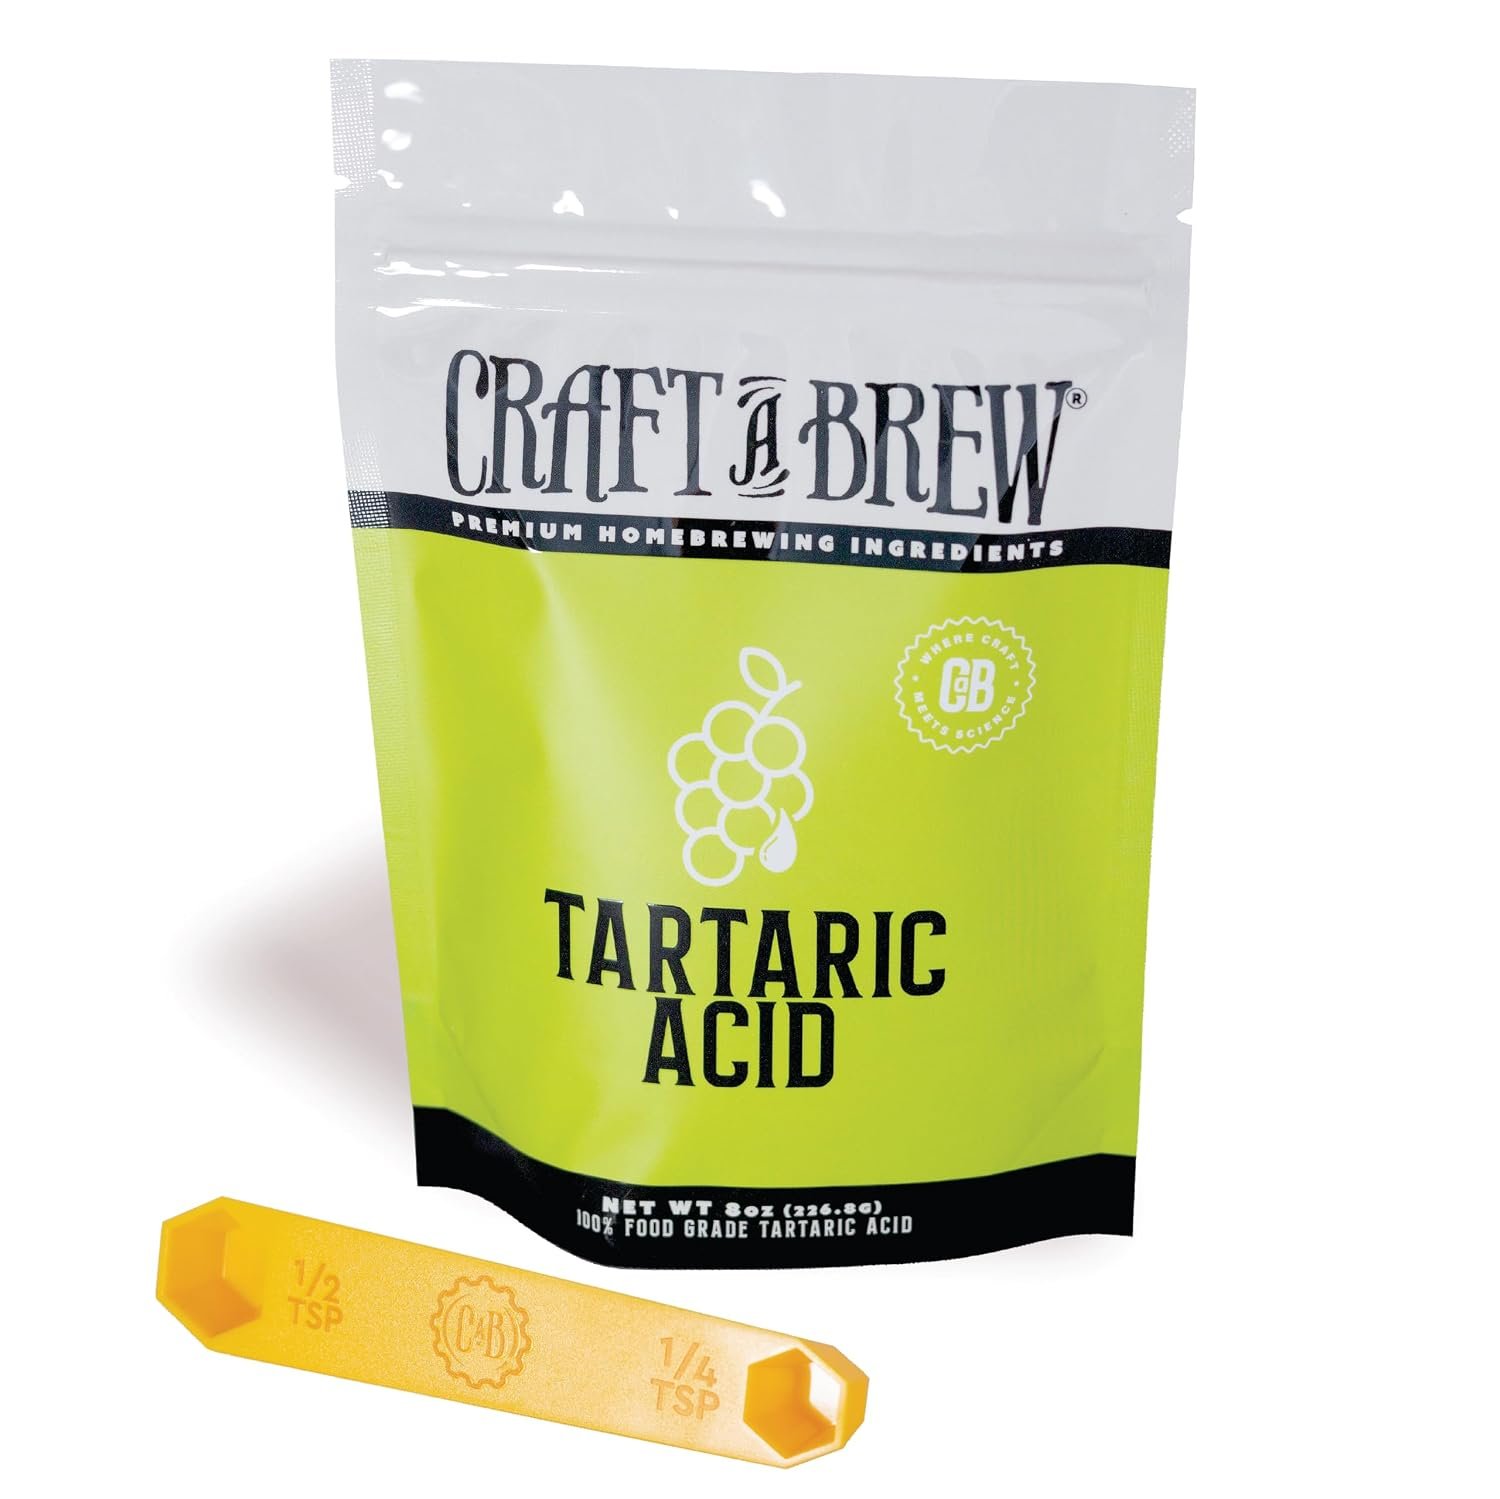
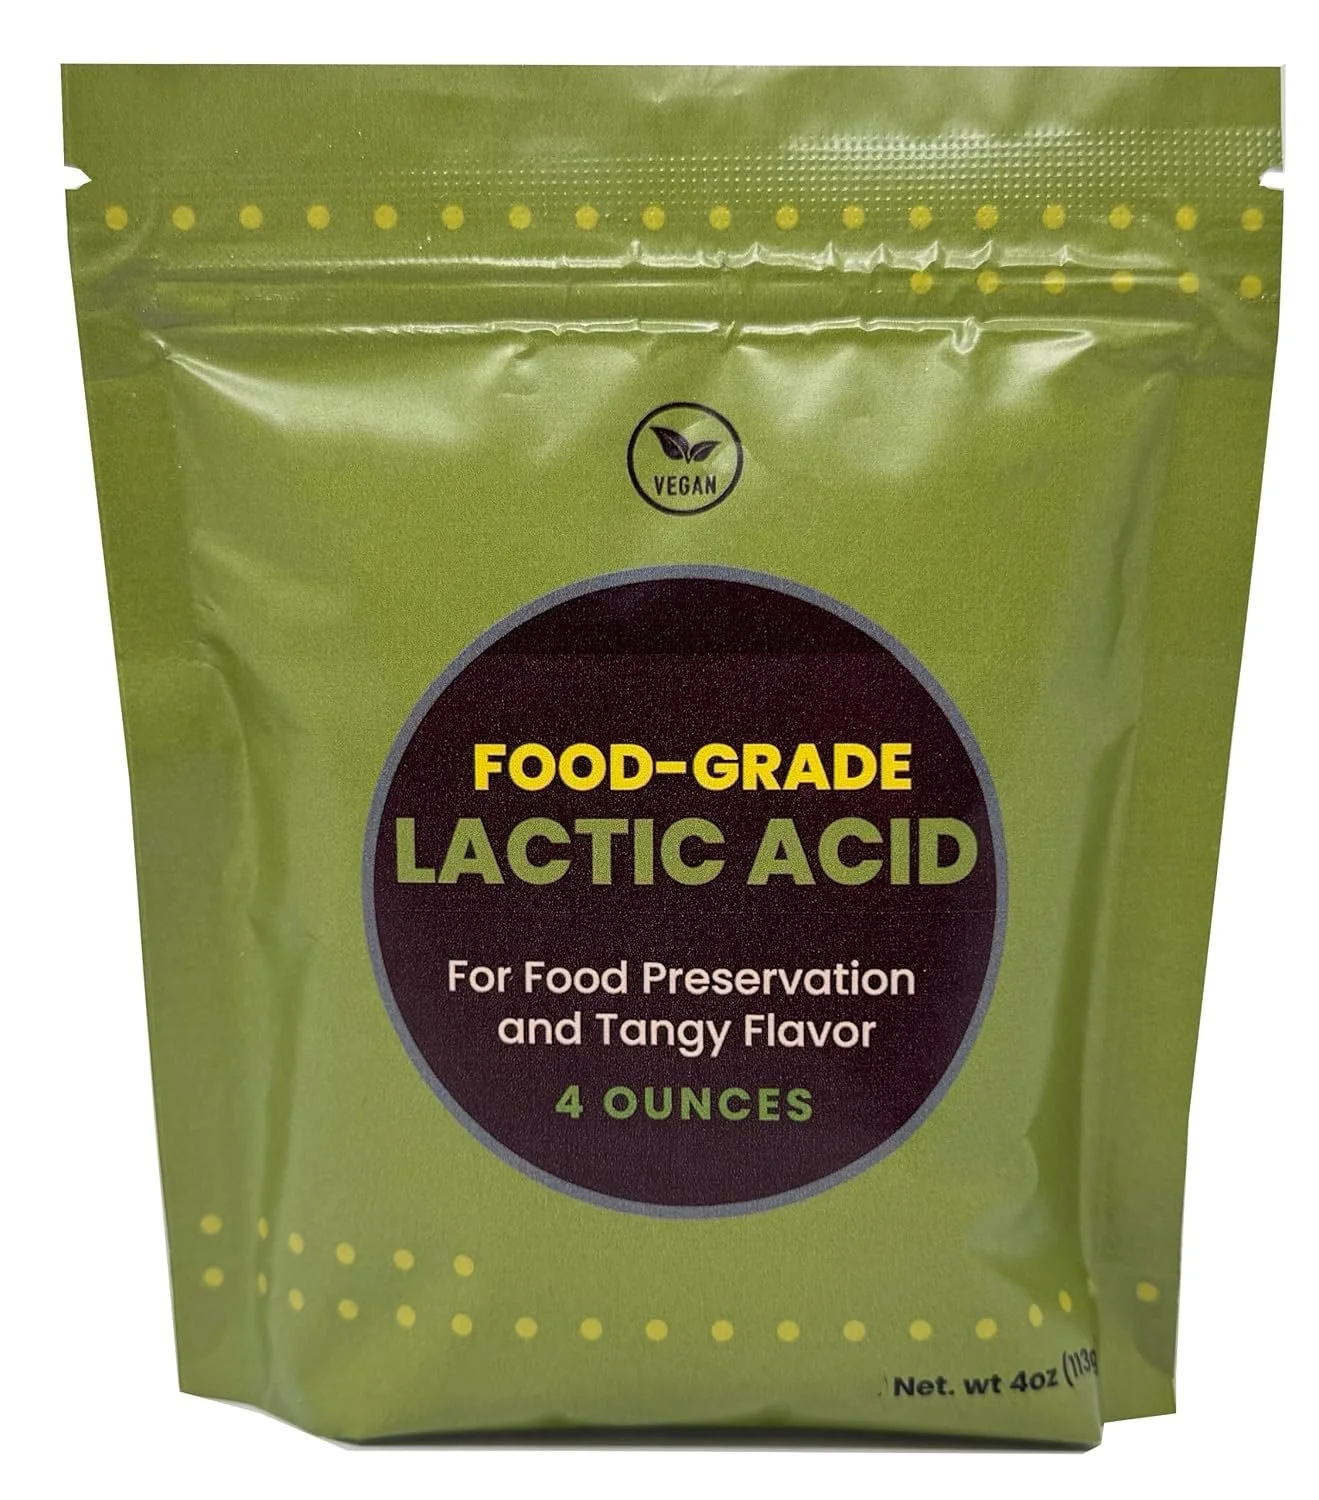
For acid, we recommend everyone start with Acid Blend. It’s well balanced for most brews and easy to use. As you build your experience and palate, you may want to explore the experience of individual acids (citric, malic, tartaric, lactic, etc). Each acid has its own profile and changes a brew in its own way.
Bottling Flare
Once your bottle is sealed, you’ve got to label what’s in it. Do you want to take it to the next level? Do you want to add that finishing touch to make it look more professional? This is the right place.
Labeling
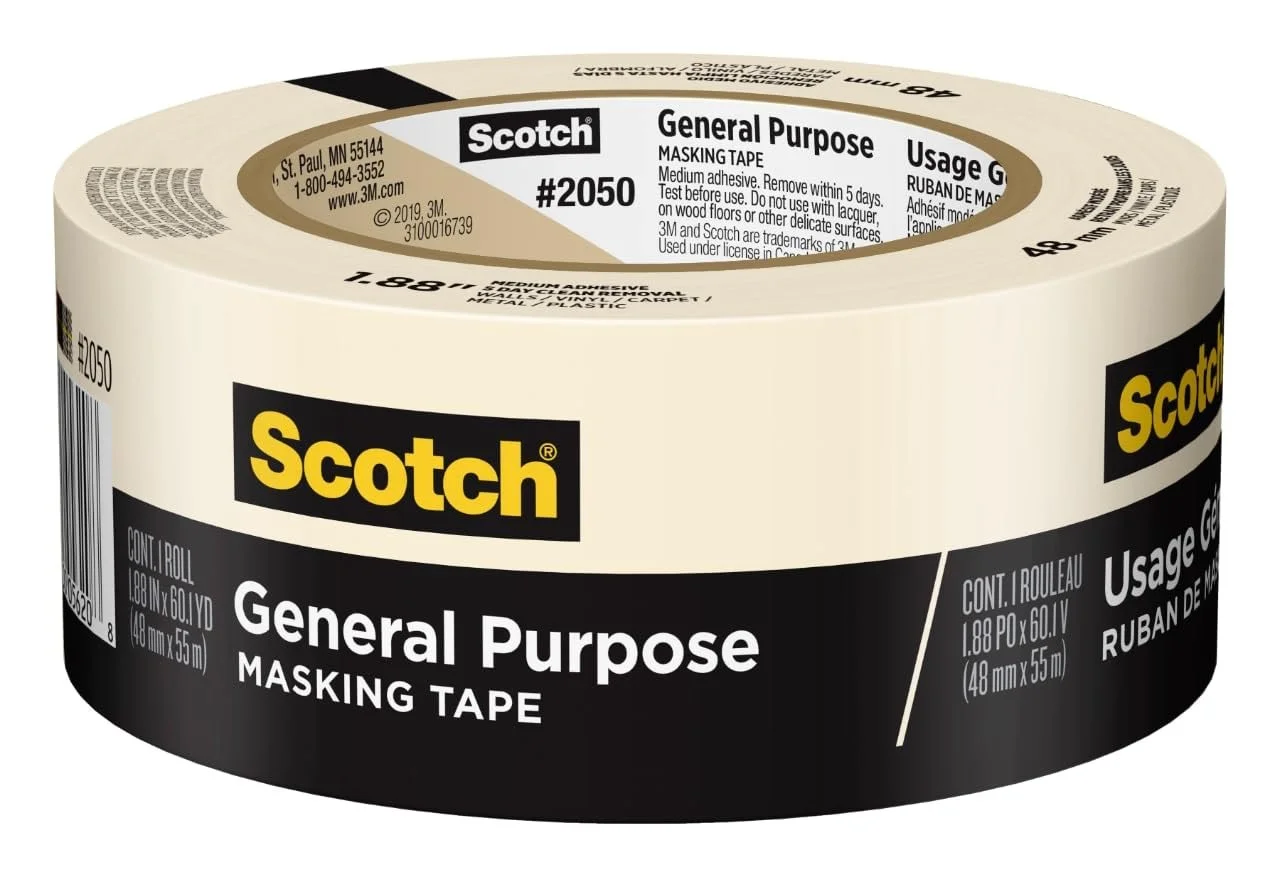
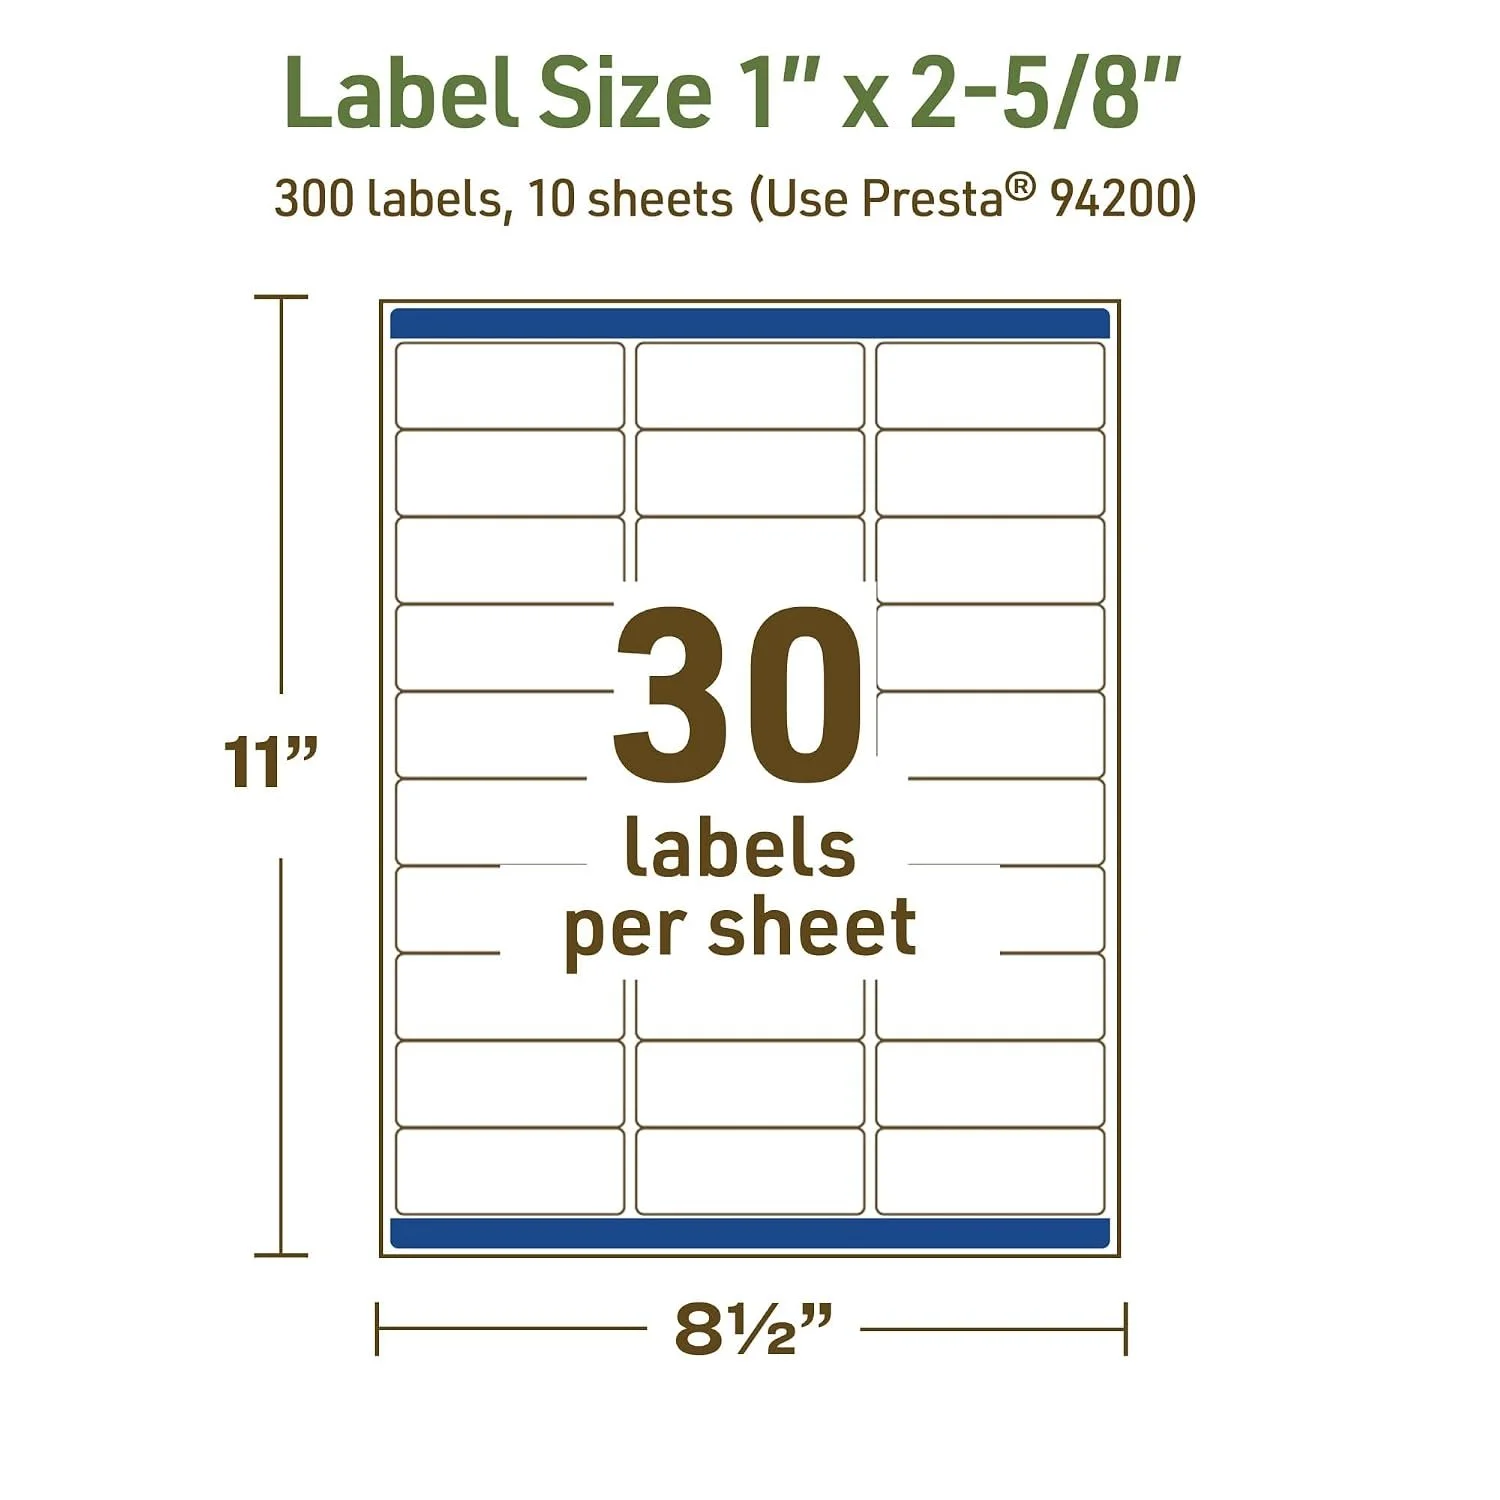
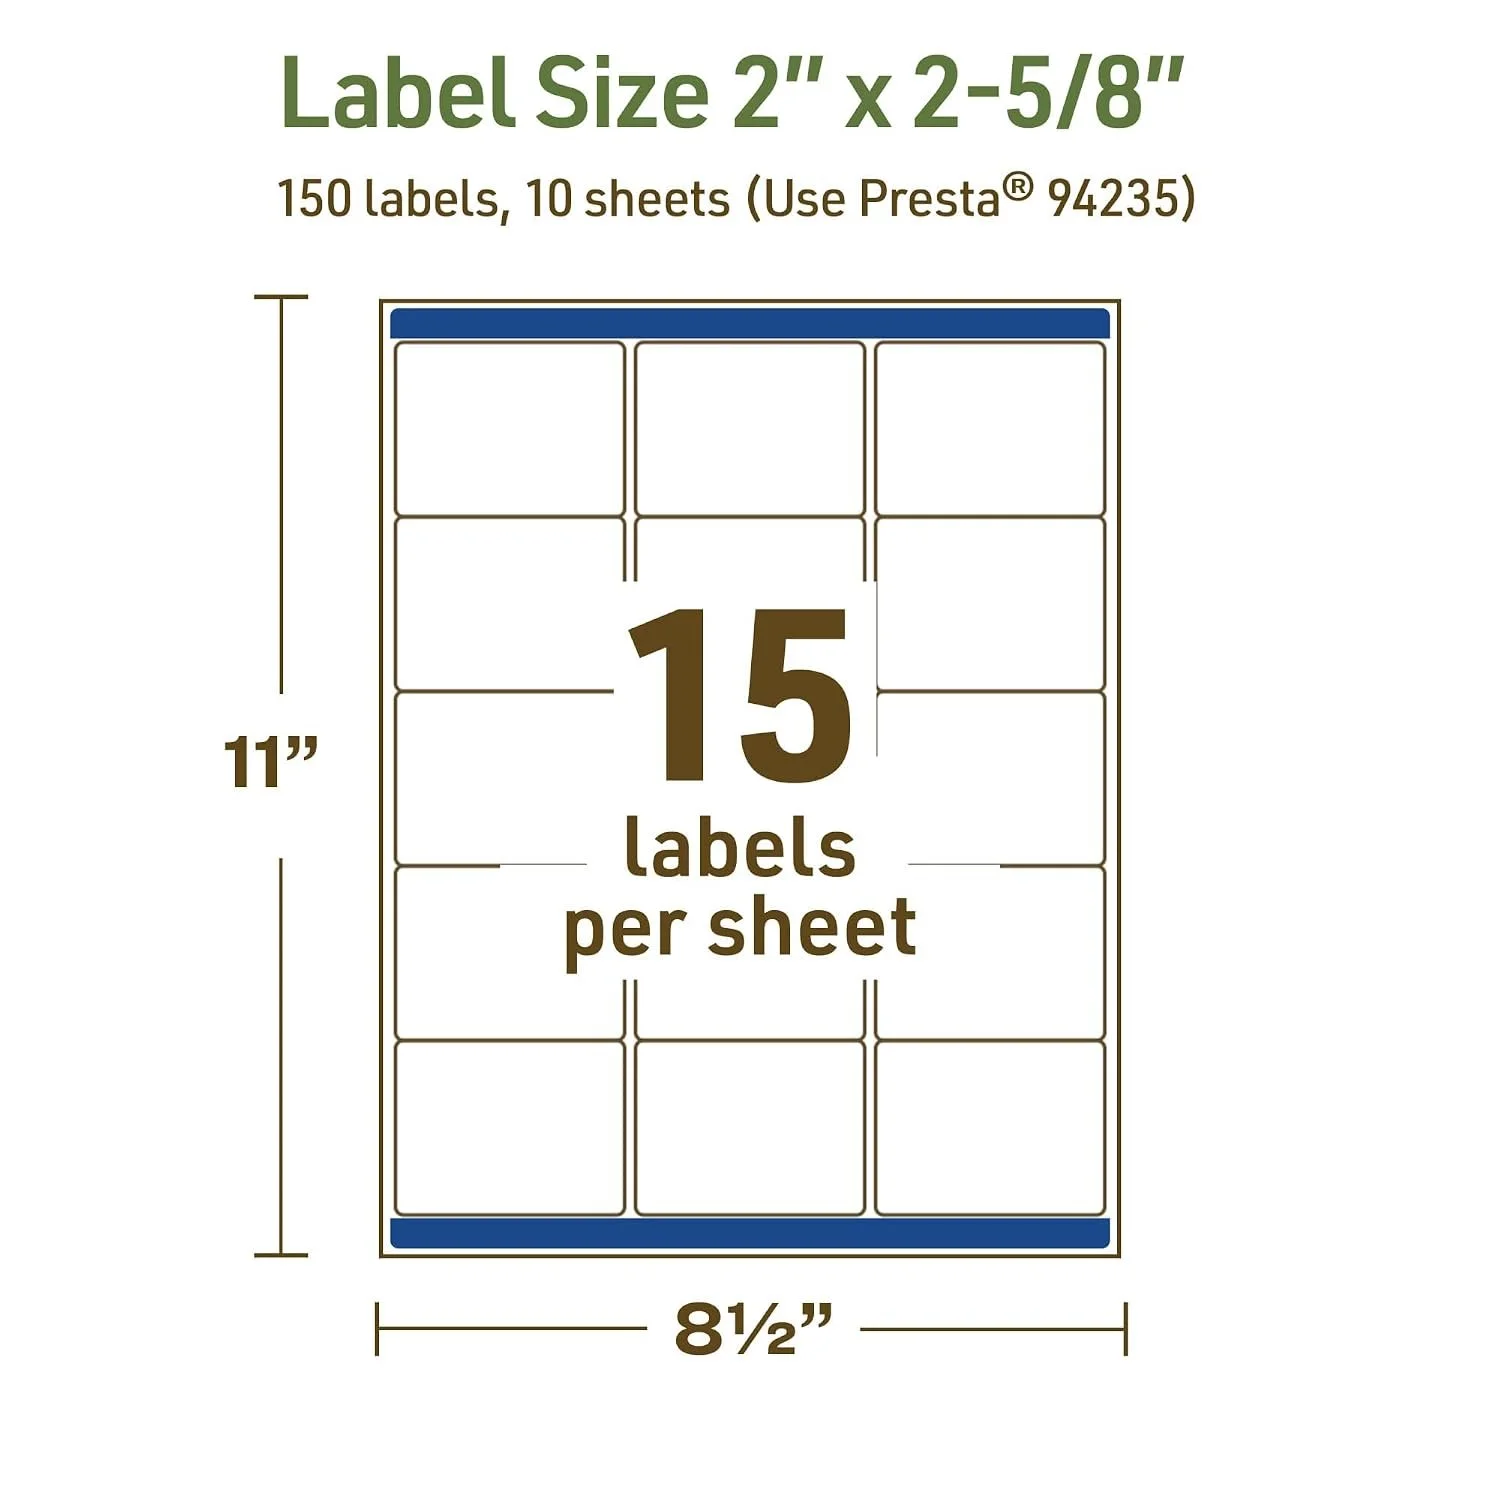
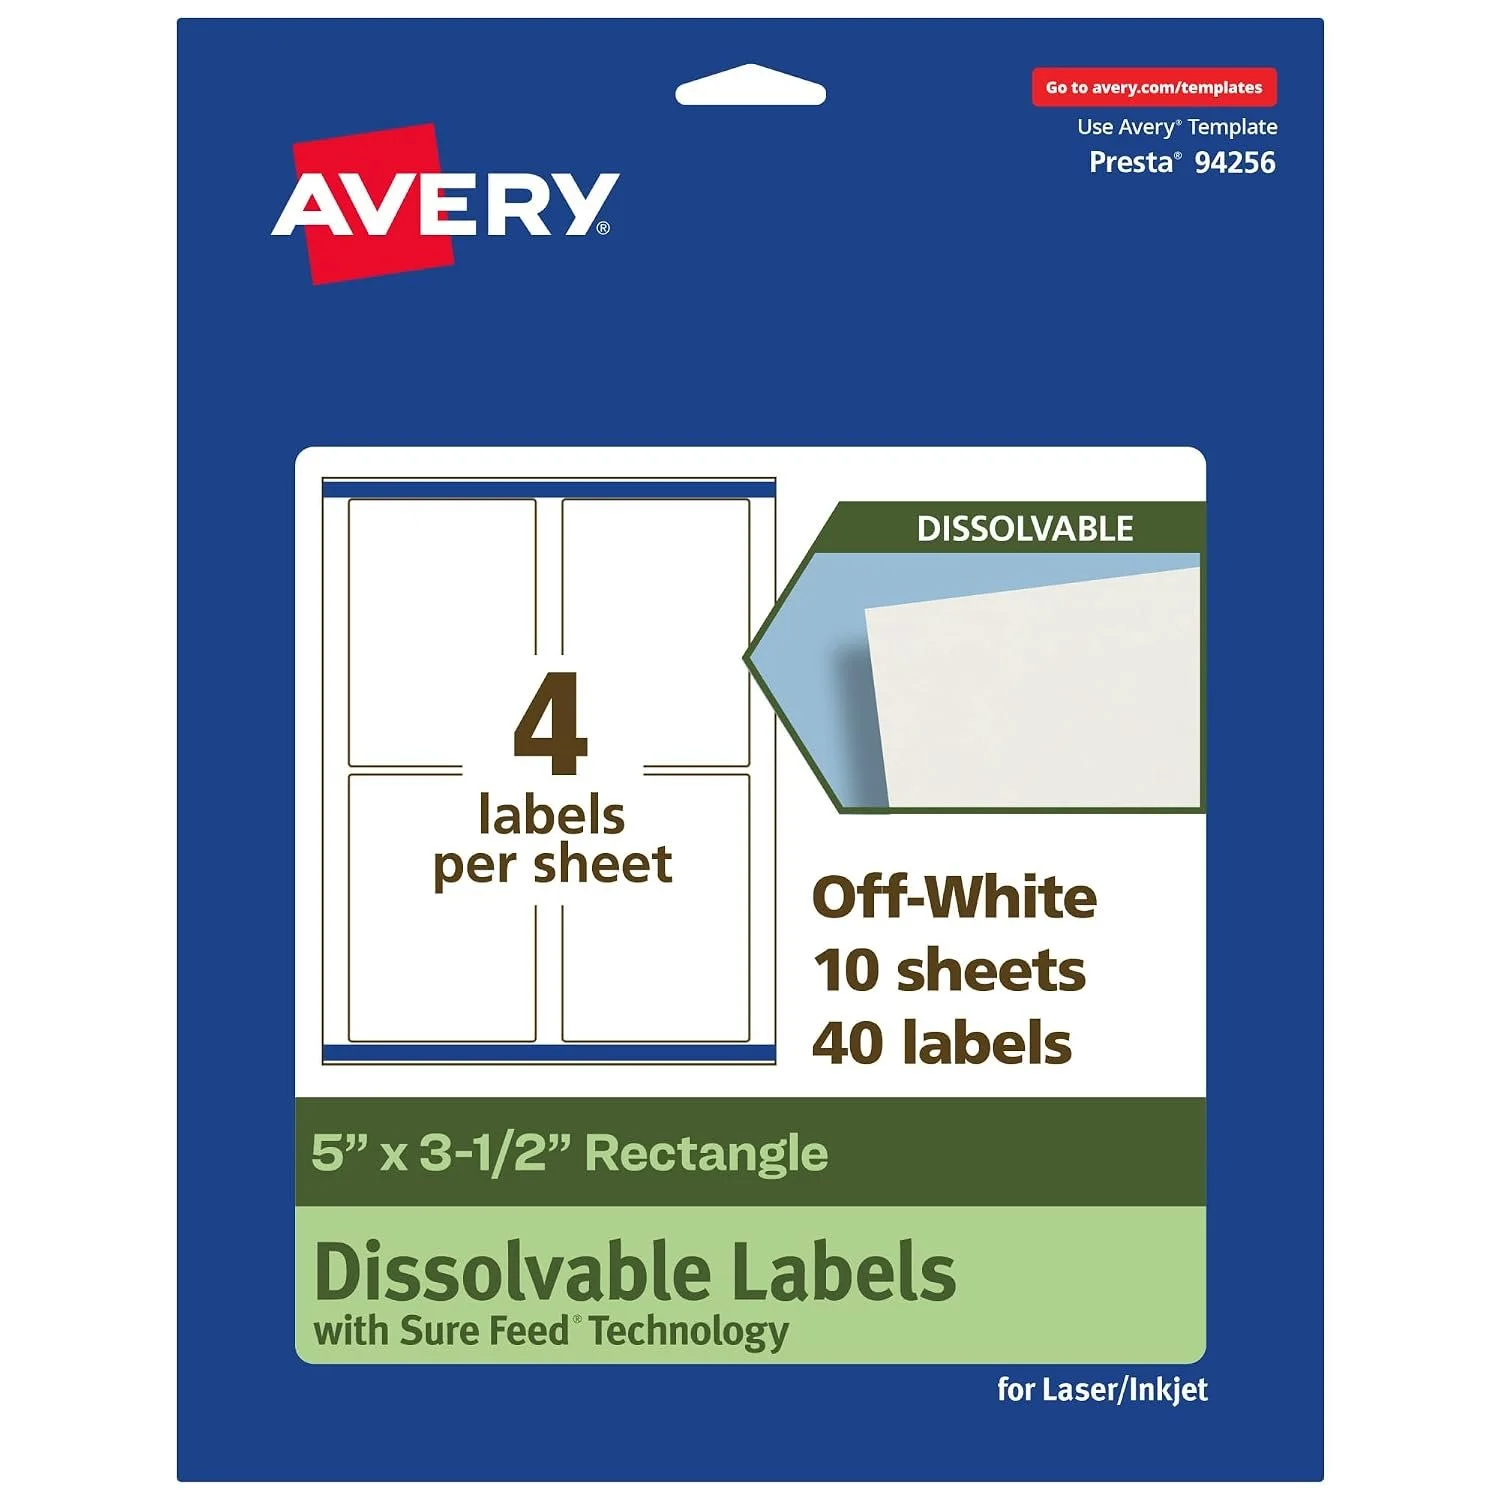
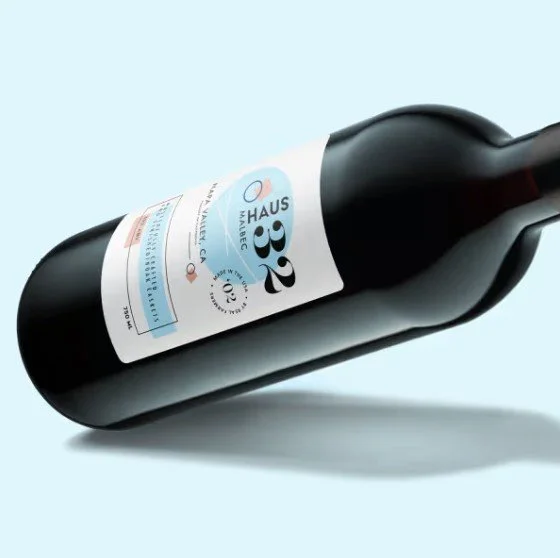
You can always use good old fashioned masking tape to label your brews. We use this during fermentation and secondary. Once we bottle the batch, it’s nice to have something a little better looking, though. That’s where Avery’s water soluble (“dissolvable”) labels come in. You can write on these with a pen or sharpie, or use your own printer to design and print beautiful labels (they have templates at avery.com), or have your designs printed at a library or print shop. The best part - once you’ve finished the bottle, the label rinses away with water as you wash the bottle. The dissolvable labels are a bit thinner than a normal label, so if you’re going for the professional look over easy removal, you’d probably want to go with the traditional label. We typically use smaller labels (more bang for your buck), but if you want to use larger labels for a more professional look, Avery has you covered there too. All of Avery’s labels come in the dissolvable or traditional adhesive types.
Shrink Wraps
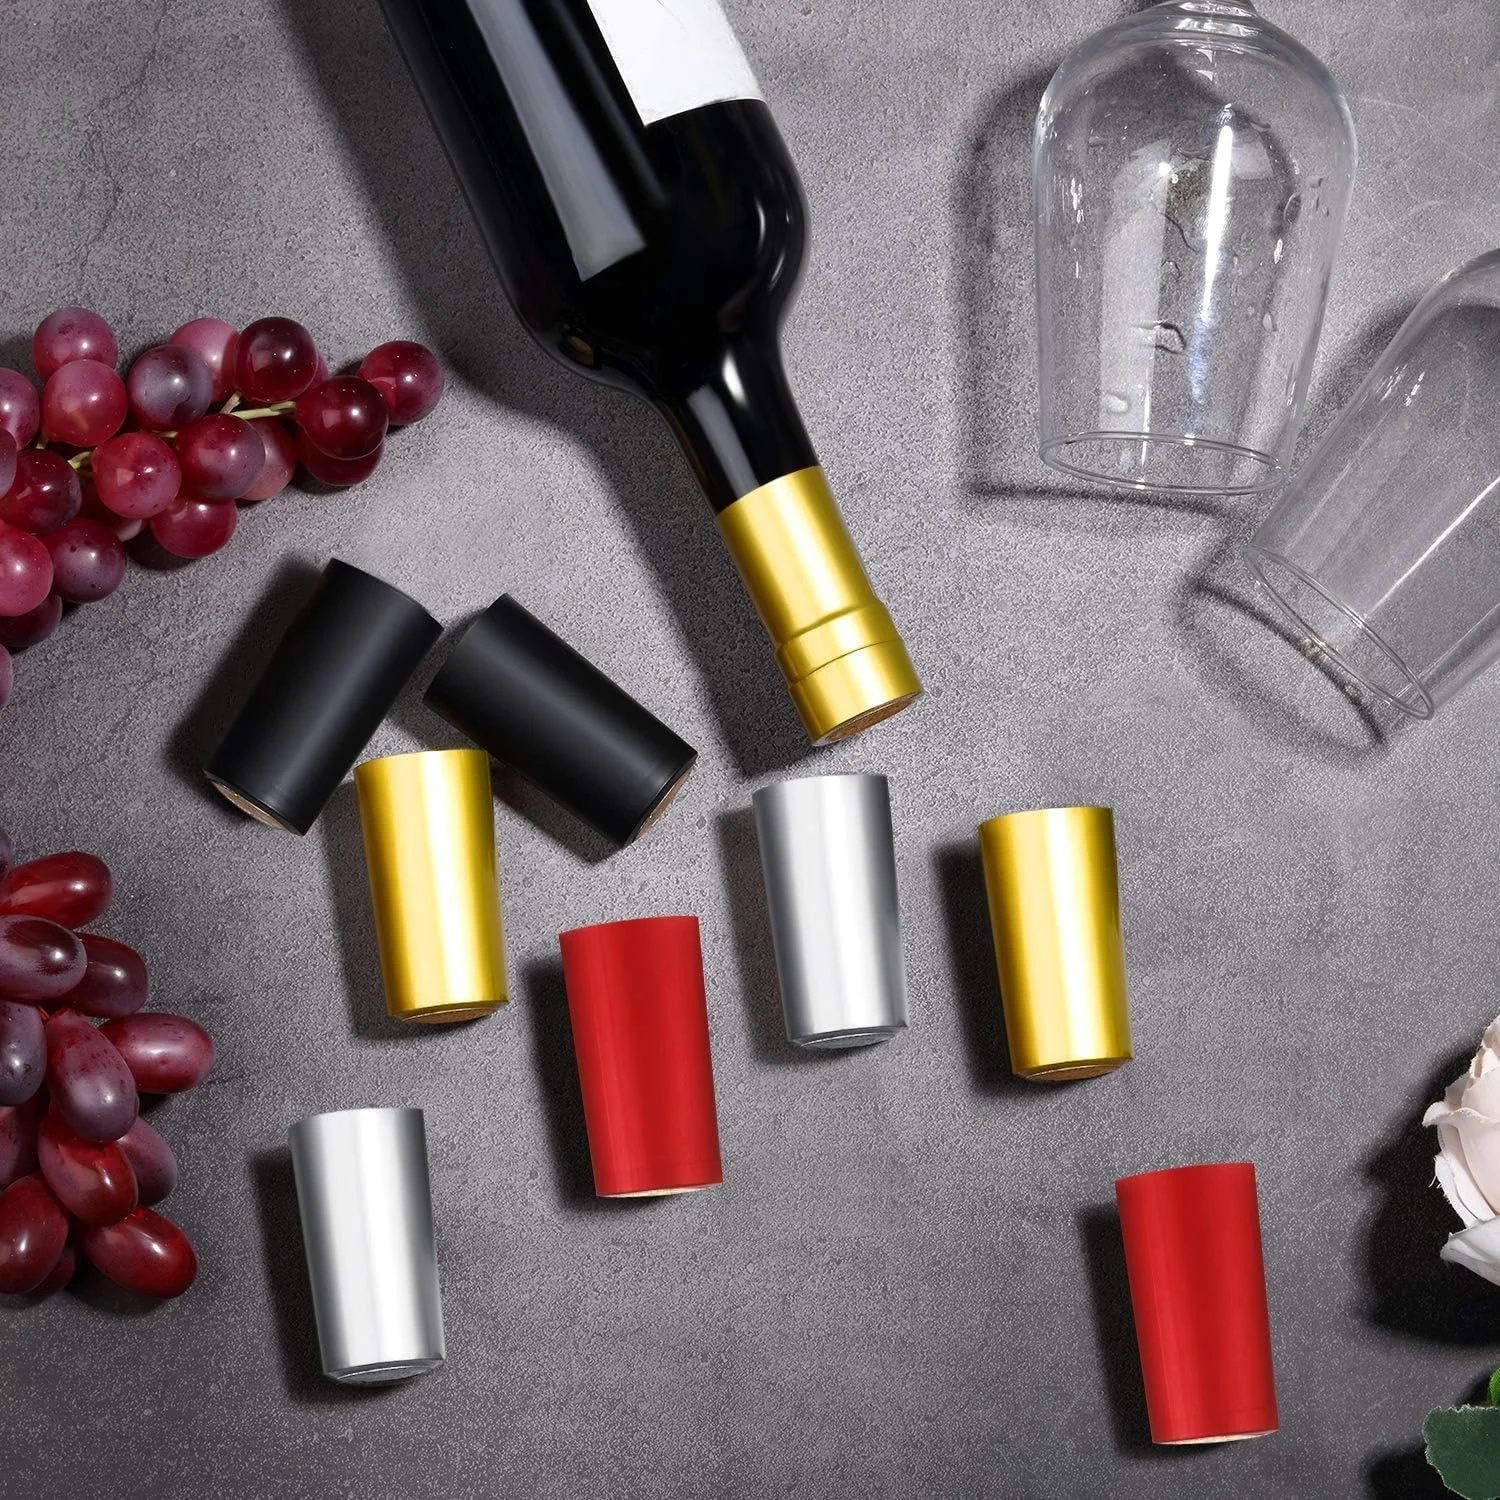
After bottling, some people like to add shrink wrap to their bottles to add that professional finishing touch. You slip the shrink wrap over the corked end of the bottle, and then apply light indirect heat (hair dryer, briefly dipping in simmering water, etc) and then the material shrinks and adheres to the bottle.
Twist-N-Seal Closures
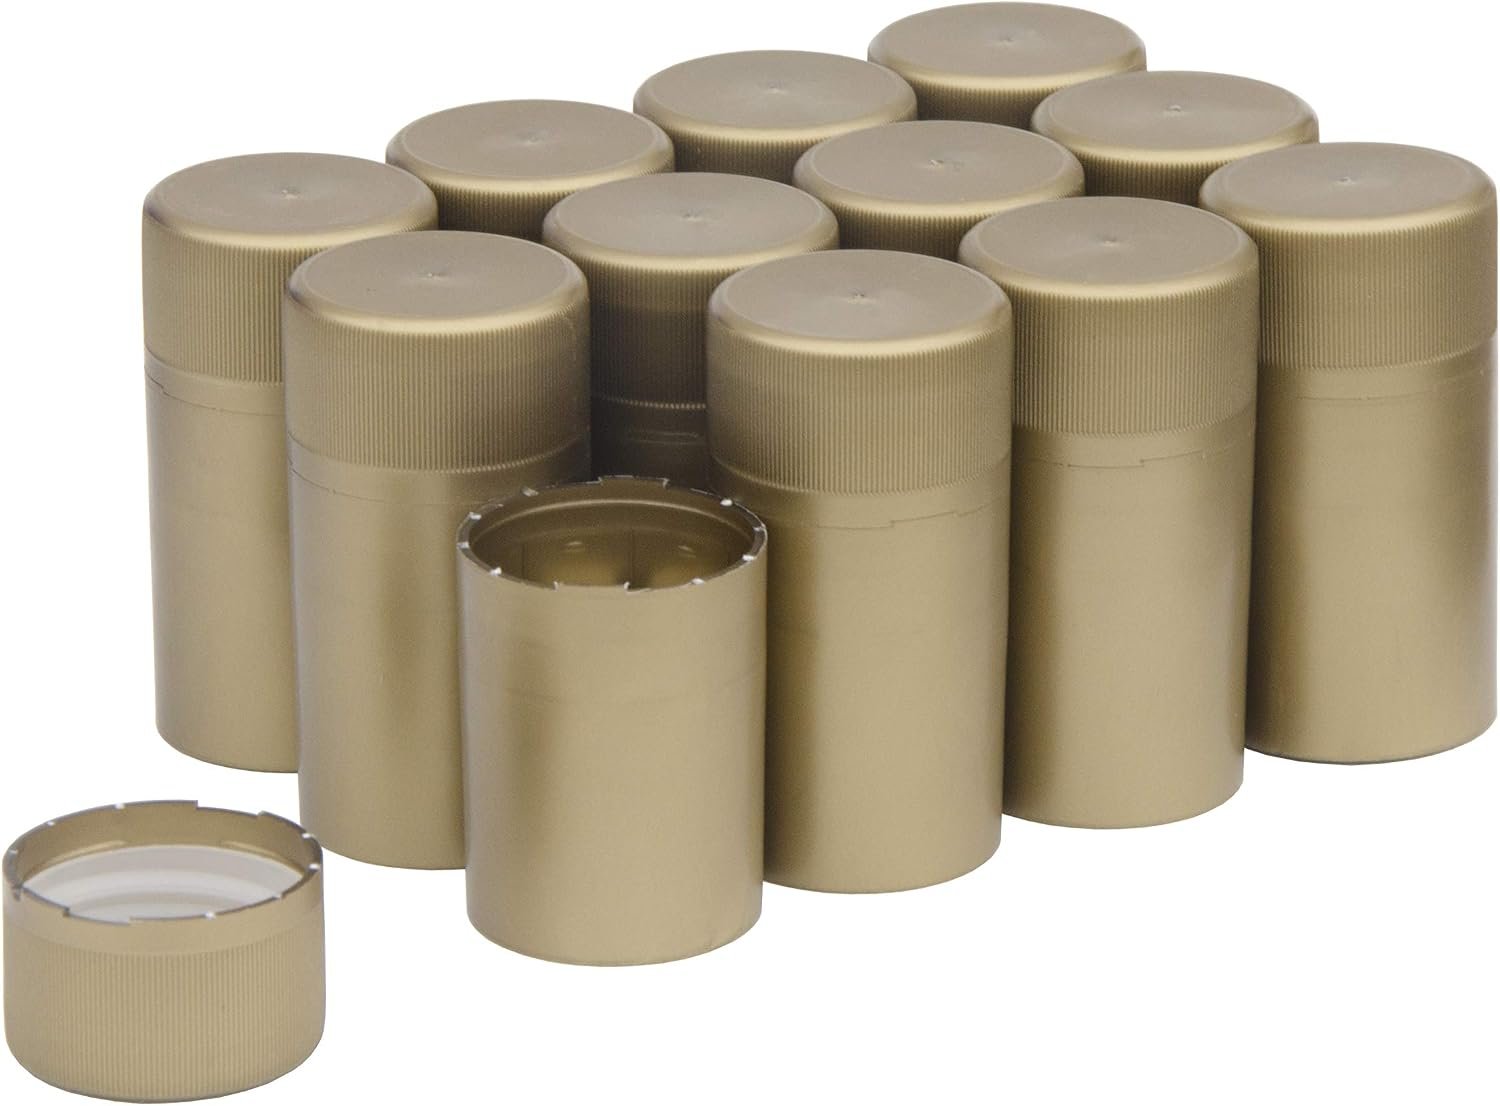
If you want that professional, tamper-proof, look without the risk of working with heat and the benefits of reusability, look no further than the North Mountain Supply Twist-N-Seal Closures. These are designed for screw top bottles (sorry, cork lovers) and easily slide and screw on to screw top bottles. This is a great way to reuse store bought screw top bottles, without having to cork them. Look for our video coming soon on how to use these.
Measuring Gear
Technically, all of these are optional to get started, but that doesn't mean they’re not important when making a brew that tastes great.
Hydrometers
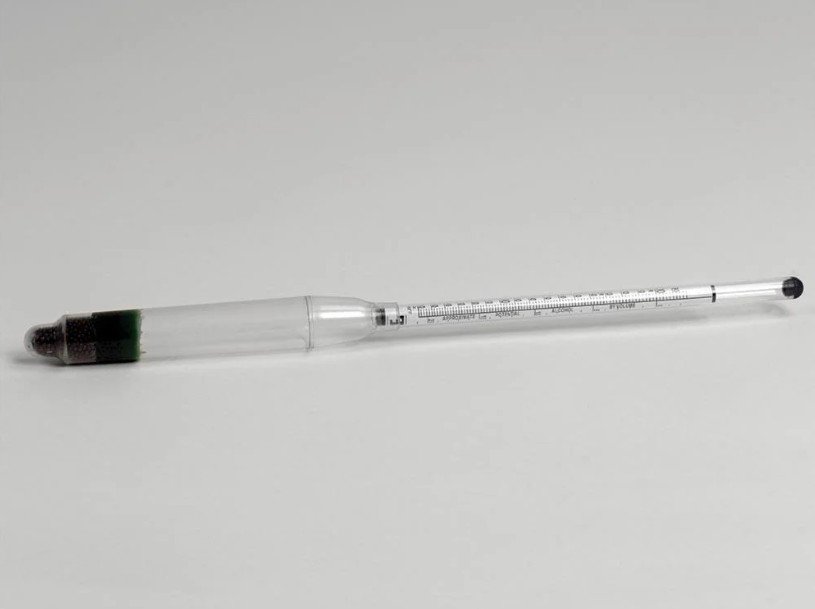
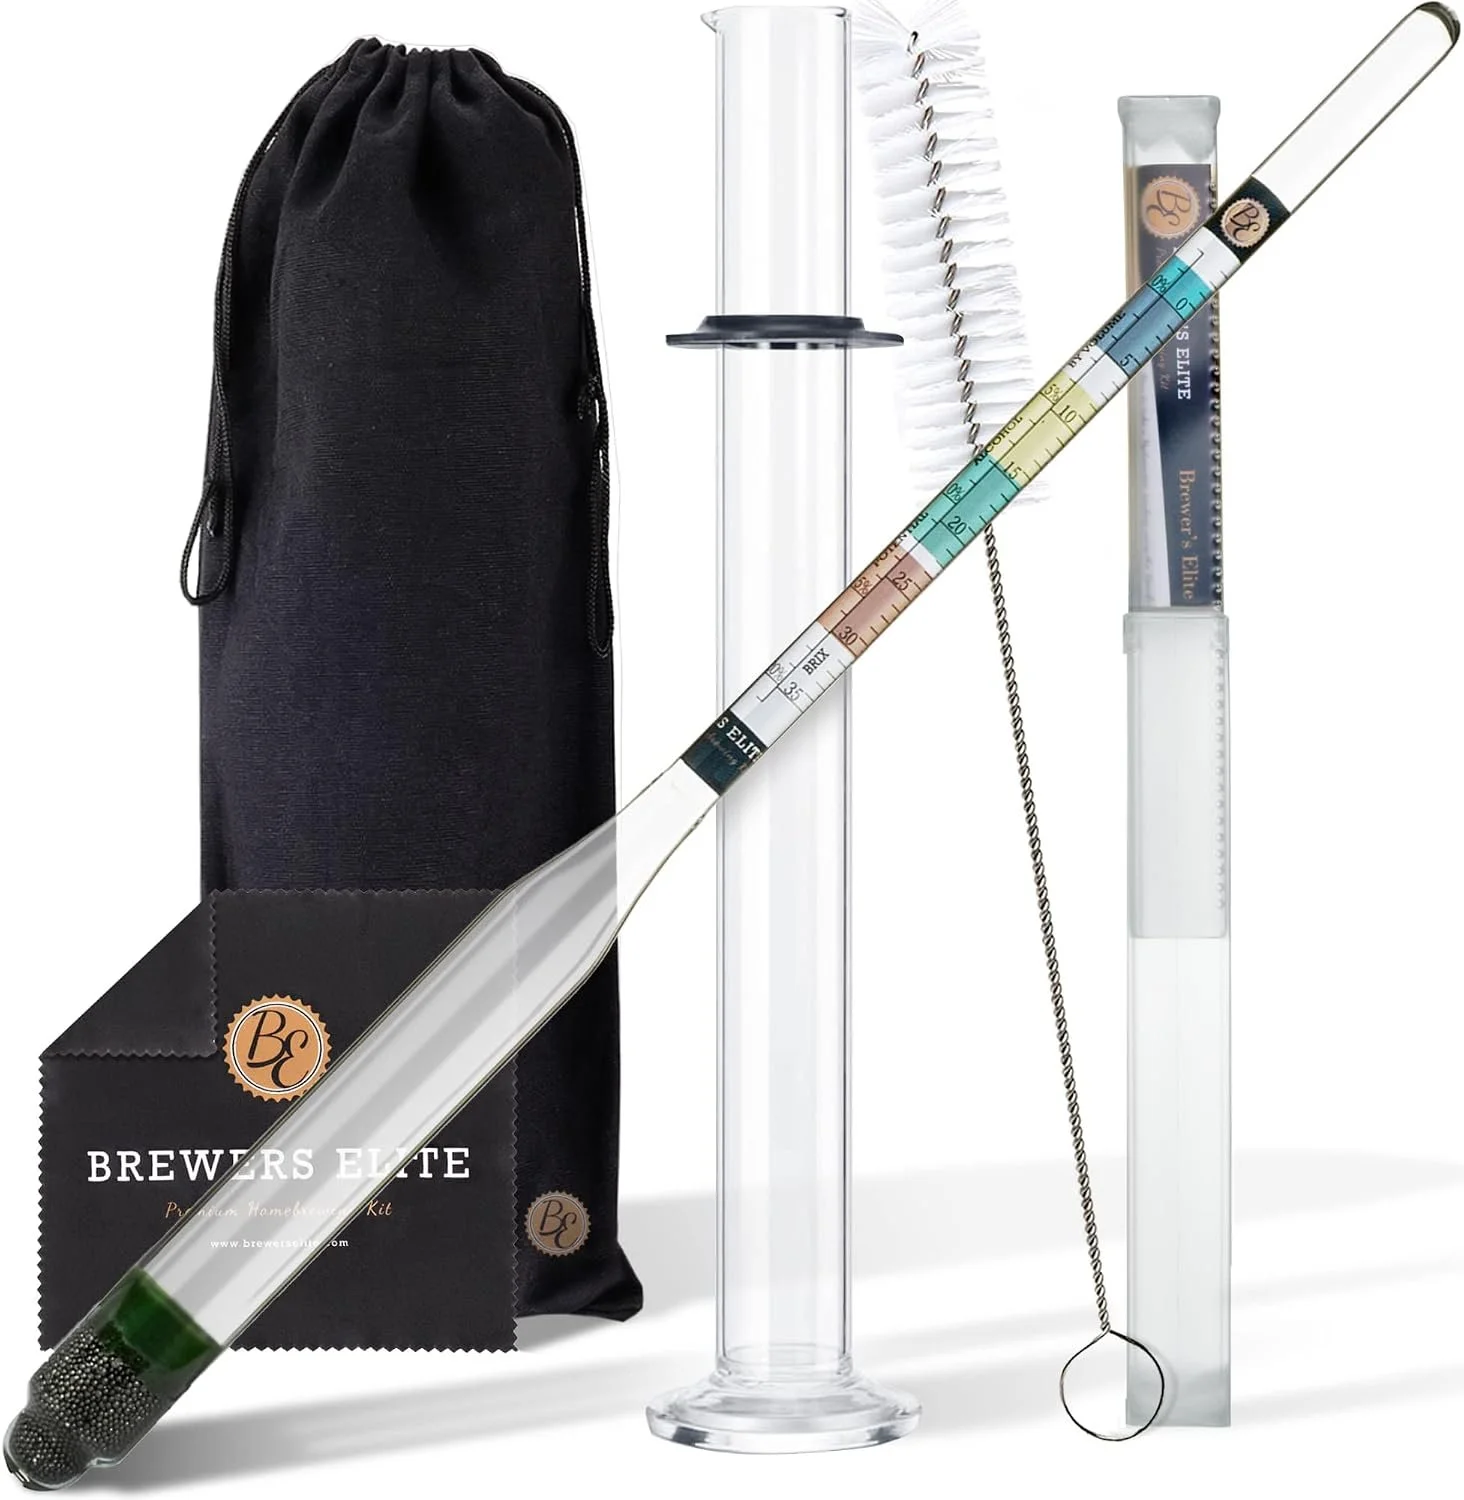
You can make a brew that will ferment without a hydrometer, but it can be much harder. Without a hydrometer, there’s no surefire way to know when your brew is done fermenting (so you have the risk of bottle bombs or not knowing if your brew has stalled). You also won’t know the ABV of your brew.
Hydrometers are typically made out of glass, so you have to be gentle with them. They break easily. However; the Herculometer solved this problem. Their hydrometer is made out of plastic and is “virtually unshatterable.” Even though this product is no longer on Amazon and we won’t earn anything if you purchase it, we think it’s worth sharing. If you prefer to avoid plastic, we’ve got you covered, too.
World’s Greatest Pitcher
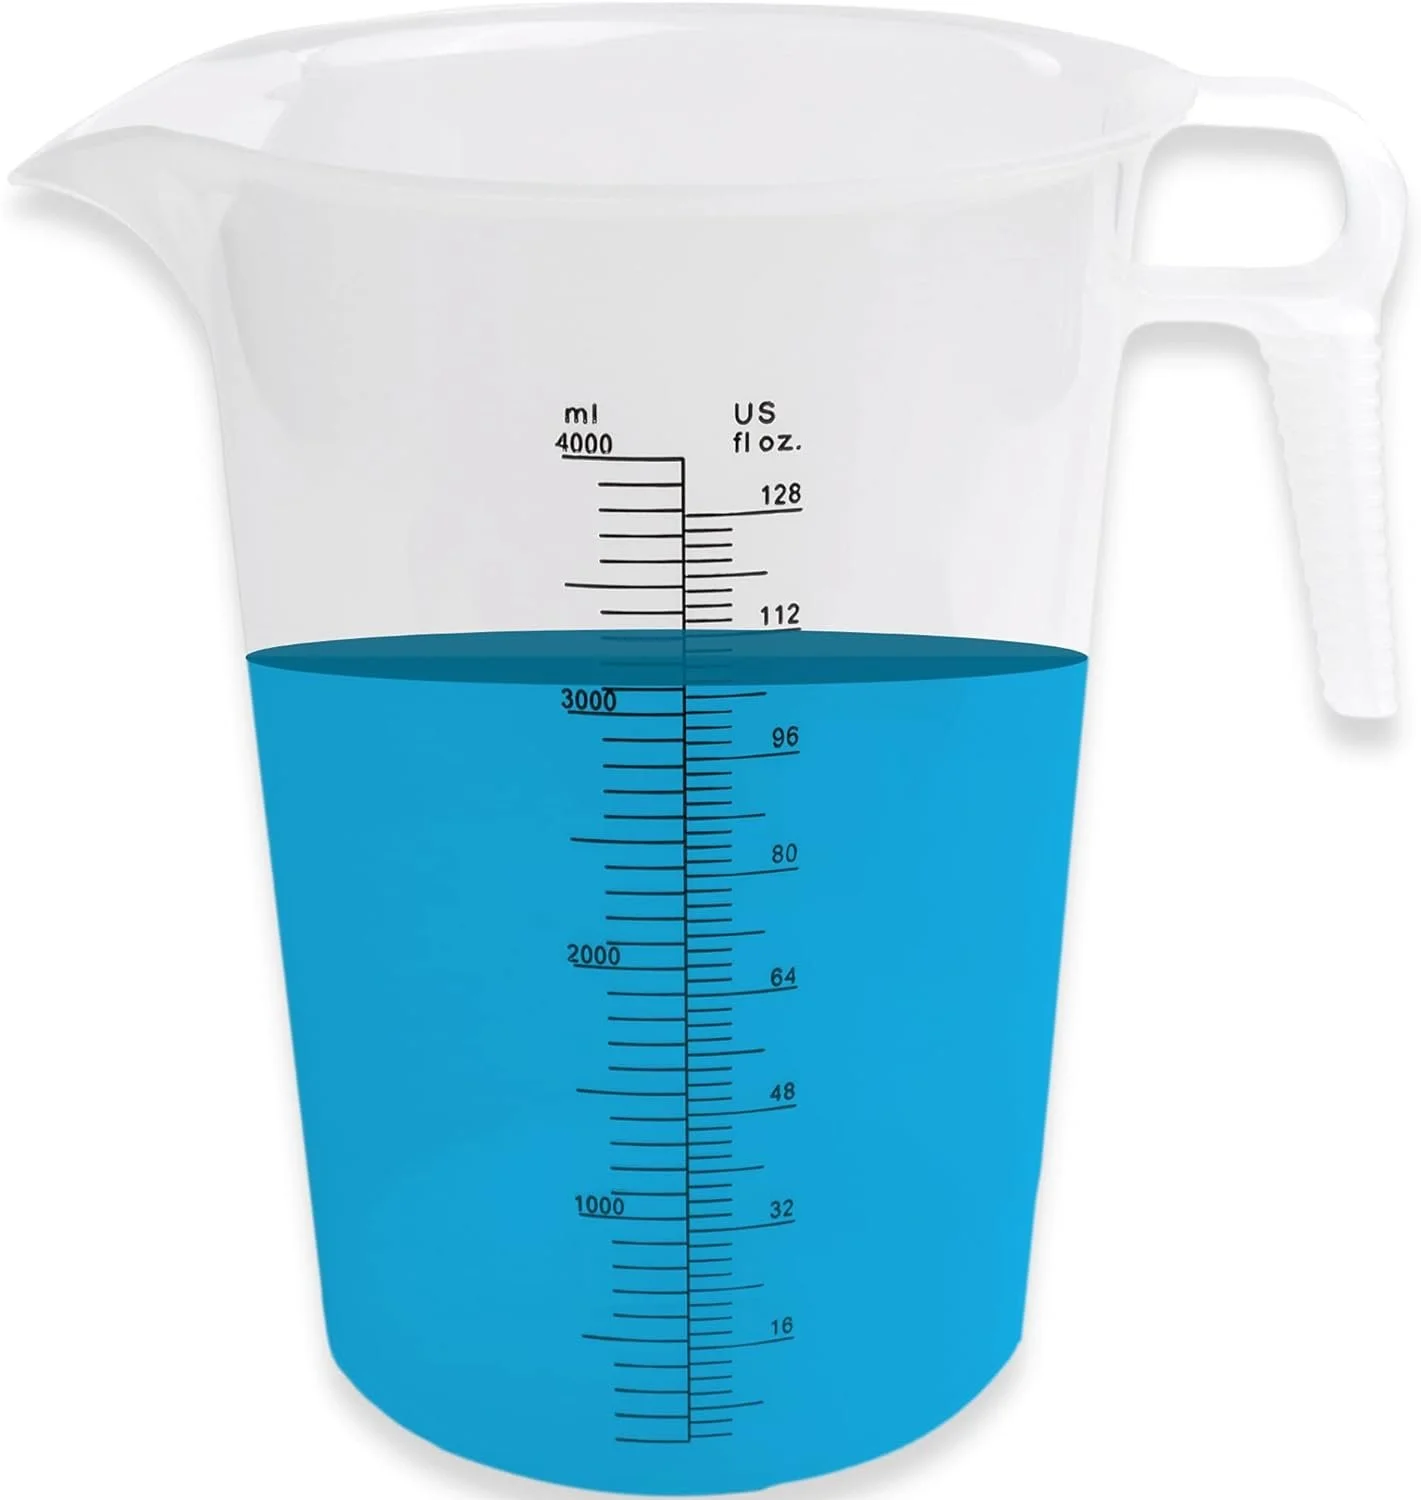
This pitcher might look expensive at first glance, but even though Amazon has a great return policy, there’s many reasons that Amazon says “most people keep this item.” The first thing I noticed is it’s made from thick, high quality plastic that won’t bend or break - even when you have it full of a brew. The handle is sturdy, unlike other pitchers where the handle is the first thing to go, this handle is stable and not going anywhere. The spout is pointed sharply and allows you to have precise control over pouring, even into very small mouth bottles. And the feature we use the most is the raised measurements on the outside of the pitcher. It’s so easy to read exactly how much brew is in your batch (ounces or milliliters!), which you can plug into our Bottling Calculator to optimize using the perfect number and size of bottles without wasting anything!
Scales
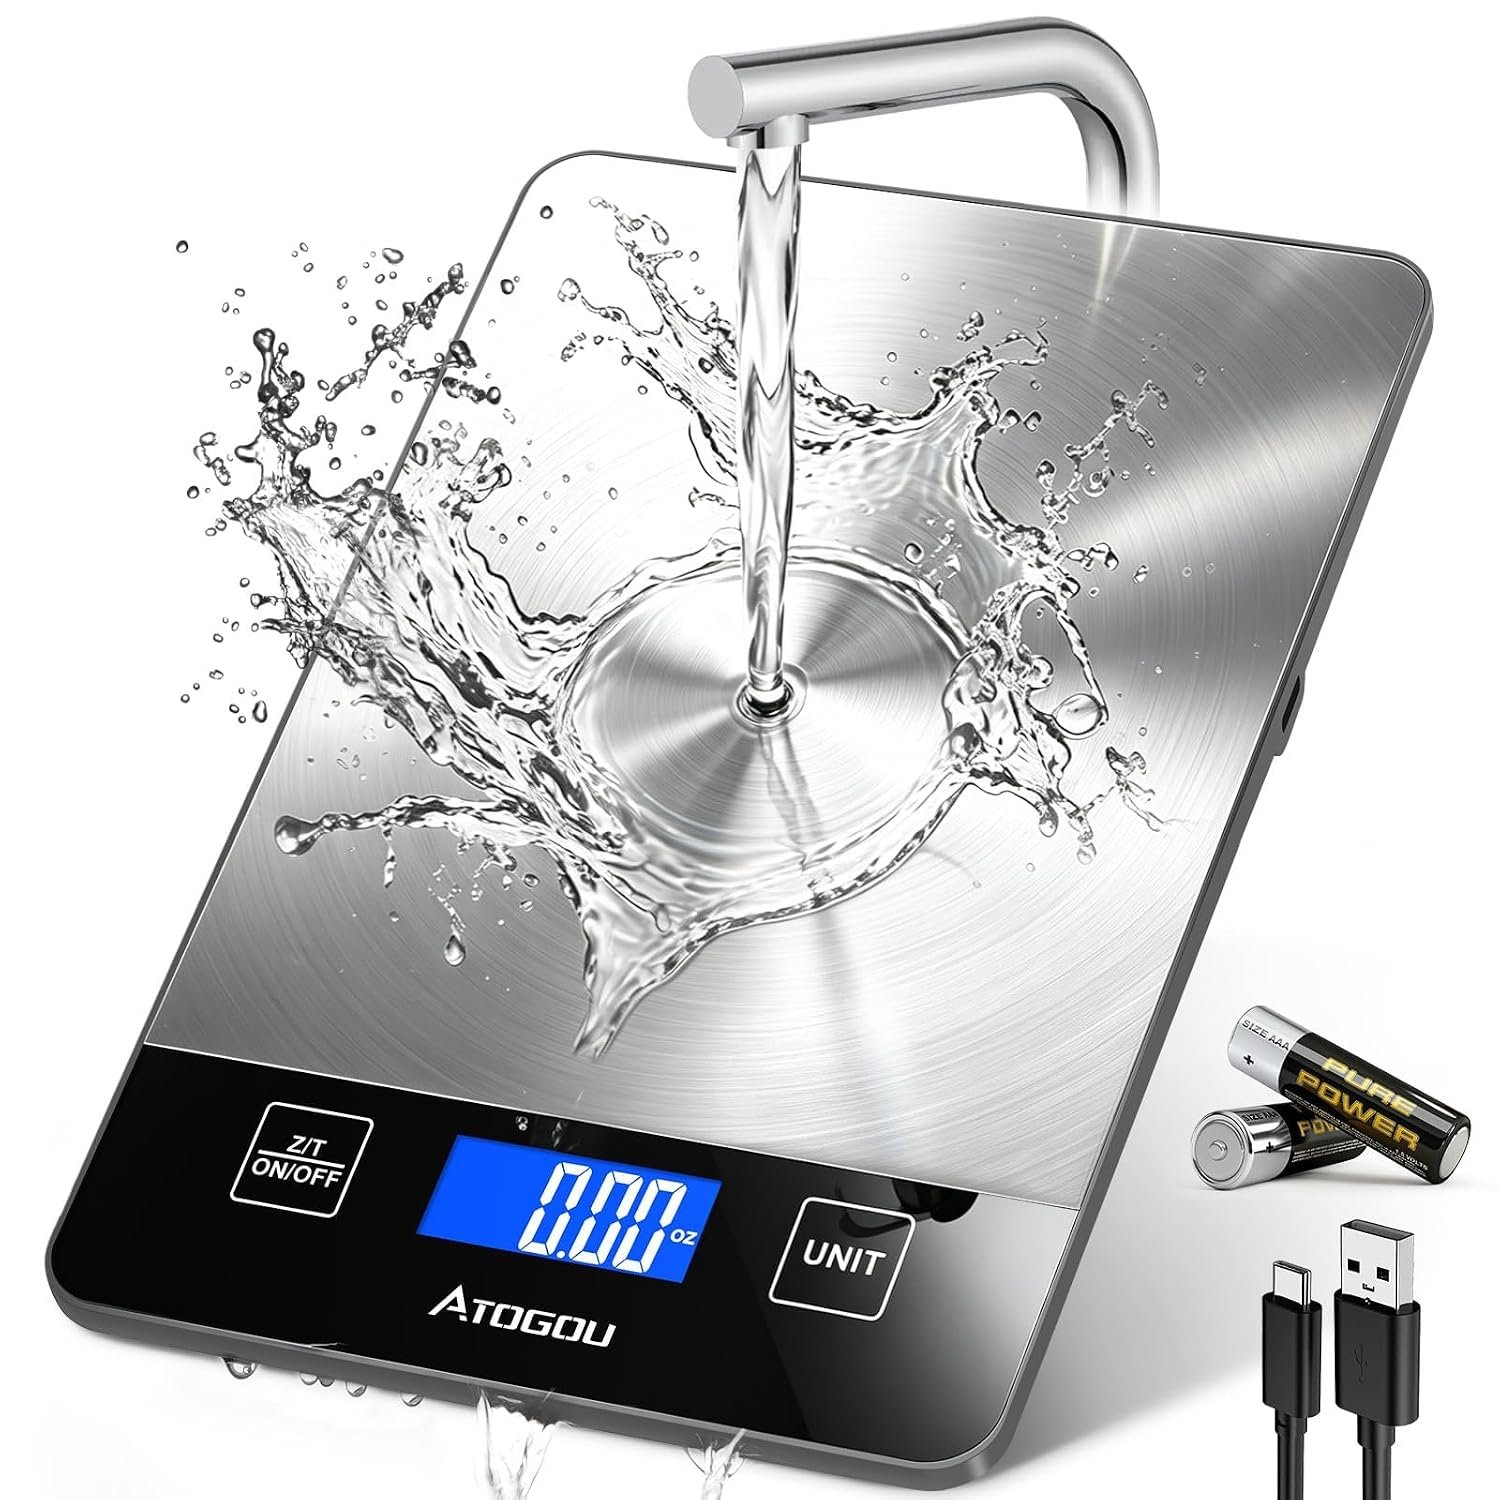
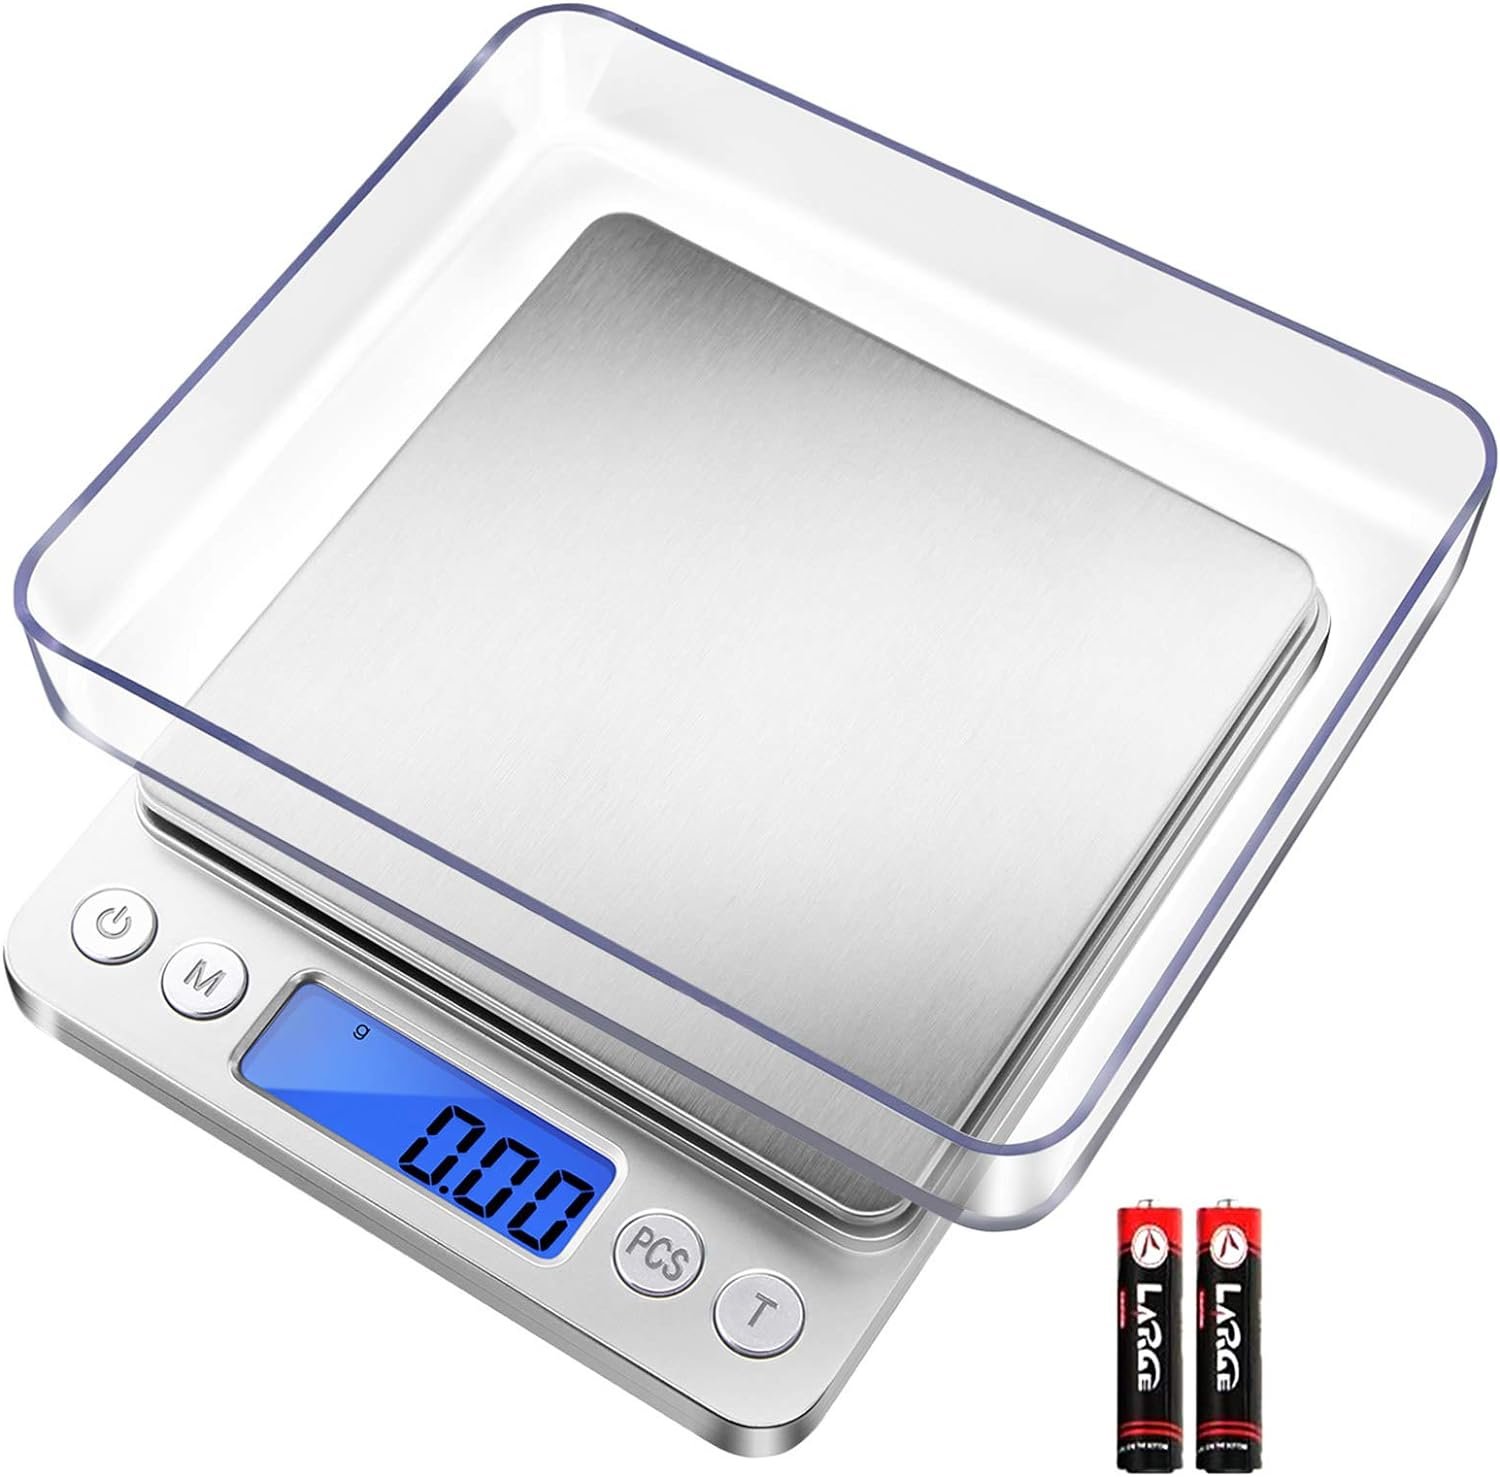
Sometimes you’ll be able to buy honey in a container that is exactly the right weight you want in your brew… but it doesn’t always work out that way. When it’s not perfect, you’ll either have to guesstimate or weigh it out. We prefer weighing it. This recommended scale has a capacity up to 33lbs and it’s precise enough to catch changes down to 1g. It meets the vast majority of our needs. On the rare occasion we need to weigh a half gram of an herb or spice, we use a jewelers scale.
Racking - Siphons, Tubing, Wands, Oh My!
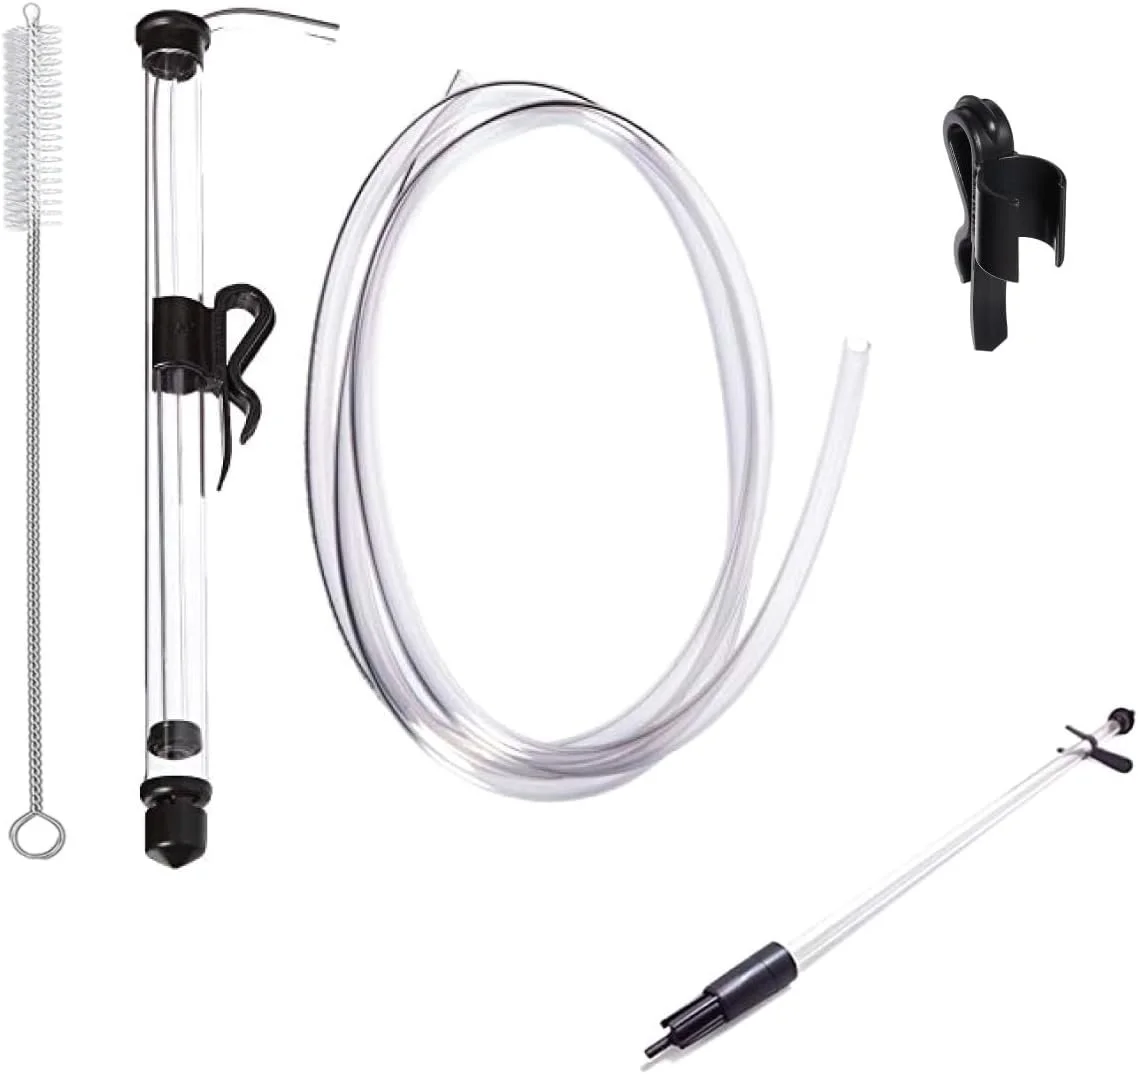
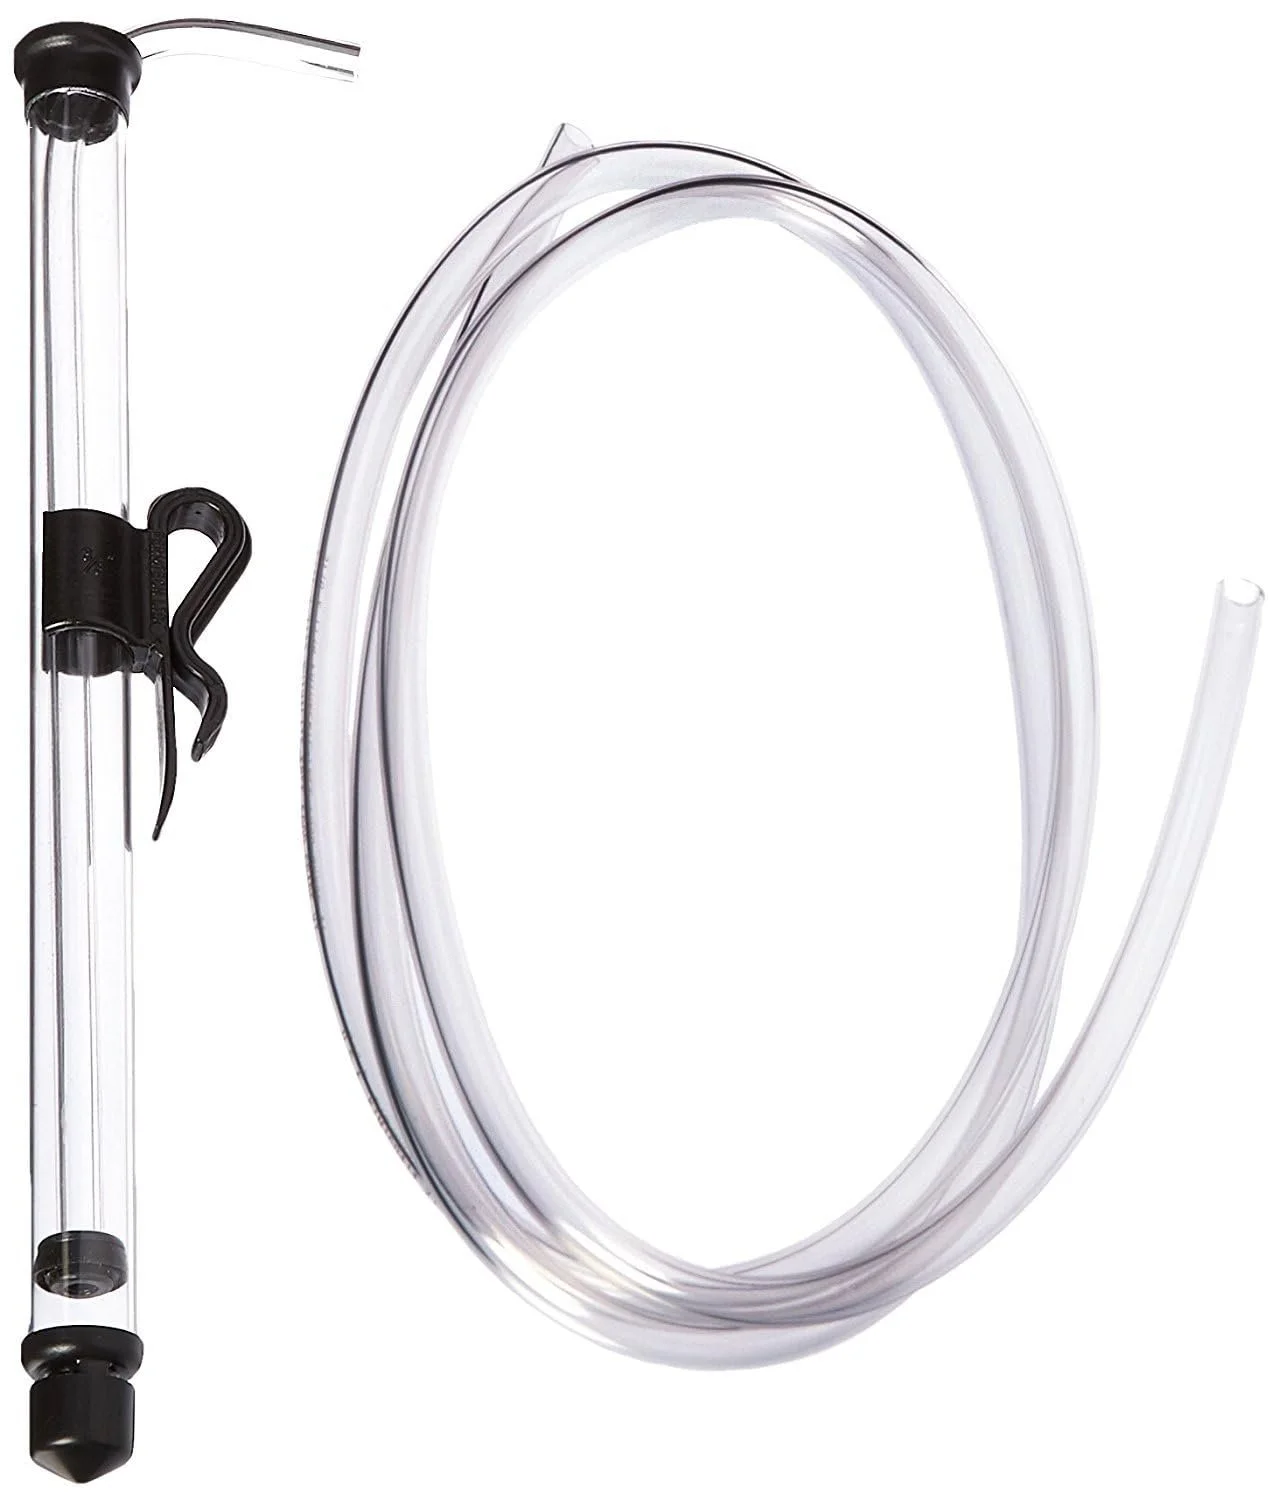
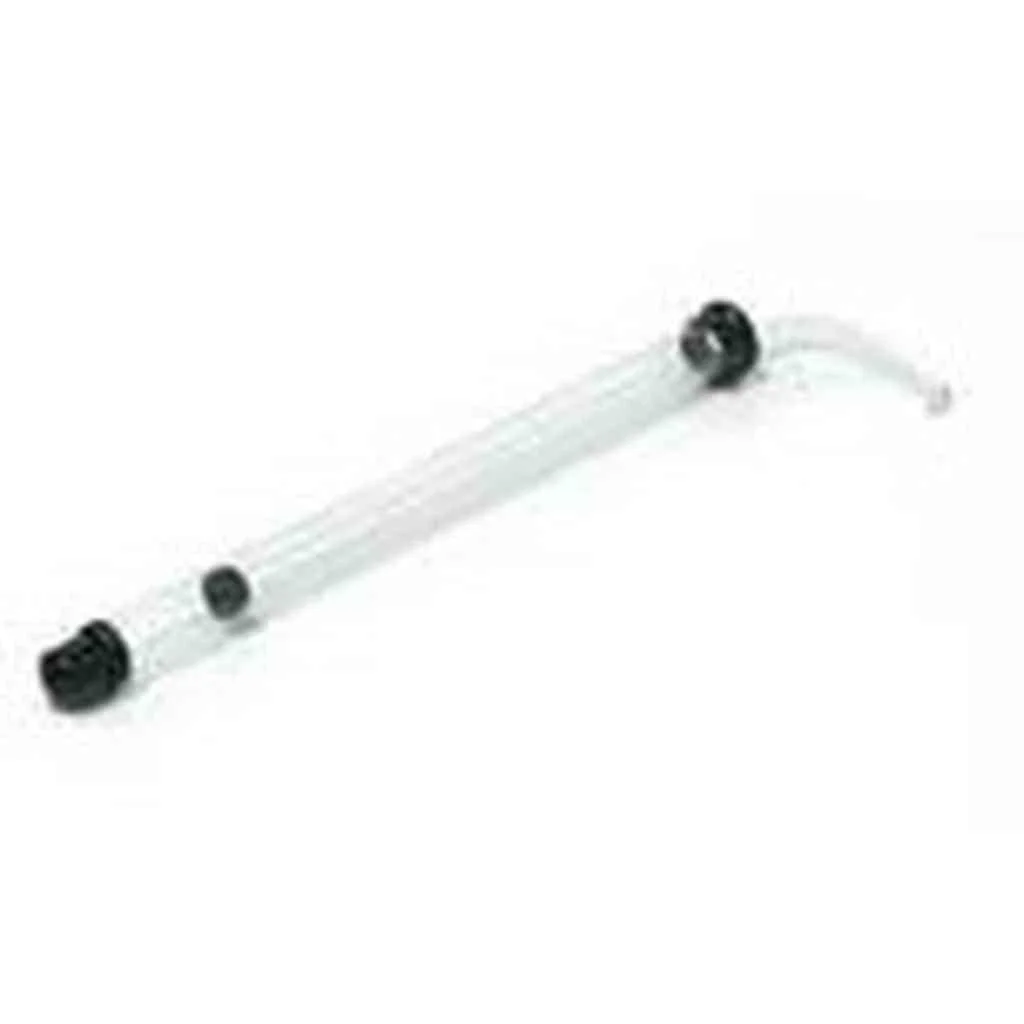
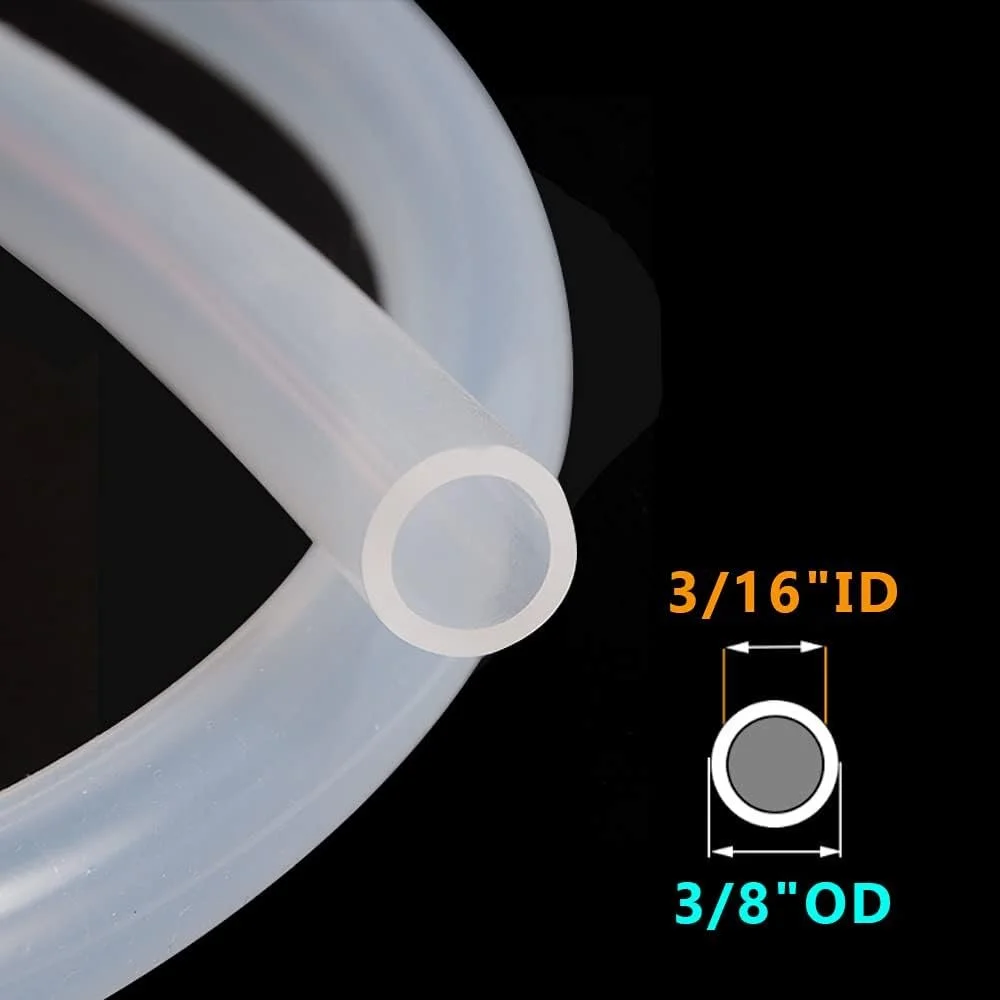
If you’re new to this craft, I’d recommend getting the Auto Siphon Kit that contains the Auto Siphon, tubing, cleaning brush, and bottling wand all in one. As you progress in the hobby, you may want to pick up additional tubing to use as a blow off tube, or a back up auto siphon (the seals do wear out eventually, and usually it’s at the most inconvenient times). A bottling wand has a spring loaded tip so it stops the flow until you press down on the wand and then it starts again. It’s not a required item, but this makes the moves between each bottle when you’re bottling much easier and less messy, so it’s very nice to have.
Flavor Addition Ingredients